Easy DIY Reusable Grocery Bags (Video Tutorial)
Learn how to make a fold up shopping bag with this tutorial!

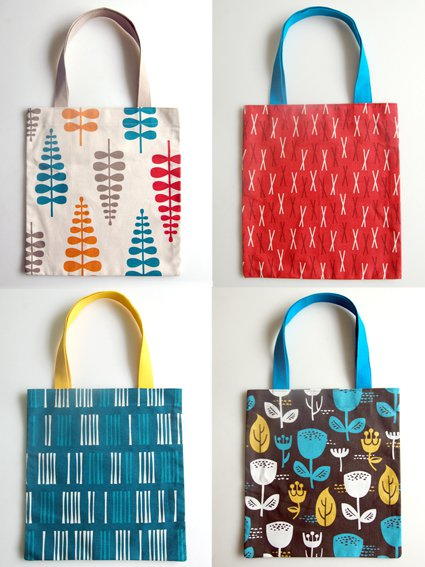
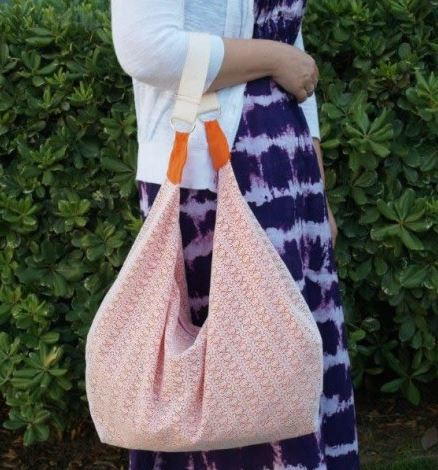
With plastic bags overtaking the world, many are going green with reusable grocery bags. Instead of buying one, make your own and be even more eco-friendly. This sewing video tutorial will show you how to make a reusable bag.
This is a simple sewing project that beginners can complete in a few hours and is a fantastic alternative to paper or plastic grocery bags. Just fold it up and take it along!
The best part about these easy-to-make DIY reusable grocery bags is that they can be used for multiple purposes, such as a library tote or for carrying your work necessities, so you know you'll use it again and again.
Help the environment by avoiding paper and plastic bags with an eco-friendly tote that you can stitch up in just one afternoon. That's why we think you'll be making several.
Get the latest free sewing patterns and tutorials by signing up for our Sewing It Up newsletter!

DIY Reusable Grocery Bag Video Tutorial:
Perfect for visual learners! Click the play button to watch the video right below and then scroll for the materials and the full written tutorial.
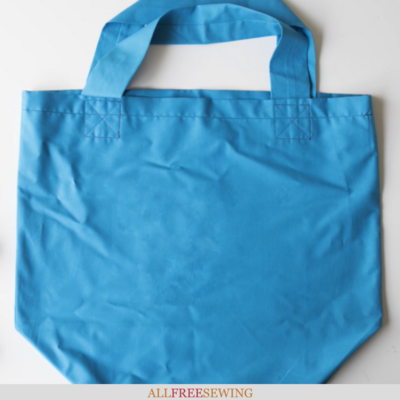
Easy DIY Reusable Grocery Bags:
Project Type: Make a Project
Skill Level: Easy
Time to Complete: In an evening
Sewn By: Machine
Materials List:
- 1 yard of fabric
- Cutting mat
- Rotary cutter or fabric scissors
- Measuring tape or ruler
- Sewing machine
- Disappearing/Washable fabric marker
- Iron
DIY Reusable Grocery Bag Instructions:
- Start by rolling out your fabric with two layers folded. You need to make two cuts. Cut a 20" piece for the main bag and a 5" piece for the handle.
- Line up the edge of your fabric with the edge of the presser foot. Start with a lock stitch and then stitch all the way down to the fold.
Note: Since this is a simple tote, you can leave the selvages if desired. An exact seam allowance is also not vital for this project.
- When you get to the fold, stitch back and forth again to lock. Repeat for the other seam.
- Repeat Steps 2 and 3 for the other side.
- Stitch the handle: Fold the 5" handle piece in half and stitch all the way down the length of your fabric.
Note: If your fabric has a right and wrong side, make sure you have right sides together.

- Box the corners of the bag: Put your hand inside your bag to open it up enough to see the corners. Lay it down in front of you. Put the back corner behind and line up the seam in front of you with the crease on the bottom of the bag.

- Get a measuring tape/ruler and measure 4" inches from the top of the corner down. Line the ruler line up with the stitching and mark 4" horizontally across with a fabric marker. This will be the stitching line to sew. Add a couple of pins to keep it in place. Repeat on the other side.


- Turn the handles right-side-out. Press your handles flat with an iron.
- Stitch your marked line, all the way across (remove your pins as you go). Repeat for the other side.
- Fold down the top of your bag to the width desired. This project uses a 2-1/2" fold. Whatever you decide, keep it the same all the way around the bag. Press it in place.
- Cut your long handle strap in half. Press each piece.
Note: Carolina prefers centering the seam on the back of the handle but you can press as desired.
- Mark in 5" from the side seams of the bag for your handles.

- Line the handle up with the mark that you made. Make sure that you're only stitching through the layer of fabric that you want and stitch into place. Repeat for all four handle pieces.
Note: This stitching should be durable and strong since the handles need to be secure. This project includes a square with an X in the middle. Watch the video (above) to see the movements for this.

- Add a line of stitching to secure the fold at the top of the bag.
Note: You can do this step before or after adding the handles.

- Turn out and press if desired. Your bag is finished!

Want More?
More Printable Sewing Projects >>>
In what ways do you try to be eco-friendly?
Let us know in the comments!
Read NextTwenty Minute Tote