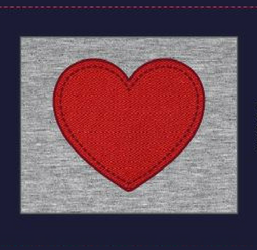
How to Sew a Patch
Sewing on a patch is a fun activity for both children and adults. Learn how to sew on patches by hand with our tutorial.

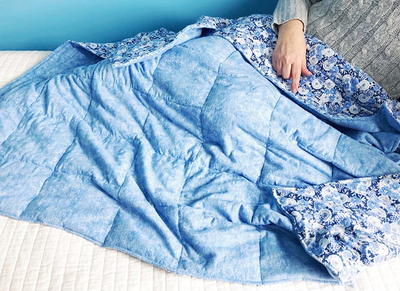
Learn How to Sew a Patch on anything you need. Use patches on uniforms and other wearables, for bags, even home decor, such as pillows and blankets.
Whether you are sewing scout patches or other uniform badges, updating your backpack, purse, and bag, or giving your jackets, hats, and pants some pizzazz, learning this skill will certainly come in handy.
Patch sewing is easy but it does take patience. There are also minor details to consider when using various fabrics or types of patches.
However, knowing the basics for hand sewing patches will prove to be beneficial at some point in life.
So, let us walk you through the tips, tricks, and the tutorial covering how to sew on a patch so that you can get started improving your fabric items.
At the bottom of the page, you will see our tips for sewing patches. Since every patch and piece of clothing is different, it's important to be aware of the different ways a patch will work on a certain piece of fabric.
Sign Up For More Free Patterns >>>
Sewing Patches
How to Sew a Patch by Hand:
This tutorial is for hand sewing patches, which is the best way to adhere a patch onto any piece of clothing.
Sewing on patches with a machine is possible if you have the right kind of machine, attachments, or settings to allow the needle to go through the patch and fabric without trouble as well as turn as needed while sewing.
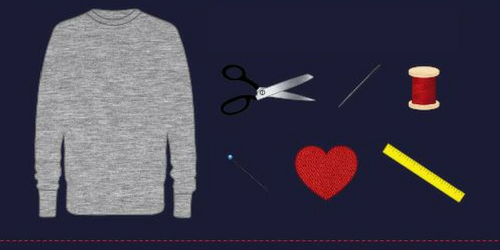
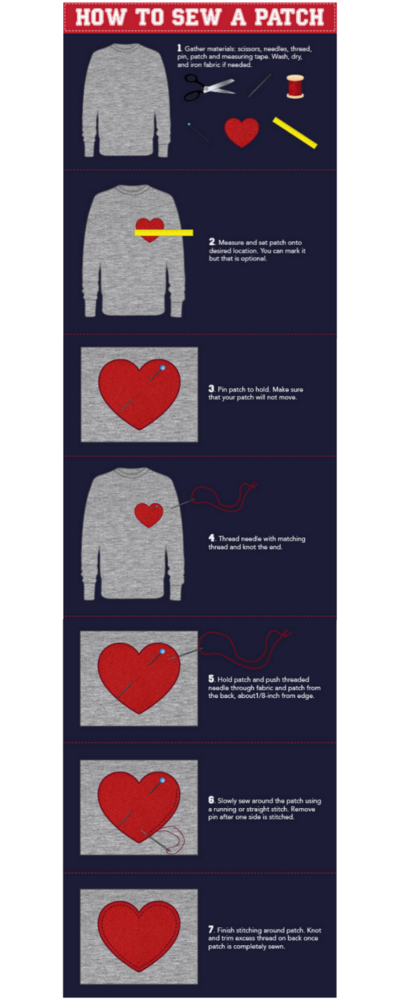
Gather materials. You will need:
-Item you are sewing the patch onto
-Patch
-Thread (color that matches patch or transparent thread)
-Embroidery needle
-Sewing pins
-A ruler/measuring tape
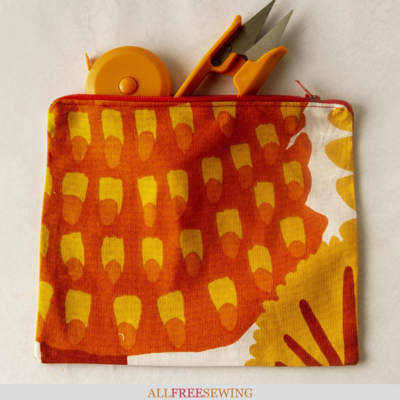
-Scissors
- Wash, dry, and iron fabric if needed. When sewing on patches, it's important to wash and dry clothing before starting because you don't want any excess shrinking or stretching afterward which could possibly ruin the patch, the clothing, or both. See more about this in our Tips and Tricks for Sewing a Patch section.
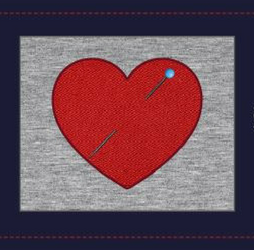
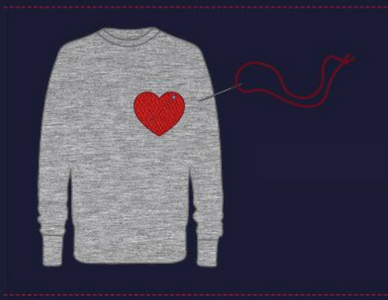
- Measure and set patch over the desired location. Pay attention to any seams, natural folds, or creases in the fabric.
Note: If you are sewing patches on wearables, try each item on to make sure the patch will be in the correct location.

- Pin patch to hold it in place. This is optional because some people would prefer to hold it as they sew and can keep a tight grip on it.
Use as many pins as are needed to hold it in place without manipulating the patch so that it moves from being flush against the fabric.
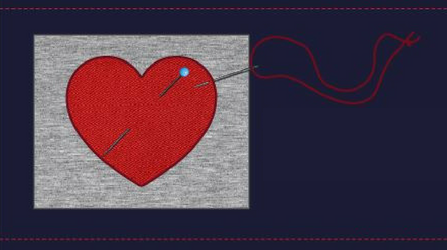
- Cut a length of thread about 15–20 inches long. Thread the needle with matching thread and knot the end. You can double up the thread to help strength if desired.
- Hold the patch down with a finger and thumb on top and bottom if needed. Push the threaded needle through fabric and patch from the back, about 1/8-inch from the edge (see Tips and Tricks for Sewing a Patch section below for more information).
- Slowly sew around the patch using a running or straight stitch (or another preferred stitch). If you have pins holding the patch down, make sure you remove them once the patch is secure enough or when you are able to hold it in place.
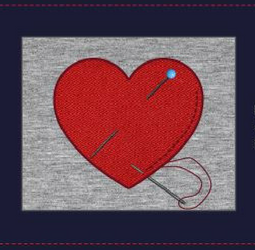
- Finish stitching around the patch. Knot and trim excess thread on the backside of fabric the once patch is completely sewn.
How to Sew on a Patch PDF
For your convenience, we have a free downloadable PDF that has all the steps above in an easy-to-follow visual aid. Click the button below to download a high-resolution version.
Tips and Tricks for Sewing a Patch:
- As mentioned as a note in the tutorial above, if you are sewing a patch onto a piece of fabric that will be curved or creased, like a shirt, sleeve, knee, etc, you will want to put the garment on and pin it while wearing so that your patch is in the right place and so that you can adjust the patch for any movement.
- Always wash any garments or fabrics that have not been washed previously. You want to make sure the item has shrunk as much as it will and is the size is accurate.
If not, the patch and stitches could pull and the item could be ruined in the next wash.
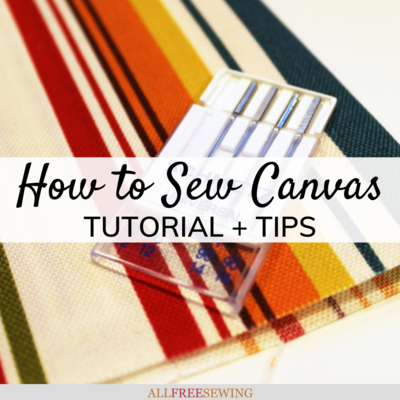
- If you are sewing on thick material, such as leather or denim, be sure you use stronger needles specifically made for those fabrics.
- You can always cut more or less thread but you want to keep it at a convenient length. Thread can accidentally catch or knot, and it takes longer to pull a super long piece of thread through while you're sewing.
You can always tie off and start fresh at the next stitch with a new piece of thread.
- Some patches have a noticeable raised edge. If your patch has this, stitch right on the inside of that. If not, choose a consistent distance from the edge to stitch all the way around, at least 1/8-inch in.
- If you want to learn how to sew a patch over a hole, check back for a new full tutorial on that soon! However, the most important thing to remember for covering holes is that the patch must be at least 1/2-inch larger than the hole all around.
When you sew around, follow the tutorial above but make sure you are at least a 1/4-inch from the hole edge.
- How do you wash a garment with a patch? In the same way you would wash embroidered clothing. Either spot clean or hand wash when possible. If using a machine, use the gentlest cycle. Hang or lay flat to dry.
- Don't want to sew your patch? Even if it's a sew on patch, you can attach iron-on adhesive to the back of the patch or use fabric glue as an alternative to sewing. You can also add some texture by using safety pins to hold down your patch.
Want More?
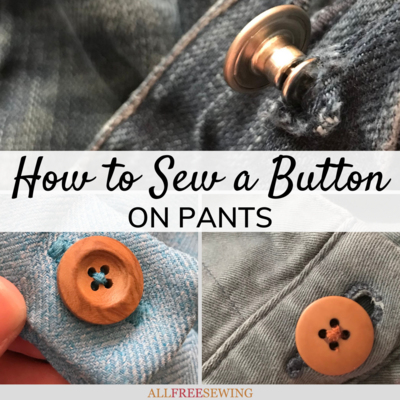
How to Sew a 4-Hole Button >>
Where are you putting your next patch?
Let us know in the comment section!
Read NextRotary Cutter Blade Guide
Your Recently Viewed Projects
Thanks for your comment. Don't forget to share!
Report Inappropriate Comment
Are you sure you would like to report this comment? It will be flagged for our moderators to take action.
Thank you for taking the time to improve the content on our site.