This project was submitted by one of our readers, just like you.
Make Cross Stitch Patterns in Photoshop
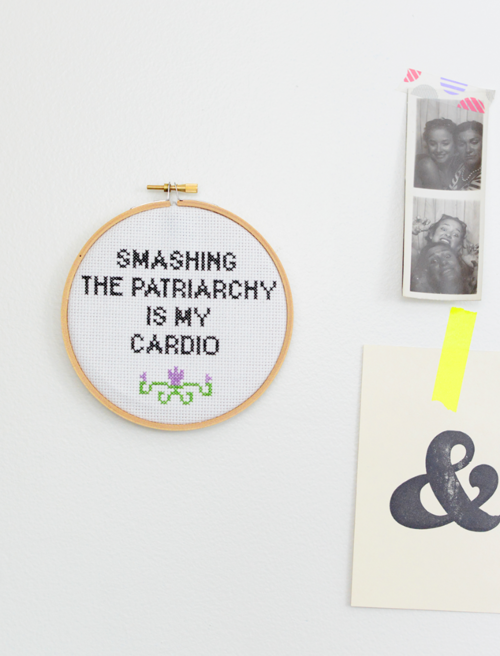
From the Blogger: "I want to share an updated way to make your own cross stitch patterns that you might want to try if you have Photoshop. (This is how I make all of the patterns that are for sale in my Etsy shop.) It can be a little time-consuming, but I find it much easier and more straightforward than my old tutorial. Get inspired and create custom cross stitch patterns for your own use or for sale!"
Project TypeLearn a Technique
Time to CompleteIn an evening
Sewn byHand

Materials List
- Photoshop
Instructions:
-
Start by opening a new project in Photoshop. Make it a perfect square the same size as your hoop (a 5" hoop would be a 5"x5" square). Make your resolution 300, especially if you plan on printing your pattern!!
-
Using your ellipse tool and holding down the shift key, create a perfect circle inside of your square that just touches each side of the square.
-
We don't actually want the circle to be filled in, so select "none" for the fill and "black" for the stroke.
-
Find a free downloadable graph paper generator on the Internet. I like to set the grid color to black. Download the graph paper, and open it in Photoshop. Drag it over to your project.
-
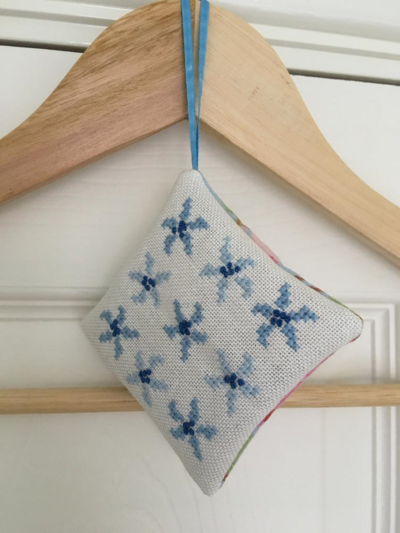
Next, determine what kind of cross stitch fabric you'll be using. I use 14-count Aida cloth. The count matters – "14-count" means it has 14 squares per inch.
-
Back in Photoshop, click "View" and then "New Guide." Select "1" and then "Okay." Repeat the steps, and this time make a horizontal grid with the same distance. You should now have two aqua lines over your project, forming a grid.
-
That little box in the upper lefthand corner is one inch. Use that as a guide – resize your graph paper layer until 14 squares exactly appear in that little box.
-
Now your design will be optimized for the exact count cloth and hoop size you will be using! Click on "View" and then "Clear Guides." We won't need them anymore.
-
Use a photo, design, or text to provide guidance for your pattern. If it already exists, drag it in and position it behind your graph paper. You can also create the text in Photoshop. (I've had the best luck with sans serif block fonts.)
-
Arrange your design in the hoop guide as you'd like it to appear when stitched, and set the opacity of your guidance to 40%. (I left a little space under my text because I want to freehand some flowers.)
-
Create a new text layer. Choose a sans serif block font and type a capital "X." Size it down so it fits in one of the tiny squares and place it over the design. Copy this layer (command-J) as many times as necessary to trace the design. Remember to adjust the color of your X's to match the design if you have more than one color.
-
Especially when it comes to words, what actually works for the pattern might be a little different from your design. Remember to use it just for guidance – you don't have to stick to it exactly if it ends up being more legible or effective to "color outside the lines" a little bit. Adjust often – and occasionally turn off the design layer just to see how the pattern will look on its own.
-
Continue until your design is covered in tiny x's. Depending on how elaborate your design is, this can take awhile.
-
Now you can delete or turn off the design layer.
-
Make any last-minute changes, and there you have it...pattern! Save it as a PDF and you can print and use it for future stitching.

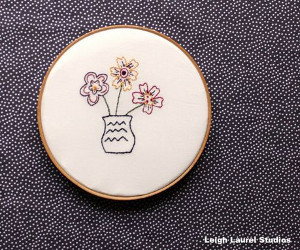
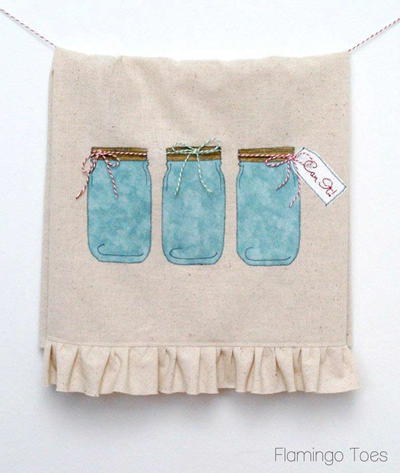
Read NextMason Jar Dish Towel Pattern
Your Recently Viewed Projects

Thanks for your comment. Don't forget to share!
Lynn K
Nov 27, 2018
I haven't done cross stitch in quite a long time but this post has my fingers itching to do it. It is so relaxing - I used to get completely immersed in it. I remember trying a few free hand designs of my own but none were very good so making ones own patterns in Photoshop is a fabulous idea! Thank you for this post!
jadoredior
Jun 14, 2017
I've been wanting to experiment with cross stitch, so this something I've been searching for. The step by step instructions are super helpful!
Report Inappropriate Comment
Are you sure you would like to report this comment? It will be flagged for our moderators to take action.
Thank you for taking the time to improve the content on our site.