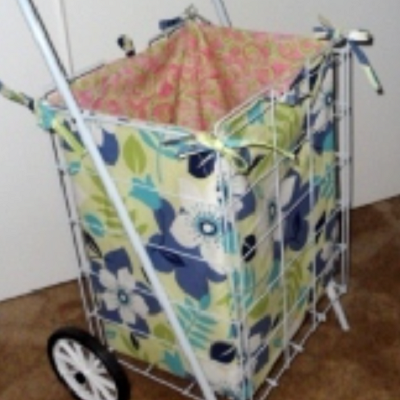
DIY Grocery Cart Liner
Make a shopping cart cover with this easy DIY! Rolling carts are great for local shopping, laundry, and more. A cart liner helps keep everything clean and secure.

Stop carrying all those groceries to and from the store. Instead, learn how to make a grocery cart liner perfect for a handy rolling cart.
You could also use this as a laundry cart liner. Either way, this free sewing pattern is cute and useful!
Along with the DIY Grocery Cart Liner tutorial, you'll find a video tutorial for this project at the bottom of this page.
With a few adjustments, you can sew a liner for any cart, bucket, or hamper if you need it in your home. Using waterproof fabric will also allow you to transport wet clothes or frozen food without causing damage to the liner.
If you're looking for a cover for your child to sit in a traditional cart, take a look at the Shopping Cart Cover Sewing Pattern.
With these two DIYs, all of your shopping is about to be a much more enjoyable experience.
Sign Up For More Free Patterns
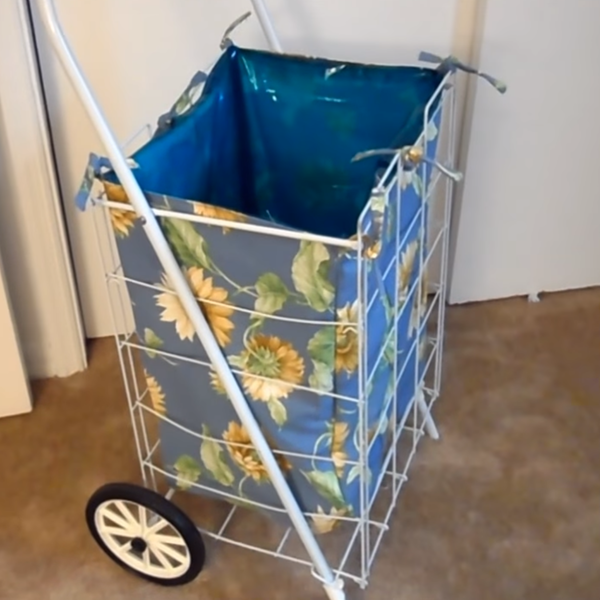
DIY Grocery Cart Liner
A key to getting the perfect liner is assuring that your measurements are correct. As mentioned in the intro, you can also use this tutorial as a guide for making a liner for other carts or boxes you want to cover.
DIY Liner Materials:
- 2 Fabrics: outside and inside fabric (approx. one and a half yards each)
- Heavyweight, fusible interfacing (small piece for bottom 15 x 12 inches)
- Scissors or rotary cutter
- Thread
- Sewing machine
Note: Cord, rope, or strong ribbon may be used for the ties.
How to Make a Grocery Cart Liner:
Measuring and Prepping
- Measure sides and bottom of cart (measurements are in inches).
This cart measures:
Front and back: 15 x 20
Sides: 12 x 20
Bottom: 15 x 12
- Cut your fabric for both outside and inside linings: Add 1/2-inch for your quarter-inch seam allowance.
Fabric measurements for this cart:
2 – 15-1/2 x 20-1/2 front/back panels in outside fabric
2 – 15-1/2 x20-1/2 in inside fabric
2 – 12-1/2 x20-1/2 side panels in outside fabric
2 – 12-1/2 x20-1/2 in inside fabric
1 – 12-1/2 x15-1/2 bottom panel in outside fabric
1 – 12-1/2 x15-1/2 in inside fabric
1 12-1/2 x15-1/2 in interfacing
6 - 2 x 12 (or longer) in outside fabric for ties (omit if using cord, rope, or ribbon)
- Fuse the heavyweight interfacing to the wrong side of the outside fabric bottom.
Sewing the Outside Lining
- Place RIGHT SIDES together and sew the long 15 x 20 panels to the bottom piece matching the 15-inch widths. Repeat with the 12 x 20 side panels, matching the 12-inch widths.
- With RIGHT SIDES together, sew the panel seams. Repeat for the inside lining, BUT leave a 6-inch opening in one seam for turning your piece inside out.
TIES: (Skip this step if you are using cord, rope, or ribbon)
- Fold your tie strips along the top lengthwise towards the center and iron flat. Repeat the fold from the bottom lengthwise towards the center and iron flat. Now fold the tie in half and iron/steam flat.
- Sew straight along the tie (note: you may fold under the ends for a neater appearance).
DIY Shopping Cart Liner Assembly
- With right sides together, place the linings together.
- Fold the tie in half and position between the inside and outside linings, with the fold at the TOP (ends facing down inside the linings) and pin in place. One at each corner and one in the center of the two 15-inch width panels.
- Sew along the entire top, making sure to attach the ties at their folds. (You may want to add an additional stitch or backstitch over the ties for security.)
- Using the opening you left in the inside lining, slowly and carefully pull the outside lining out and through (inside out).
- Pull the Inside Lining out and sew shut the opening in the seam.
- Press.
- Topstitch along the top.
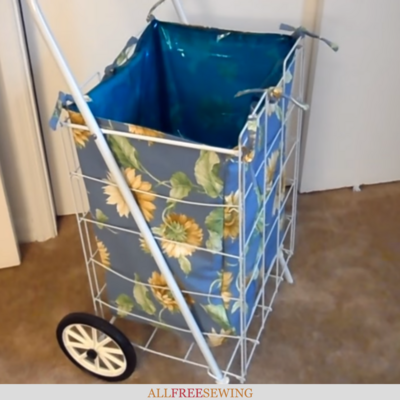
- Place inside your wheeled cart and tie your ties as desired.
DIY Grocery Cart Liner Video Tutorial
For visual learners, here is the video tutorial that will help you see exactly how to sew your own rolling cart liner.
Want More?
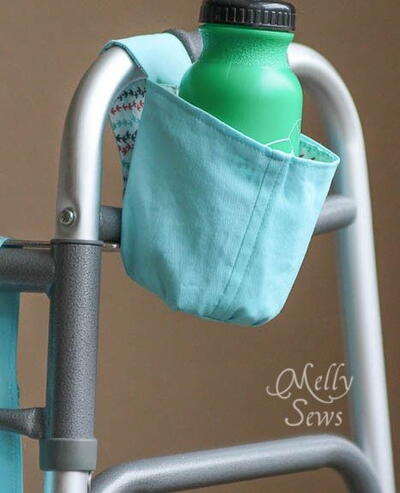
Read NextPortable Hanging Cup Holder
Your Recently Viewed Projects
Thanks for your comment. Don't forget to share!
Cheryl E
Sep 30, 2018
This liner for a portable cart is just what I was looking for. The liner gives the very functional and useful cart much personality and style. The instructions indicate it is relatively easy to make. I imagine the liner could be made in bright seasonal prints or even out of sturdy cotton duck or oilcloth for extra durability.
Weberme
Jun 07, 2016
This is so super easy and a great video. My Mom still uses a grocery cart when she goes to the grocery store. This is a great idea to replace the ready made ones. I am going to make her one out of a pretty fabric and a strong one and I love that it is lined. Anyone know how to put a top on it so when it rains everything stays dry?
Report Inappropriate Comment
Are you sure you would like to report this comment? It will be flagged for our moderators to take action.
Thank you for taking the time to improve the content on our site.