60+ Decorative Pillow Patterns
You will love this collection of pillow sewing patterns for any room in the home.

Learn how to make a pillow that fits your decor with these 60+ Decorative Pillow Patterns. These creative projects allow you to make throw pillows of all kinds!
Are you unwilling to spend a ton of money on decorative items? With this list, you can make these free pillow designs to complement any theme. You can learn how to make throw pillows and adorable decorative pillows in no time!
There's no better fun to be had than when you redecorate your home. Selecting styles, choosing color palettes, and strolling through home goods aisles for hours on end is close to paradise! The only catch? Though redecorating your home is always fun, it can be expensive.
However, you don't have to fret about the cost of home makeovers when you sew your own pieces! Bring down the cost of giving your home a new look by sewing up some pillowcases from this delightful collection.
If you don't know how to sew pillows, just check out one of these throw pillow tutorials for great tips and design ideas. Sew pillows and cushions for every room in your house, or make one to give as a gift. Once you learn the basics of throw pillows, you can spruce up every room in the house.
DIY pillows make great, safe additions to a child's bedroom or playroom, and they can become wonderful family treasures. Soften up your lifestyle by learning new ways to make unique pillows!
Sign Up For More Free Patterns >>>
PLUS! Check out the video tutorial below to learn how to make a beautiful quilted pillow. This tutorial from our friend Carolina Moore walks you through the entire process, making it easy to learn.
Table of Contents
Decorative Pillow Tutorials
The right set of throw pillows can be the perfect finishing touch to any room. Make a decorative pillow and brighten up your living room, bedroom, or den with this list of free pillow designs and pillow patterns.
From simple square pillows to detailed designs, you can't go wrong with this list of DIY throw pillows. You don't even have to keep these beauties to yourself. Anyone would be ecstatic to receive one of these pillows as a housewarming gift.
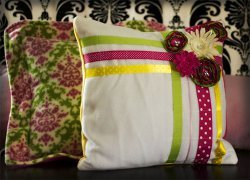
Inspired by a pillow seen at Anthropologie, this simple sewing project will satisfy your need for style with its delightful design without the huge cost at your favorite store. This project will only take you about a day to complete, so you're not wasting much time or money on such a cute set of pillows.
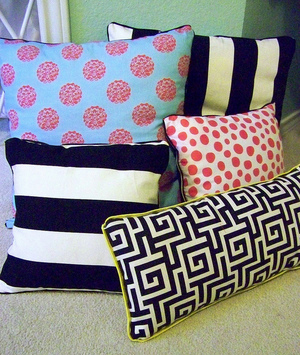
These pillows will add flair to your home decor but won't take all afternoon to make. This sewing tutorial will only take you about a day to complete, so you're not wasting much time or money on a cute set of pillows.
This is one of the cutest beginner sewing projects that we've come across. Newbie sewers should follow this tutorial to create a beautiful pillow that will add a bit of flair to any room.

What better time to sew your own pillow but during the holidays? This super cute and easy pillow is the perfect holiday gift or decoration.
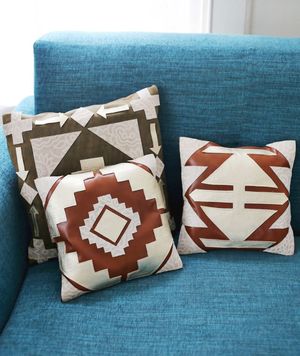
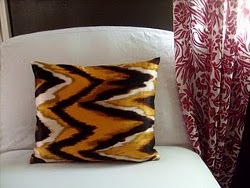
If you want to add some Southwest flair to your living space, this brash and bohemian idea shows you how to make a pillow with leather and geometric designs. Easy to make and surprisingly no-sew, these are a great afternoon craft and would be a great way to salvage a stained or worn-out throw pillow.
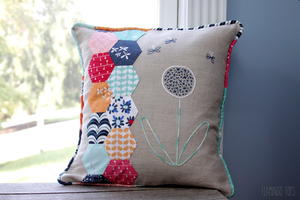
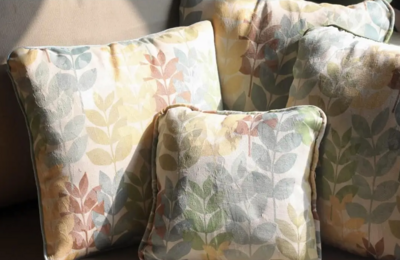
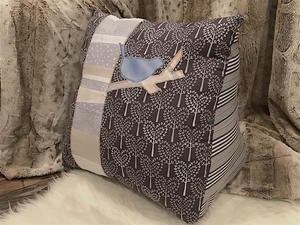
Hexagon Fat Quarter DIY Pillow
You’ll need fat quarters, linen, a half yard of fabric, and embroidery thread for this sewing project. The embroidery pattern is up to you, but the natural scenes on the example are beautiful to sew onto your pillow.
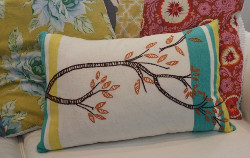
Beautiful Bohemian Pillow Tutorial
Use this tutorial to create a unique and lovely pillow that's sure to spruce up your couch or bed. The embroidery pattern is up to you, but the natural scenes on the example are beautiful to sew onto your pillow.
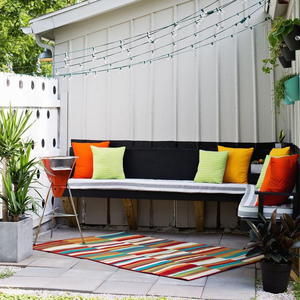
You don't need to confine your homemade pillows to inside your house. Add some color to your front porch, veranda, pool area, or even your patio with these pillows.
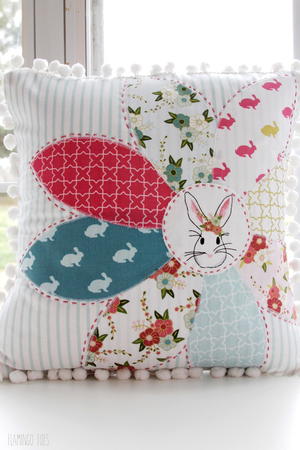
Gather all the sweetness of spring and store it in this pillow. Hand-sewn pillows can fill any voids you have in your home decorating, and they make couches look extra inviting for your family and guests.
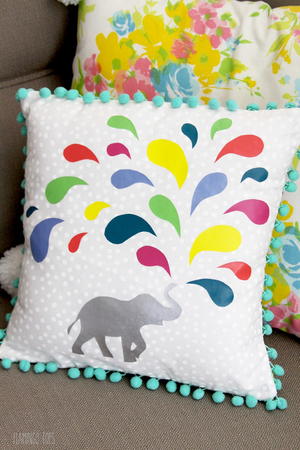
Create a colorful masterpiece when you try out this sewing tutorial. This fun sewing project that involves transferring a design onto vinyl.
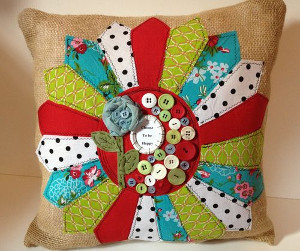
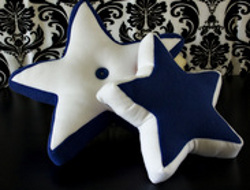
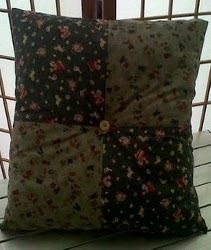
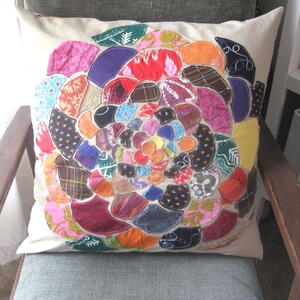
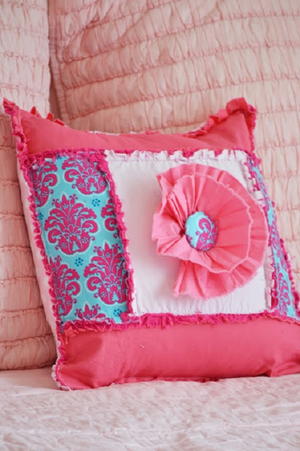
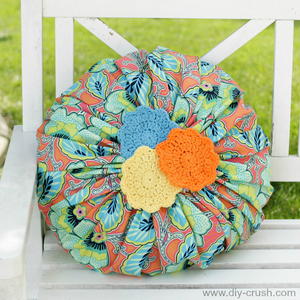
Raw Edged Dresden Plate Pillow
Thanks to these pillow instructions, it's easy to piece your fabric together into a star burst appliqued cushion that will brighten up your decor. To top off the look, add artistic additions like a fabric flower, buttons, and printed sentiment.
This festive sewing project is great for patriotic holidays or for sprucing up a child's room. Let this tutorial teach you how to make a pillow for a bed or couch.
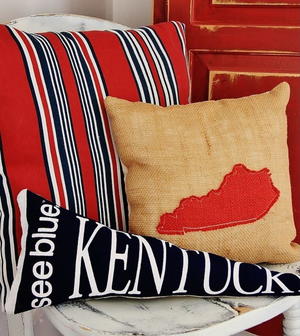
Team Pride DIY Home Decor Pillows
If you are looking for a way to display a pennant from your local high school or college sports teams, this adorable easy sewing project is your best bet. By taking pennants and turning them into pillows, you can add some state pride without having to hang your pennants on the wall.
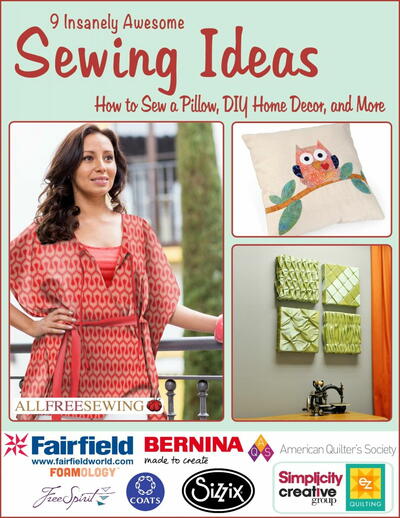
Get your fix of decoration inspiration by downloading our free eBook,9 Insanely Awesome Sewing Ideas Free eBook
Stashbuster Pillow Patterns
Bust that stash with these pillow pieces. If you love scrapbusters, then this section is right up your alley. Great for indoor or outdoor decor, these ideas for cushions and pillows are quick projects that easily add a pop of color to any room.
Great for beginner sewists, these decorative cushions and pillow patterns are quick projects that you can complete in an afternoon, making them an easy way to update your living space.
Do you have lots of denim scraps left over from other recycling projects? This denim cushion is perfect for utilizing them!
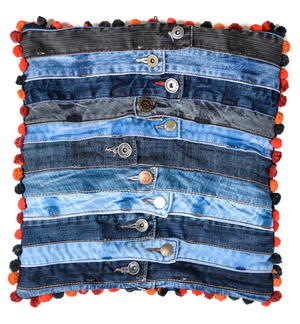
Love to repurpose your old jeans but not sure what to do with the waistbands? Then this denim cushion cover is for you!
You've made simple pillows in the past, now it's time for something a little more special. This project will look great on any bed or couch.
This colorful cushion is a great way to use up fabric scraps or a charm pack.
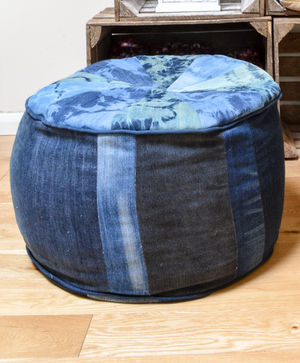
Transform your old jeans into a large circular floor cushion. This cushion shows off a variety of denim colors, adding real personality to your room.
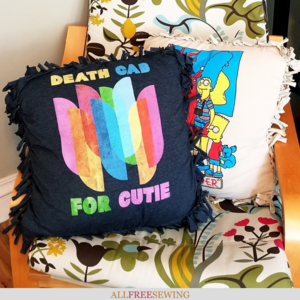
No Sew Tie Pillow Using a Shirt
What do you do when you have a bunch of oversized t-shirts? Make a no sew tie pillow using them, that's what! With this tutorial, see exactly how to make a shirt pillow without sewing. Easy, fun, and makes a perfect gift for kids.
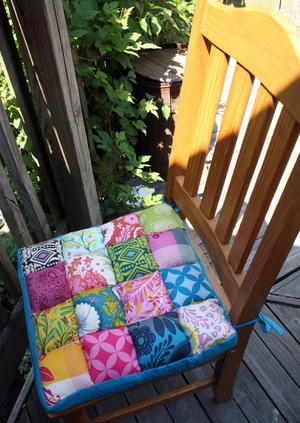
Comfort Meets Quilting Chair Cushions
These are a creative way to soften those hard wooden chairs of yours while giving your dining room or kitchen a fresh new look! These bright DIY chair cushions are comfortable enough to fall asleep on, but cheery enough to light up a room.
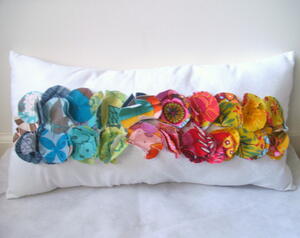
Are you in the mood for spring? Make this colorful sewing project for your home decor this season. The DIY Color Path Pillow will look great on your couch or bed. You'll have fun making this pretty project.
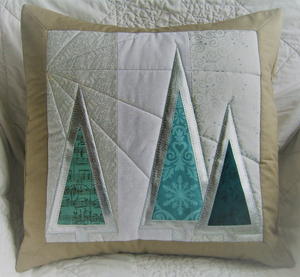
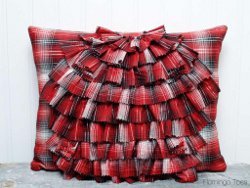
This stunning festive cushion is perfect to adorn your home or to give as a unique gift. It's great for using up those gorgeous remnants of Christmas prints from your stash.
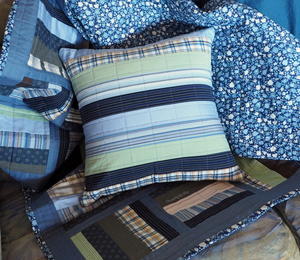
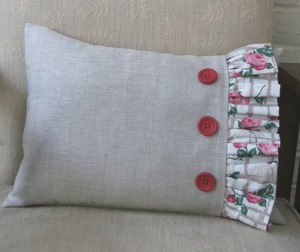
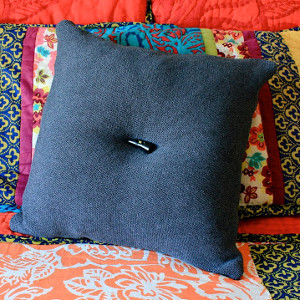
Learn how to make a cushion from an old men's shirt. The button placket forms the back closure, so this pillow is quick and easy to sew.
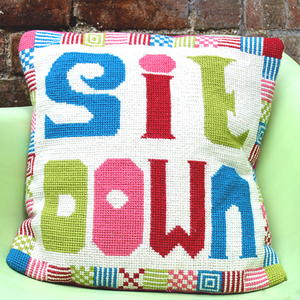
'Sit Down' Cross Stitch Cushion Pattern
The pattern for this cushion uses big wool and supersized stitches, which makes the cross stitch really easy and much faster compared to conventional cross stitch. This cushion has a lovely retro feel, and the bright colors and interesting typography really get it noticed
Adorn your living space with this scrappy and sassy creation. Sew up a decorative pillow with this great cushion pattern!
Pillow instructions like these are invaluable because they allow you to preserve your tee shirt forever. This is a great gift idea for athletes who save race or event tee shirts, because it allows them to hold onto their glorious memories in a creative way.
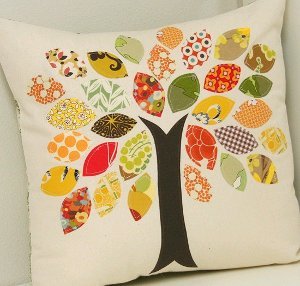
Use this fall craft idea to learn how to make a decorative pillow for fall. The scrap buster fall pillow features colorful leaves made of scrap fabrics, arranged in the shape of an autumn tree.
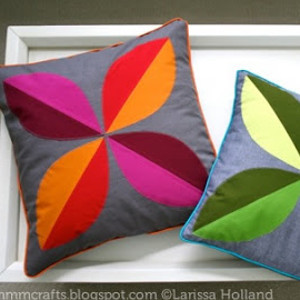
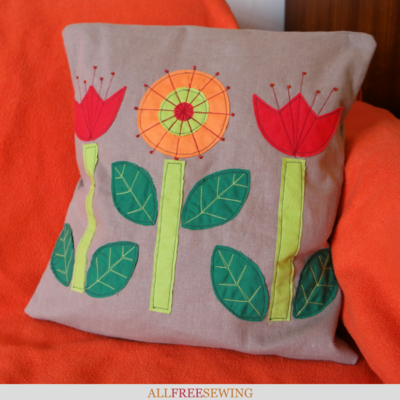
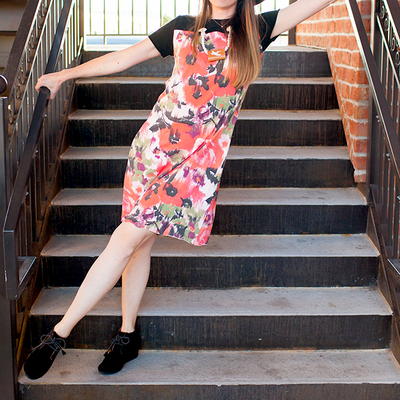
You'll fall head over heels for this mod, 70s-inspired floral pillow. With coordinating dual-colored palettes, this four-petal design. You don't have to spend hours finding the right color scheme!
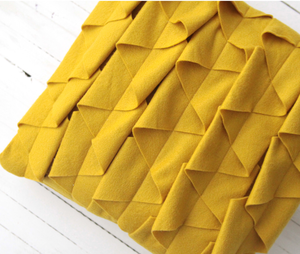
DIY Anthropologie Orimono Pillow
It's impossible not to fall in love with the relaxed boho vibes of Anthropologie. Now you can bring the look of your favorite store to your home without paying designer prices. You're one mural pillow away from your dream home!
Unique Pillow Designs
These pillow cover patterns are the perfect combination of practical and whimsical! If you've been looking for that little bit of charm to add to your favorite room, then these are the pillow designs for you. Packed with personality, these sewing projects for beginners are also great teen sewing projects.
Design a deliciously simple pillow that teens and tweens will love with this crazy fun pillow design. Add some much-needed flavor to a plain bedroom with this cheery sewing project.
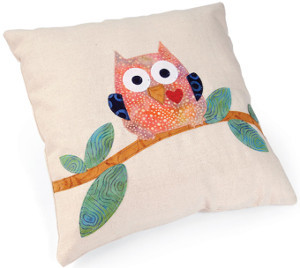
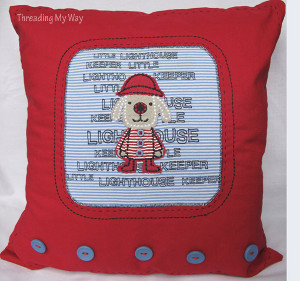
Add an adorable, wise little friend to your home. This pillow is cute, quirky, and easy to sew. It's ideal for fall but will work year-round with the right colors.
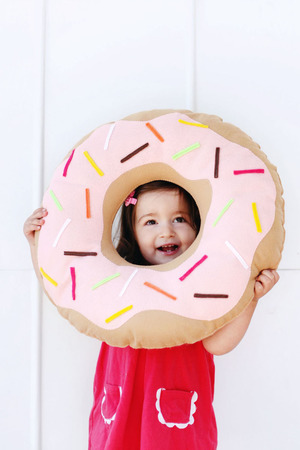
If you're looking to give your guests a serious laugh or are searching for the perfect homemade gift idea for a friend with a sweet tooth, this free pillow design should absolutely be your next sewing project. Complete with sprinkles and frosting, this quirky little project would make a great addition to your kid's room.
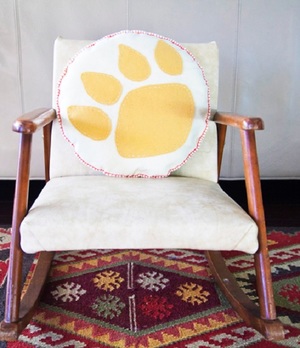
Kodiak Bear Paw Pillow Pattern
Whether you are looking for a rustic and fierce way to add some wildlife to your home decor or have a kiddo that has a favorite bear they would like to celebrate, this pattern will do the trick. This insanely easy, homemade pillow can be created in about 2 hours, uses about a yard of fabric, and was inspired by Paddington himself.

This DIY guinea pig bed is embroidered into a guinea pig shape using felt and fleece. It's even filled with fleece scraps so it won't be soggy or lumpy after being washed!
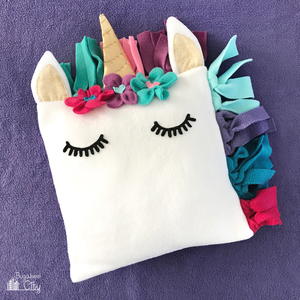
This is a fun sewing project that combines machine sewing with a little hand sewing. Choose any colors of fleece for the mane and flowers to make your unicorn unique.
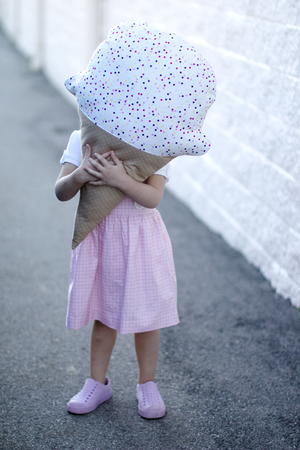
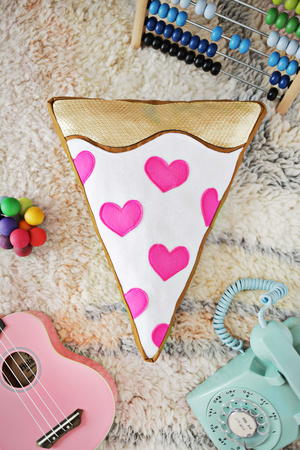
Ice Cream Dream Pillow Pattern
Are you looking for a pillow sewing tutorial that will add a sweet touch to any room in your home? This adorable decorative cushion is versatile and would look adorable anywhere.
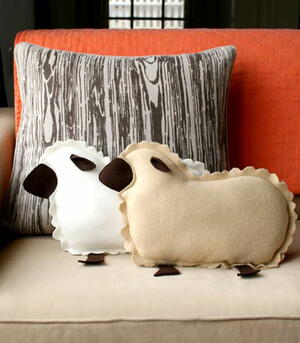
All kids love this adorable design, and they can finally count real sheep before falling asleep. These little lambs make great snuggle buddies and can keep the little one's company before bedtime.
How to Sew a Pillow With Ruffles
Ruffles and frills always add a lovely, delicate touch to any home decorating project. Why not embrace the girlish, vibrant look of ruffles in your pillow decor? If you've been looking to add some special details to your next sewing project, you're in luck.
Find out the ins and outs of ruffles and other small details with these pillow sewing tutorials for beginners. If you're new to sewing and have been searching for a way to spruce up your home, you'll love this collection of simple pillow patterns.
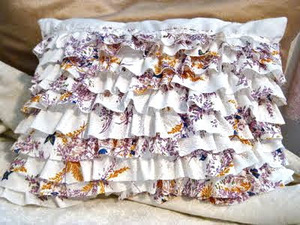
Pretty in Pink Ruffle Throw Pillow
Channel your inner Andie from Pretty in Pink with this DIY throw pillow.
Decorate your home with easy sewing projects to add some DIY flair to your living space. Small and quick sewing projects like this one only take an hour to make and will add oodles of style to your space.
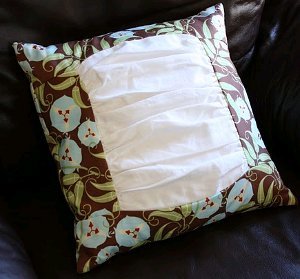
Learn how to make a decorative pillow with this free, printable sewing pattern. Make a gathered panel surrounded by the fabric of your choice for a unique ruffly pillow to display in your home.
Whether you are brand new to sewing or a total expert, this DIY pillow project is going to be easy peasy. These ruffles add a feminine edge to any couch or pillow.
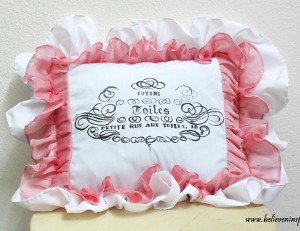
French Typography Ruffled Pillow
When guests walk into your home and compliment your pillow you can tell them it wasn't difficult to make despite how complicated it looks. The quality of your decorative touches relies on your sewing and tracing skills, not on your wallet!
This is a great way to add a pop of color to your outdoor furniture for only a little bit of money. Follow along with the instructions to see how making a pillow cover like this will be one that you are sure to love.
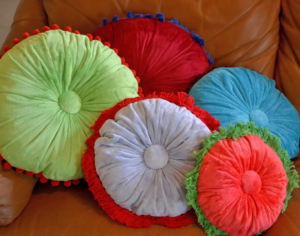
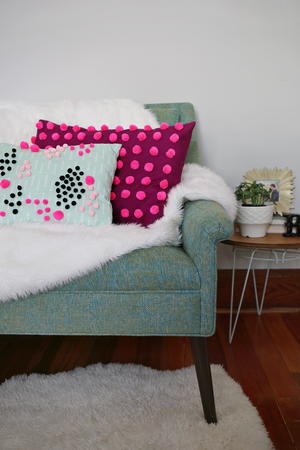
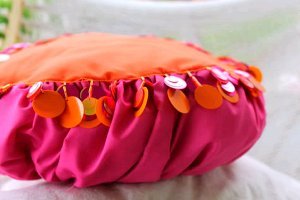
These are cute, cuddly, and will instantly brighten up your room. The round shape, gathered fabric, and tufted edges make these pillows unique and fun.
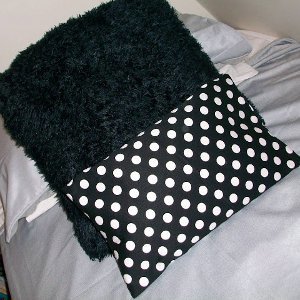
This two-in-one tutorial shows you how to make throw pillows that subtly match each other in an interesting and unique way. These adorable homemade pillows will brighten up your living space without costing you a fortune.
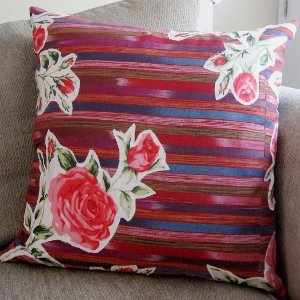
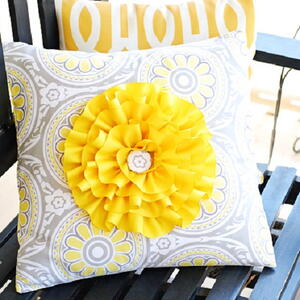
If you are looking for a stunning way to add some floral flair to your home or just need some seasonally appropriate throw pillows, this sewing pattern is sure to be your next favorite piece of DIY home decor. If you need some outdoor sewing ideas, you can create this homemade pillow out of all-weather fabric.

This quick, easy, and cheap project for a petal pillow is great for the beginner sewer who wants to make throw pillows. This bright and beautiful flower pillow is perfect if you need to find a way to accent your home with something eye-catching.
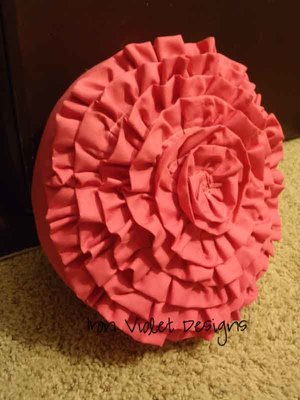
Create this lovely piece and you will really add a romantic element to your living space. This awesome sewn pillow looks like a rose blossoming in the springtime.
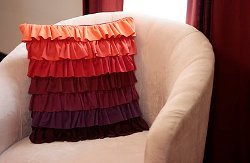
Frilly and colorful, this pillow will add a little flavor to your room. The bright peach and dark plum colors pop against lighter furniture or bedding.
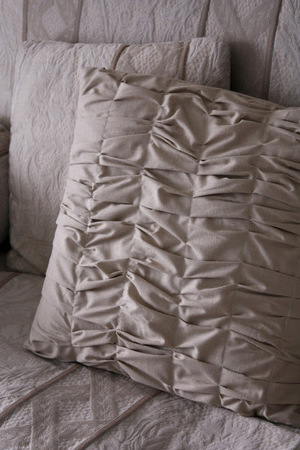
West Elm Inspired Ruffle Pillow
Bring the elegance and modernity of West Elm into your home for less with this sewing pattern. Any fan of the frilly, bold look of ruffles will want to see a decorative pillow that looks just as good as anything in stores today.
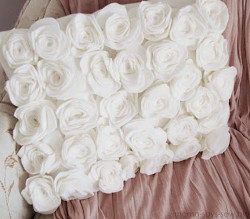
Who else can say that they've napped on a bed of roses? Give any room immeasurable elegance with this lovely fleece rosette pattern. You'll adore the enchanting floral texture of this piece and its brilliant white color.
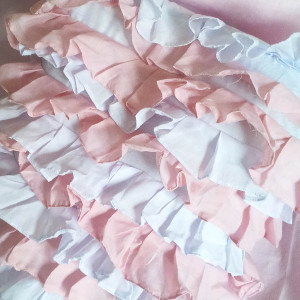
Every little girl wants this princess-worthy pillow on her canopy bed! Alternating frills of baby pink and white make this Tilly Pillow Cover the cutest addition to any darling bedroom decor.
Practical Homemade Pillow Ideas
There's a pillowcase for every decorative style out there, from country to diva to modern, as well as the more practical and everyday kind. You can have all of their patterns for free in this lovely list and this section.
With all of these stellar benefits to sewing your own throw pillows, there's no reason to wait. Rev up your sewing machine and get stitching for home decor you're guaranteed to love.
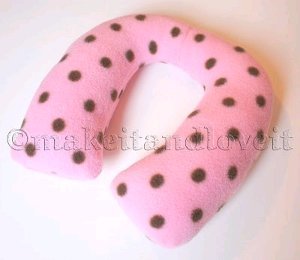
This neck pillow is both stylish and functional for your baby. Use these baby sewing projects to make one for the baby to use in the car, and then decorate the nursery with this pretty pillow.
Your teen will love lounging with this pouf pillow and a good book, or gossiping with her friends surrounded by colorful throw pillows.
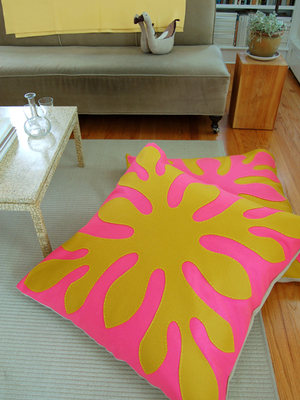
Hawaiian Style Felt Floor Pillows
Whether you want a comfy place for your family to sit or simple lack the space to keep full-sized chairs in your home, these jumbo DIY pillows will add a comfy and practical accent to just about any room. Perfect for small spaces and studio apartments, floor pillows are an easy solution to the small space problem.
Help your kids keep track of the pajamas with this insanely clever and useful pillow sewing pattern. This easy sewing pattern is the perfect addition to your kid's bedroom, as they can tuck their nighttime clothes into the pillow each morning, making their bedtime ritual even easier each night.

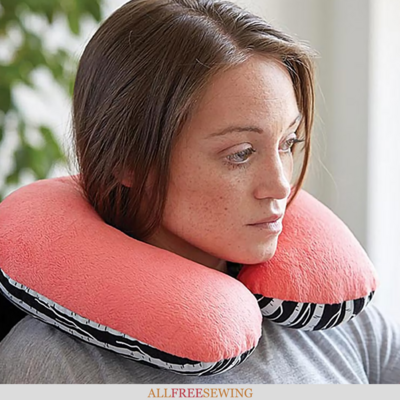
How to Make a Neck Pillow for Travel
With a custom-sketched pattern, this neck pillow template is guaranteed to fit your individual contour needs. The seam is notched for a streamlined, non-bumpy feel that will have you snoozing in no time!
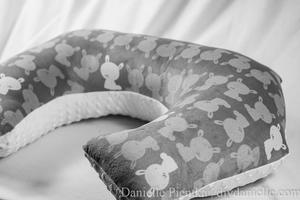
Learn how to sew an easy nursing pillow that fits your body. It's easy to make and will fit you so well well, plus it's super cheap and easy to make!
This is complete with side pockets for bookmarks, pencils, and book lights, while its large back pocket is ideal for storing your books. The triangle shape of this pillow is perfect for reading in bed, in the living room, or anywhere!
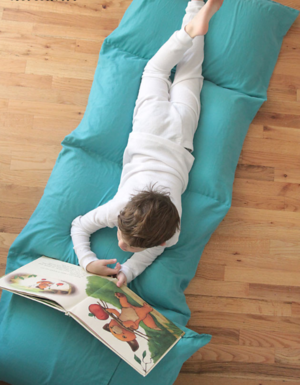
This easy sewing tutorial uses upcycled pillows and sheets to make a low-budget home decor option for your kids' room or family room. Your children will love this versatile pillow bed. Your children can use this project as a cozy bed to lay on or as a chair they can sit and read on, or they can get creative and prop this pillow bed up on its side in order to use it as a fort!
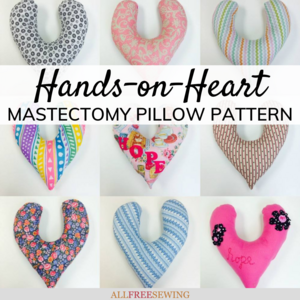
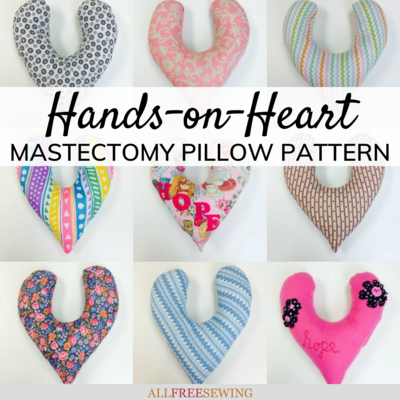
Hands-on-Heart Mastectomy Pillow Pattern
This pillow works by providing relief to any pain in the breast tissue or lymph nodes after surgery. The pillow, shaped like a heart, fits underneath a patient's arm.
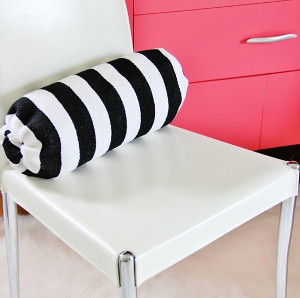
No Sew Bolster Pillow from Throw Rug
This tutorial will teach you to make a pillow without sewing a stitch. Amazing, right? Bolster pillows are trendy and add a unique touch to your home decorations.
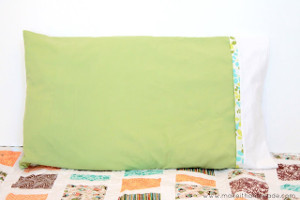
Refashioned DIY Pillow Cases
Fabric stores, step aside! There's no need to go out and buy expensive new fabric for your DIY throw pillows with this handy collection of patterns. Make your home decorating projects thrifty and fun by using materials you already have.
There's never been a more budget- and eco-friendly way to update your home. Whatever fabrics you have on hand, you can put them to use with this clever list of decorative pillow ideas.
You can make a pillowcase using everything from old clothing, like the Upcycled Sweater Pillow Case, which results in a creative and thrifty pillow that no one would guess came from your old wearables. It's a win-win for you and your overflowing closet.
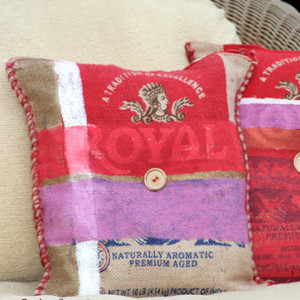
Give your home a new country-chic look with materials that aren't new at all! You'll love the rustic, earthy look of this Rice Bag Burlap Pillow, but you'll love your savings even more. No one will suspect you didn't buy this piece.
Have you ever loved the pattern on a piece of clothing but hated the way it looked on you? There's no reason to throw those garments away. Give them a second life with ingenious upcycling patterns like the Skirt to Pillow Refashion!
Even beginner sewists can be upcycling masters with clever patterns like the Tea Towel Pillow. Convert your favorite tea towels into dainty decorative pillows that will stun everywhere from your bed to the divan.
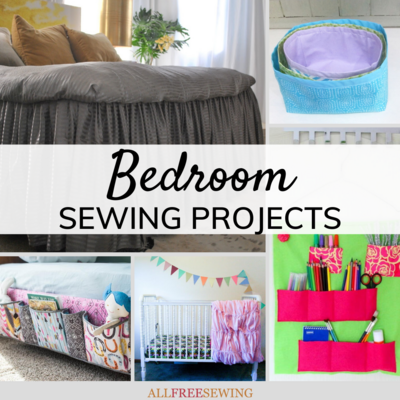
We have even more pillow sewing ideas and more in our beautiful bedroom collection,35+ Bedroom Sewing Projects
What kind of pillow pattern do you love to make?
Read NextPetal Pillow
Your Recently Viewed Projects
Thanks for your comment. Don't forget to share!
IreneMachine
Jul 27, 2018
I love, love, LOVE decorative pillows in the house. It's a simple way to give any room a cozy feel while also adding a pop of decorative flair. However, it can be a pain to find a pillow that matches an exact decorative hue or a room's particular ambiance. That's why this collection is so stellar; there is literally a pillow to match any decor style, from country to modern to boho to girly! I can't wait to select the perfect pillow match for every room in the house.
Linda
Feb 11, 2017
Awesome throw pillows! I would like to make one for each day! For my home and friends.
catrinathegreat1 5 868935
Jan 19, 2017
Your patterns are so creative. I want to sew a husband pillow so I can relax and read in bed. I can't find a pattern for one but was thinking of varying a men's long sleeve shirt pattern to make the pillow. I have an oversized shirt I plan on using. I'm a beginner and not sure where to go from there. Any advice or a pattern?
Report Inappropriate Comment
Are you sure you would like to report this comment? It will be flagged for our moderators to take action.
Thank you for taking the time to improve the content on our site.