Rustic DIY Angel Ornaments
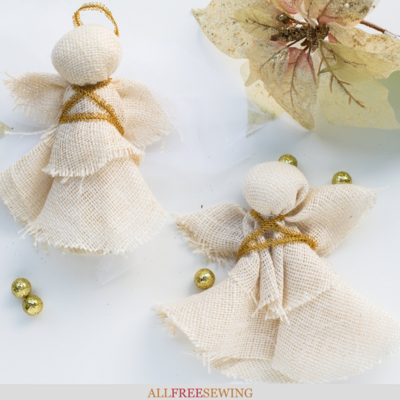
What's one of the best burlap Christmas craft ideas? An angel! Make handmade angel Christmas ornaments with this easy-to-follow tutorial.

When preparing for the holiday season, many crafters are looking for Christmas angel crafts.
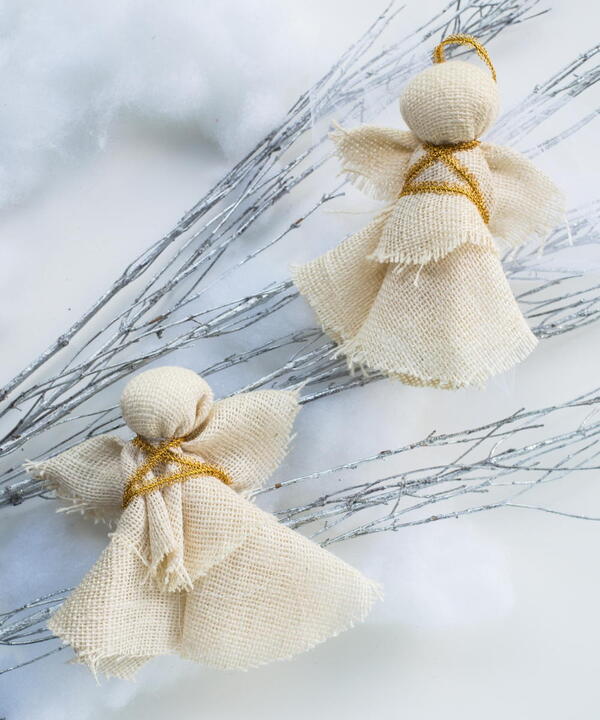
That's why we asked Mary Beth Temple to create these large angel ornaments that can be used as ornaments on your Christmas tree, as a tree topper, or added to gift packaging for those special someones in your life.
Take a look at this Rustic DIY Angel Ornaments video tutorial below, then read the written tutorial to see how to create this charming burlap angel project.
One of the reasons we love this angel craft so much is that it's quick and easy to make and the end result is a rustic piece that will look perfect on any tree this winter.
As she explains in the video, this project uses circles and squares and doesn't need any precise measuring or procedures, and uses only a little hand sewing. Anyone can make these DIY angel ornaments!
Sign Up For More Free Patterns
Rustic DIY Angel Ornaments Video Tutorial
In addition to this video right below, we also have a written tutorial to accompany this angel video, so be sure to check the material list and the instructions below as well. Press play on the button and give it a watch.
DIY Angel Ornaments Written Tutorial
Materials List
• 1/3-yd burlap fabric
• 20" square of fine-weight tulle
• Small amount of stuffing
• 1/2-yd stiff gold trim
• Needle and thread
• Marking chalk
• Optional: Hot glue gun and glue
Skill Level: Easy
Project Type: Make a Project
Time to Complete: Under an Hour
Sewn By: Hand

How to Make Rustic Angel Ornaments:
Angel Instructions:
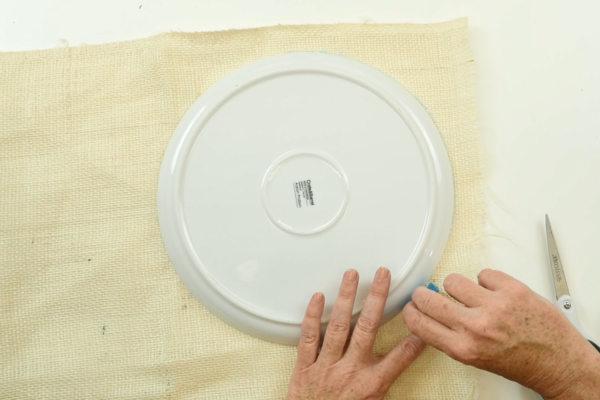
- Using a round plate between 10" and 12" in diameter, trace and cut two circles.
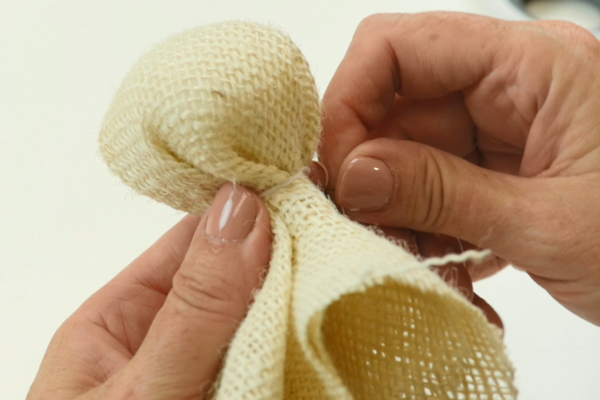
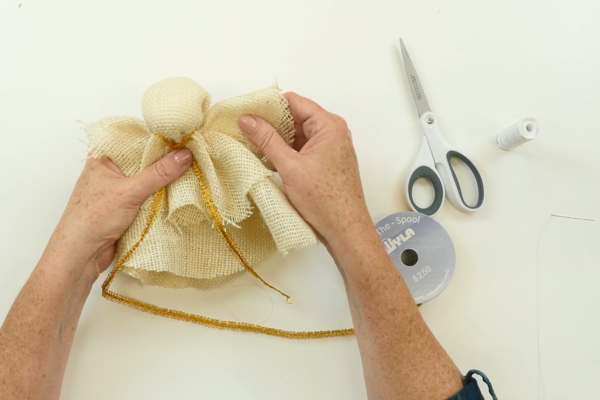
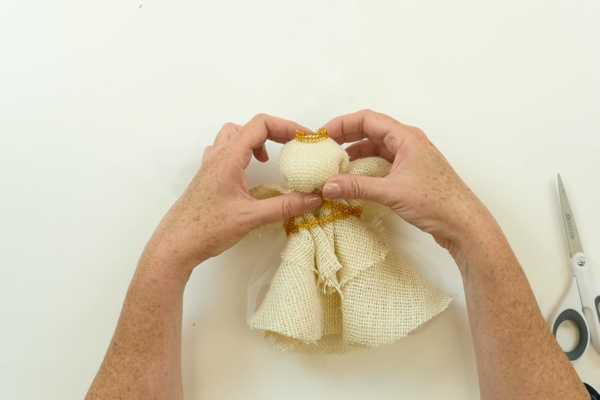
- Take stuffing and push it up into the center of one circle to form a head, as shown in the video. Using needle and thread, wrap the base of the head to form a neck and knot off thread.
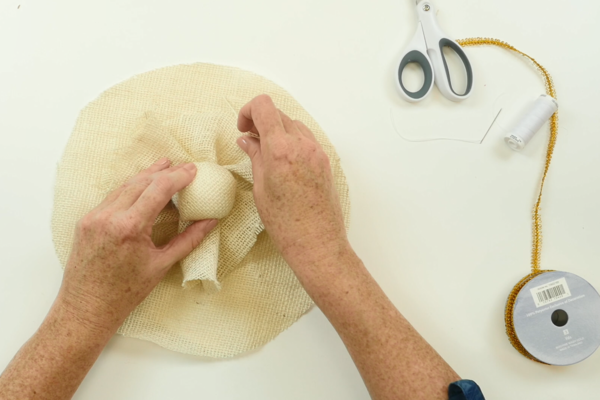
- Spread out the top circle and place in directly on top of the flat circle, stitch into place.

- Cut a 5" piece off of gold trim and set it aside for halo.
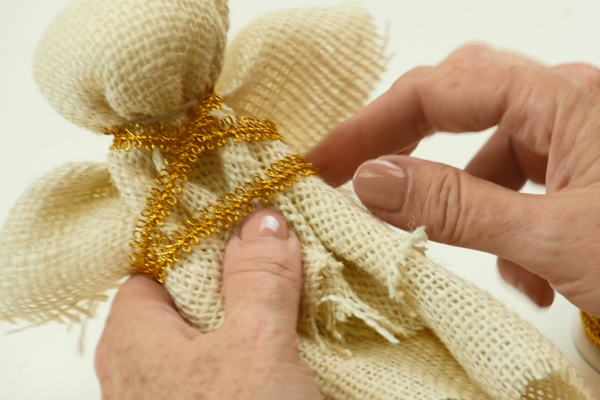
- Fold the remaining piece of trim in half and align the center with the back of the neck. Bring both sides of the trim to the front, cross it in front, and bring both ends to the back, under a fold of fabric on each side/top for arms. Cut off any excess trim, and sew or glue ends into place.
Angel Wing Instructions:
- Cut 20" square of tulle.
- Bring all four points to the center and tack it down with needle and thread.
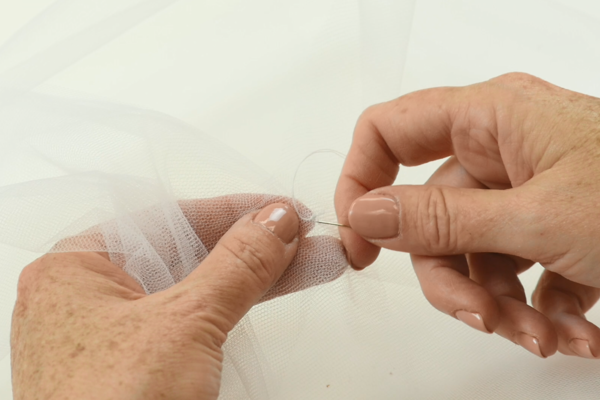
- Wrap the thread twice around the center of the folded piece vertically, as shown in the video, and tack.
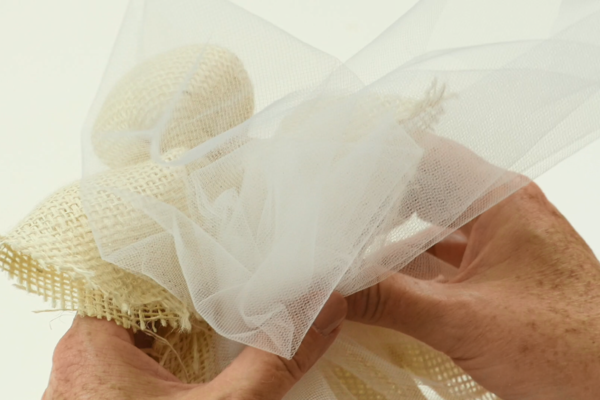
- Wrap thread twice around the folded piece horizontally, slightly lower than the center so the wing top is longer than the bottom of the wings, and tack. Knot off the thread.
- Stitch or glue wings into place.
Angel Halo Instructions:
- Form a 5" piece of gold trim into a circle and glue or stitch it into place around the head.
- Your new rustic angel ornament is complete!


Want More?
350+ Free Christmas Sewing Patterns >>
Do you use an angel, a star, or something else as your tree topper?
Let us know in the comment section below!
Your Recently Viewed Projects
Thanks for your comment. Don't forget to share!
Weberme
Nov 13, 2018
If you love the rustic look and angels you have got to check out this cute simple to make video and tutorial on the angel ornament. I want to make some for my tree. I like the burlap look and I think I may draw or embroider some eyes and mouth. I love the wings too.
Report Inappropriate Comment
Are you sure you would like to report this comment? It will be flagged for our moderators to take action.
Thank you for taking the time to improve the content on our site.