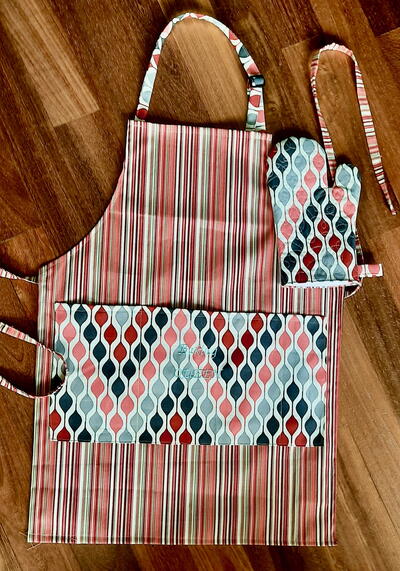
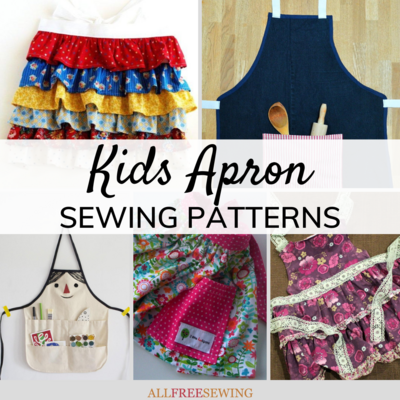
Easy Patchwork Aprons
Add some serious style to your kitchen with this free sewing tutorial on how to make an apron!

There's no question why aprons remain so popular with sewing enthusiasts. They're quick to make and super affordable, meaning you can make a ton of them without breaking the bank. Update your list of kitchen necessities with this full tutorial for Easy Patchwork Aprons. This free sewing tutorial is the best way to create a stylishly fun apron in hardly any time at all and is a perfect gift idea for bridal showers or for a house warming present.
This 30 minute sewing project is a fantastic scrap busting idea, and is a wonderful way to use up any fat quarters or fabric leftovers. This sewing tutorial is also a perfect mommy and me craft, meaning you and your little ones can make a matching style statement in your kitchen. Add some serious attitude to your apron collection with this sewing tutorial that's a great fit for adults and kids alike.
Project TypeMake a Project
Time to CompleteUnder an hour
Sewn byMachine

Materials List
- Westcott ExtremEdge Adjustable Tension Titanium Bonded Scissors, 9”
- Westcott Craft Self Healing Cutting Mat, 12" x 18"
- Cotton Fabric Scraps (enough to cut out 14 rectangles that are 4.5” x 18”)
- Satin Blanket Binding
- Sewing Thread
- Sewing Machine
- Stick Pins
- Iron & Ironing Board
Instructions:
CLICK ON ANY IMAGE TO ENLARGE.
-
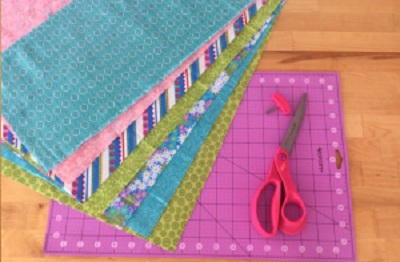
Select a variety of fabrics that compliment each other, such as these 7 different fabrics in springtime colors.
-
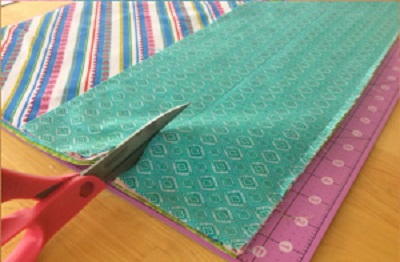
Lay the fabric onto the cutting mat, lining up the raw edges. Using the mat as a guide, cut through all the layers of fabric at once. Cut 14 rectangular strips of fabric that measure 4.5” x 18”.
-
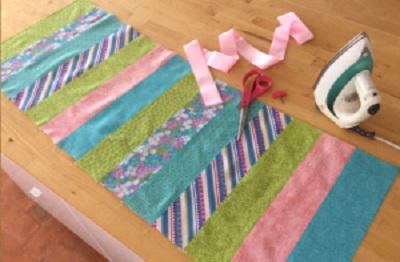
Stitch the strips together with a ½” seam allowance and iron the seams flat. Then cut the blanket binding to desired length, depending on the desired size of bow in back.
-
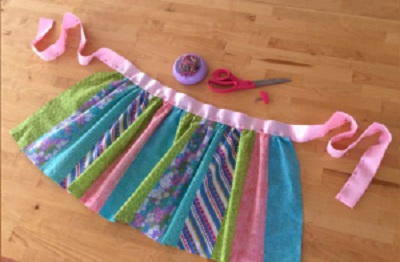
Hem the bottom and sides of the sewn panel. To create the gathers for the waistband, sew three parallel rows of basting stitches along the remaining raw edge of the panel. Be sure to leave the threads long at the beginning and end of each row, and do not backstitch. Pull on the threads to gather the fabric to desired width. For pictured apron, fabric is gathered to a width of 23”. Tie knots on the loose threads to secure the width, then even out the gathers by working through with fingers. Press the gathers flat. Fold, press and tuck under the raw ends of the blanket binding. Pin the blanket binding over the gathered section (be sure to center the two) and stitch the two pieces together, running stitching all the way down the length of the blanket binding. And lastly, stitch the ends of the blanket binding closed.
What kind of kitchen projects do you like to sew? Be sure to leave a comment below!
Read Next10 Minute Dishtowel Apron Pattern
Your Recently Viewed Projects

Thanks for your comment. Don't forget to share!
Marilyn B
Sep 26, 2017
The look of the fabrics in this apron are so colorful and festive, I just love it! And you can really have a ball using up you fabric fabric scraps and extras! Another optio. To using blanket binding is just using another fabric scrap, cut to the same dimensions as the binding, and pressing the ties sash and gathering the body of the apron gores the same way. This would be a nice project to,give as gifts because it is not only pretty, but practical too. Add a patch pocket or two for even more practicality!
Report Inappropriate Comment
Are you sure you would like to report this comment? It will be flagged for our moderators to take action.
Thank you for taking the time to improve the content on our site.