How to Sew Slippery Fabric
Learn how to keep slick fabric from shifting while sewing with these tips!

Worried about sewing slippery fabric? We can help!
Working with slippery fabrics can be tough- especially when two layers are being sewn together.
When it comes to slippery fabric types, there are a few common ones: shiny satins, silks, silky polyesters, and linings are especially challenging as they tend to slide around when pinning, cutting, and stitching.
Precision is important when using these kinds of materials. Follow the steps in this guide, How to Sew Slippery Fabric, to get the best result in your next sewing craft project that uses slippery fabrics!
Whether you've just started sewing or have been working on your skills for years, slippery fabric is still a challenge for most. But, if you take your time and make a few adjustments to how you work, those satins and silks will be sewn like a dream in no time.
Sign Up For More Free Patterns >>>
Iron the Slippery Fabric if Possible
Slippery cloth tends to wrinkle during storage, so you'll want to remove these folds if possible. Doing a test patch on a small piece of the material can help you determine if it can withstand the heat from an iron or not. If it doesn't melt or discolor when pressed, use the iron to take out any large wrinkles or folds in the fabric.
This will give you a more precise and even result when you cut and sew the fabric later on.
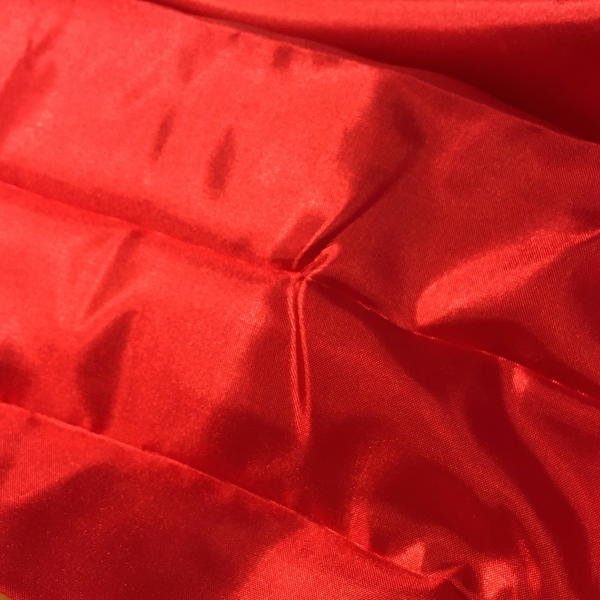
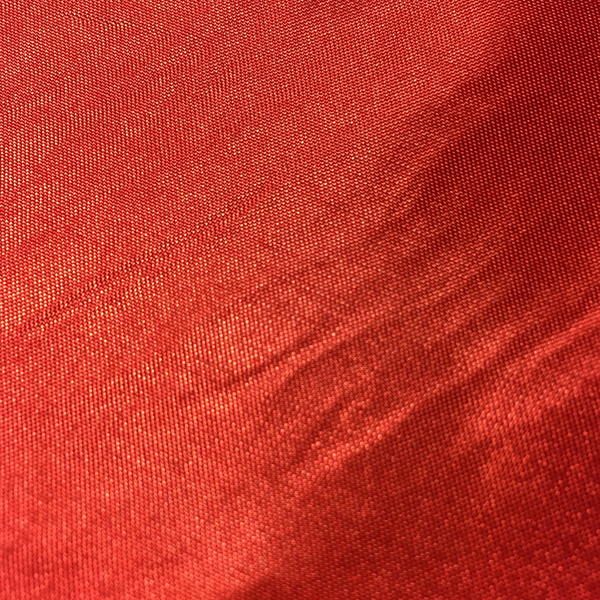
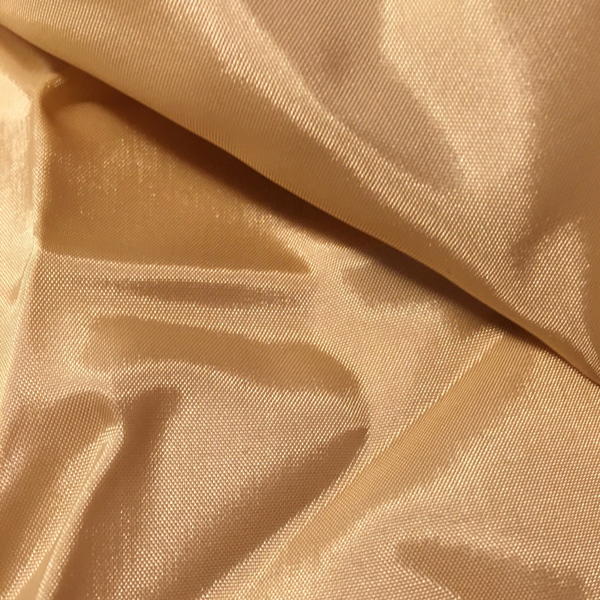
Directly below, you'll see an image of slippery fabric that is wrinkled. Below that is a second image of that fabric being ironed.
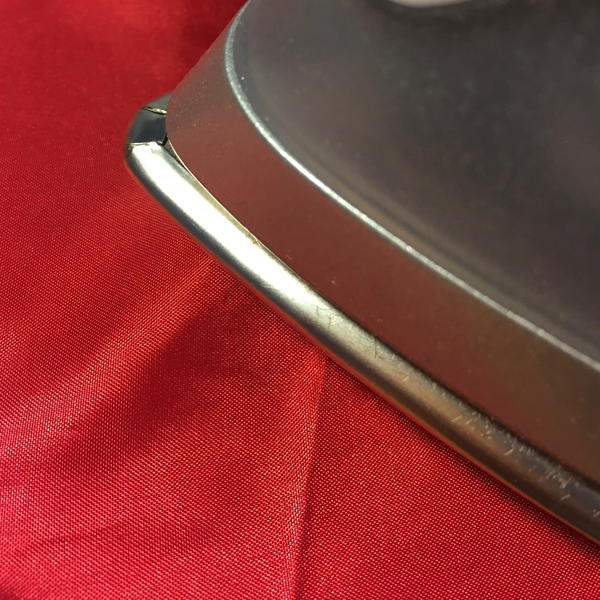
The image below is an example of slippery fabric being ironed correctly. As you can see, it is now nearly free of wrinkles.
Wrinkles can throw off the accuracy of your measurements, creating problems down the line.
However, it is important to be sure to not iron at too high a temperature, and don't press it too hard or for too long or the fabric can be damaged.
This can be seen in the image directly below. This fabric has been permanently wrinkled because it was ironed on a temperature that was too high for the material.
Pin Your Slippery Fabric Precisely
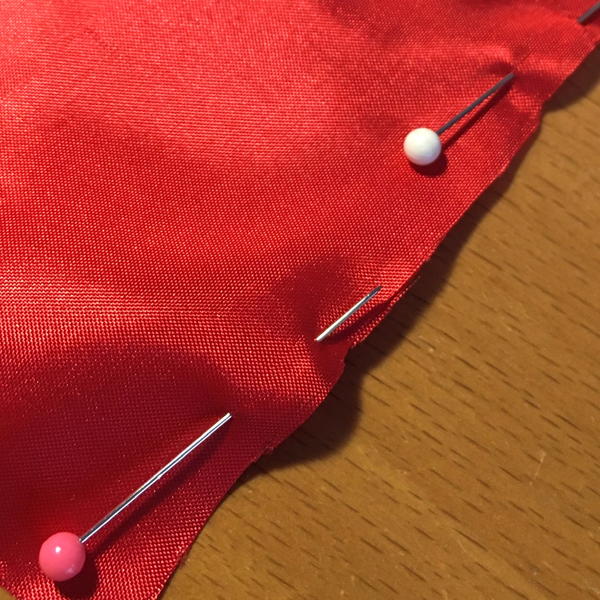
The pinning of any pattern paper to fabric or layers of fabric together before cutting should be done with care. This is primarily so the layers don't wrinkle or move, which can create misshapen pieces and then incorrect measurements. This helps keep fabric from shifting or slipping while sewing, which is one of the biggest issues with slippery fabrics.
To avoid pin holes in such delicate materials, place pins "inside" your garment's seams where you will be sewing (which will become the inside or "wrong" side of the project). Doing this will give you smooth seams and an accurate fit whole avoiding snags on your material.
Cut Fabric Out Carefully
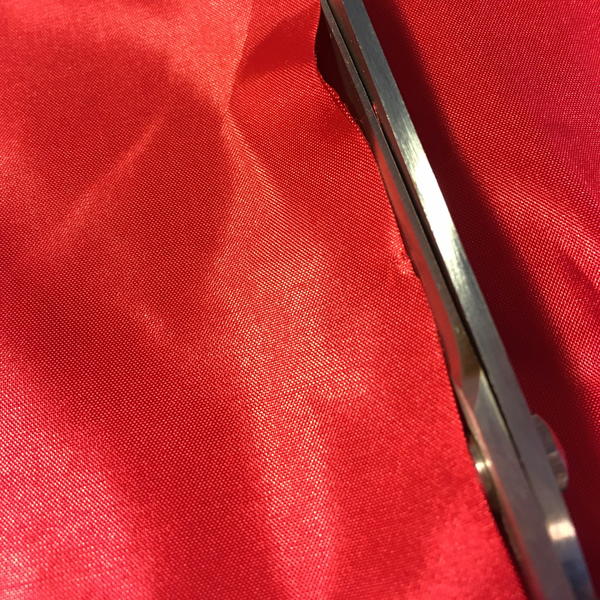
Cutting the fabric out properly is as important as pinning correctly when working with slippery materials. Always use quality fabric scissors or shears, and resist the urge to "air cut" your fabric. Instead, hover just slightly above the tabletop surface with your scissors.
You'll want to use your non-cutting hand to gently hold down the fabric as you cut around the pattern or traced shape with the other hand. Keep in mind that smooth cuts using the whole length of the scissors work better than short motions using the point.
Take Your Time and Sew Slowly
A slow and steady pace works best when sewing slippery fabrics on a machine. They can also be sewn by hand but this would take a while and could be frustrating.
I recommend making a test swatch of your slippery material before you sew your larger pieces, using this to figure out the perfect stitch length and tension for your particular machine and fabric. You can even fold the swatch material over itself and sew it to get an accurate idea of how it will connect two layers (like a seam).
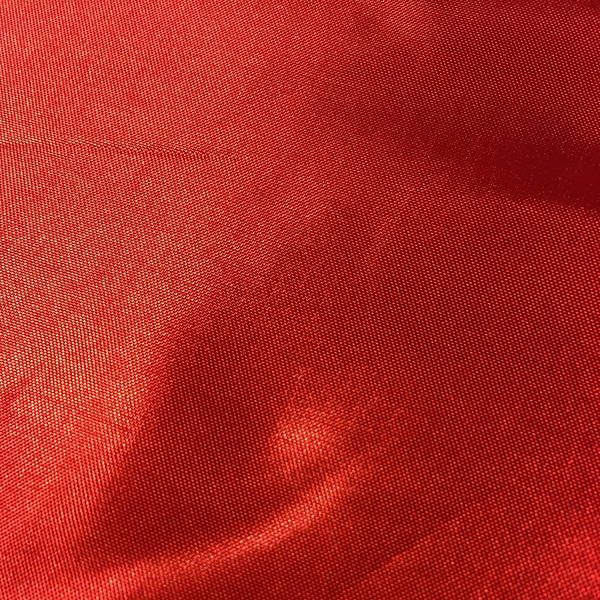
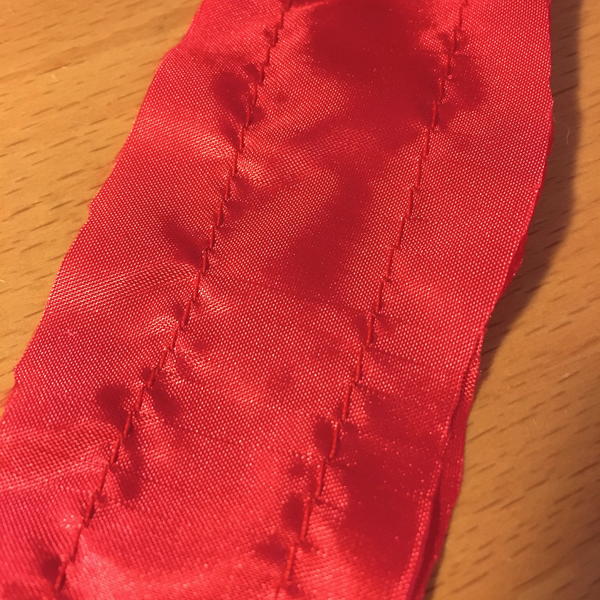
In the image below, you will see fabric with a stitch length that was too short. This caused the fabric to ruche, pucker, and wrinkle.
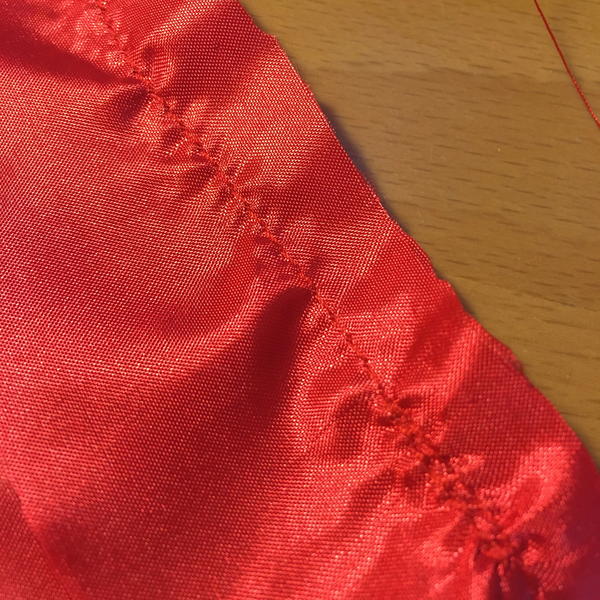
The image directly below shows the difference between two stitch lengths (3.5 vs. 4.5, which is a better stitch length for this fabric).
Check Your Fabric for Errors
It's always easier to correct any mistakes while you have your machine already threaded and set up for this material. Look over your work and make sure there aren't any wrinkles or other errors along your stitch lines. If there are, very carefully unpick the area and pin it again before repair the sewing.
Slippery fabrics are often delicate and tend to need more care when using a seam ripper or scissors, so take your time and try to avoid “catching” the material with your tool.
Press Fabric to Finish
After sewing and then reviewing your work for any mistakes, give your project a final smoothing with the iron. Carefully hold the seams from the inside and press them open, as well as removing any wrinkles left in the fabric. If you're making a purse lining or something with corners, press those open too.
Want More?
How to Sew with Elastic >>>
What are your favorite sewing projects that use a slippery kind of fabric?
Read NextHow to Add Purse Snaps in 5 Minutes