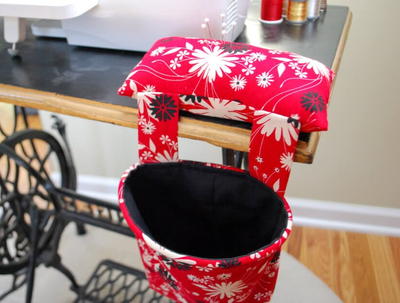
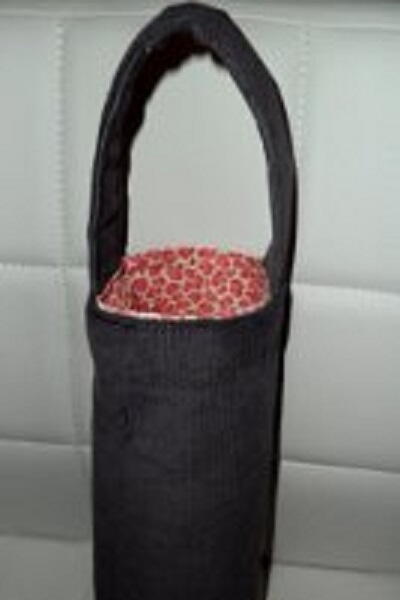
Wine Tote Pattern
Free wine sack sewing projects aren't easy to find but with this wine tote pattern, you can create a lovely tote that's perfect for carrying wine. Whether you're headed to a party or using it as a hostess gift, fabric wine bags are a great accessory. You can also watch the corresponding video tutorial for this project found at the bottom of this page.

Materials:
- ½ yard fabric for the exterior and handle
- ½ yard fabric for the lining
- ½ yard of sturdy fusible interfacing
- Spool of coordinating thread
- Scissors or rotary cutter
- Tape measure, yardstick or ruler
- Straight pins
- Pen, pencil, fabric marker or chalk
- Sewing Machine
Note: Wash and iron fabrics before cutting. Use a 1/2" seam allowance.
Instructions:
- Cut a 15 inch by 15 inch square of outside fabric, interfacing and lining fabric.
- Cut a 6 inch by 12 inch piece of outside fabric and interfacing.
- Handle: Following your manufacturer’s instructions, fuse the interfacing to the wrong side of the 6x12 inch piece of outside material. Mark along the center lengthwise. Fold one side down to the center line and iron flat. Repeat with the other side. Now fold in half lengthwise and iron flat. Sew along the top and bottom edges (again lengthwise) and set aside.
- Body: Again, follow your manufacturer’s instructions and fuse the 15 x 15 interfacing to the wrong side of the 15 x 15 outside fabric. On one side turn down approximately one inch and iron flat. Again, fold down approximately one inch and again iron flat. Sew along the bottom of this long edge. With the 15 x 15 lining piece fold down the full 2 inch width, iron flat and sew. (Do not fold twice, as this will create too much bulk in the finished project.)
- Now, use your wine bottle and roll it in the fabric to check the measurement and make any adjustments needed. (You may skip this step if you do not want the bag to be “snug”.)
- With right sides together, sew down the side and bottom of the outside fabric and then again with the lining. To create a “squared bottom”, pull the fabric so that the bottom seam is centered. Mark and sew approximately one to one and a half inches down from the tip. Cut and remove the excess material.
- Turn ONLY the outside material inside out.
- Place the lining inside the outside material.
- Pin the edges of the strap BETWEEN the outside material and lining.
- Sew along the top of the bag, catching the outside, the straps and the lining. You may wish to sew along the straps twice for added strength.
- Slip a bottle of your favorite Vino in and you now have the perfect presentation gift!
Enjoy.
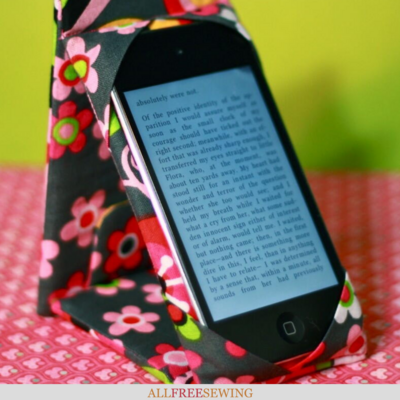
Read NextDIY Phone Case Stand
Your Recently Viewed Projects
Thanks for your comment. Don't forget to share!
amandalyn7986 6199 651
Mar 13, 2013
ok, I am new to sewing...how in the world did you "pull the fabric to make the bottom seam centered"????? I am totally lost. Thanks!
Report Inappropriate Comment
Are you sure you would like to report this comment? It will be flagged for our moderators to take action.
Thank you for taking the time to improve the content on our site.