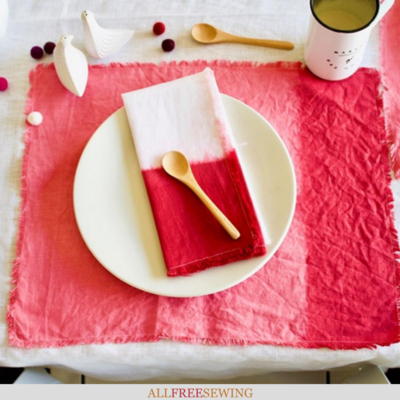
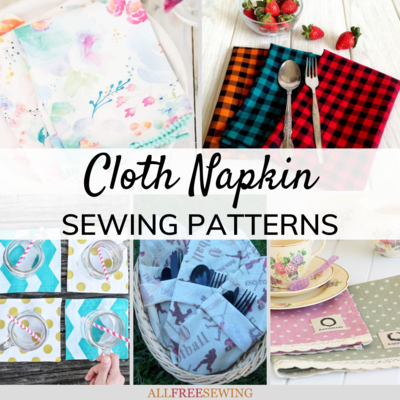
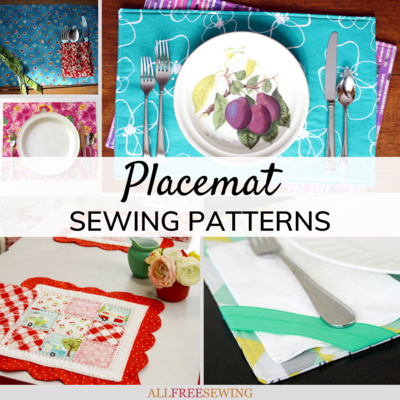
How to Dip Dye Napkins and Placemats
Learn home dip dye to make custom napkins, placemats, and more! Use this dip dye tutorial to get cute and colorful place settings.

If you have an old set of fabric napkins sitting in the recesses of your house somewhere, this tutorial for How to Dip Dye Napkins and Placemats is the project for you.
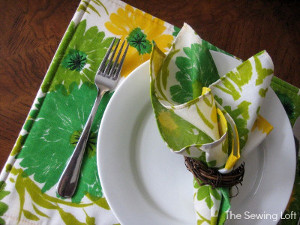
Dip dyeing is the perfect way to bring color and fun to your kitchen table, and nothing says "coordinated" like a matching napkin and placemat setting!
For this project from our friends at Fiskars, you can use fabric you already own (make sure it’s the kind that will accept the dye) or create the placemats and napkins from fabric—check out this how-to for napkins here.
You may think that home dip dyeing is an advanced and complicated process but this tutorial will show how easy it can be. Make coral napkins like these or choose the color or colors that perfectly match your dining room decor.
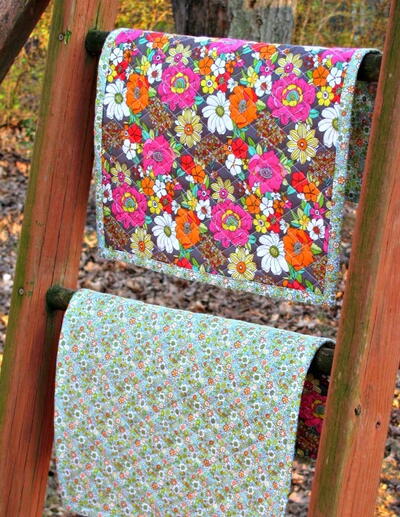
Once you start playing around with this technique, you won't want to stop with napkins and placemats. Soon you'll be making dip-dyed pillows, blankets, shirts, and any other boring fabric pieces you can get your hands on!
This project would be great for summer because dyeing is always easier outside, but you can do it any time of year. This easy craft for dip-dyeing napkins and placemats is easy enough that anyone could do it, and you’ll find that this whole process is so fun, you’ll be sad when you run out of napkins to dye!
Materials List:
2 fusible interfacing fabric pieces measuring 18.5" x 14.5" per placemat
2 white fabric pieces measuring 18.5" x 18.5" for each napkin
Fabric dye of choice
Fiskars® Classic Stick Rotary Cutter (45mm)
Fiskars® Acrylic Ruler (6" x 24")
Fiskars® Cutting Mat (18" x 24")
Fiskars® Original Orange-handled Scissors™
What is Dip Dyeing?
Dip dyeing is a process similar to tie-dyeing where you dip your fabric into a bucket or container of dye in order to get an ombre dip dye effect.
You leave certain parts of the fabric out of the container and away from the dye and allow the dye to crawl up the fabric fibers, leaving the strongest die mark near the location of the fabric that has been fully submerged and a weaker hue as it slowly inches outward on the fabric.
You can choose any color of your liking and allow the gradient to be stronger or weaker depending on the amount of time you leave your fabric in the dye.

Dip Dye vs. Tie Dye
I stated that dip dyeing is similar to tie-dyeing, but the processes and end outcomes are not entirely the same. For dip-dyeing, the end outcome is much more organic. Generally, you choose the color and the location on which you want the color to be left on your fabric, but that's about as far as the planning goes.
With tie-dyeing, you can be much more strategic in your final project. You can section off different areas to hold a certain pattern, and most tie-dye projects carry lots of different colors whereas your dip-dye project will likely show off just one main color with varying hues.

1. Cut the fabric
Use the Fiskars® Classic Stick Rotary Cutter (45mm) and Fiskars® Acrylic Ruler (6" x 24") found in the Fiskars® 3 Piece Rotary Cutting Set to cut fabric pieces measuring 18.5" x 14.5".
You will need two pieces of fabric for each placemat. For the napkins, cut two pieces of fabric each measuring 18.5" x 18.5" for each napkin. Use the Fiskars® Cutting Mat (18" x 24")
to protect the surface you are cutting on.
I wanted a more rustic look to my final projects, so I picked a fabric I knew would have frayed ends once cut, but I needed to clean up the edges just a bit. Use the Fiskars® Original Orange-handled Scissors™ to trim any loose threads that need to be removed.

2. Dip dye the fabric
Follow the manufacturer's directions for dyeing one piece of fabric for each placemat or napkin. To achieve a dip-dyed effect, leave one end of the fabric in the dye, allowing the dye to seep towards the top. Wash and dry the dyed fabric pieces according to the dye manufacturer's directions.

3. Apply the fusible interfacing
For the placemats, apply the fusible interfacing to each dyed piece of fabric. Napkins do not need interfacing.
4. Sew the placemats and napkins
Take one dyed fabric piece and one un-dyed backing fabric piece and place them with right sides facing each other. Pin the fabrics together, then sew around the perimeter with a 1/2" seam allowance. Leave a 6" hole unsewn on one side for turning.
5. Trim the seam allowance and clip corners
Use your scissors to trim the seam allowance to 1/4" and clip the corners. Then turn the placemats and napkins to the right side through the hole in the side.
6. Finish the placemats and napkins
Press the placemats and napkins with an iron and make sure the raw edge of the turning hole is tucked towards the inside. Topstitch around the entire perimeter of the placemats and napkins, sewing the hole closed as you do so.

Up Next
15 Holiday Placemat Patterns >>
What dye color are you going to use for this project?
Let us know in the comments!
Read Next20+ Placemat Sewing Patterns