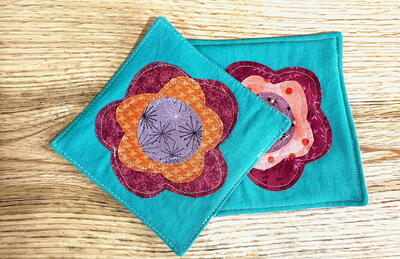
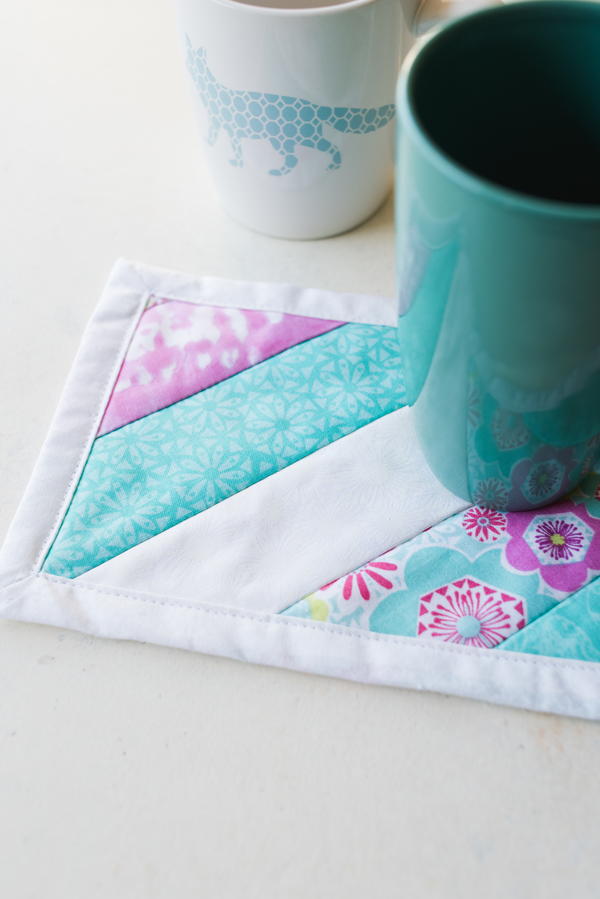
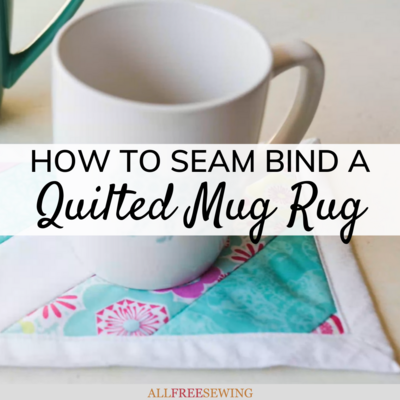
How to Seam Bind a Mug Rug
This mug rug tutorial will teach you how to seam bind your pattern!

Learn how to finish up your cute and decorative new rug mug pattern when you watch this How to Seam Bind a Mug Rug video tutorial. The technique used in this video can be great for using for other projects you may work on in the future as well.
Plus, it is such an easy technique to master, and it comes with a sewing video tutorial to help you visualize what you need to do.
If you're not a visual person, then you'll appreciate our step-by-step written tutorial accompanying the video lower on the page.
You will have your DIY mug rug finished in no time when you follow these tips for creating and finishing your seam binding!
Sign Up For More Free Patterns >>>
Skill Level: Easy
Project Type: Make a Project
Time to Complete: Under an hour
Sewn By: Either Hand or Machine
Materials List
- Prepared mug rug
- Scissors
- Ruler/straight edge
- Rotary cutter and mat
- Iron
- Quilting pins
- Machine and machine supplies or hand sewing needle and thread

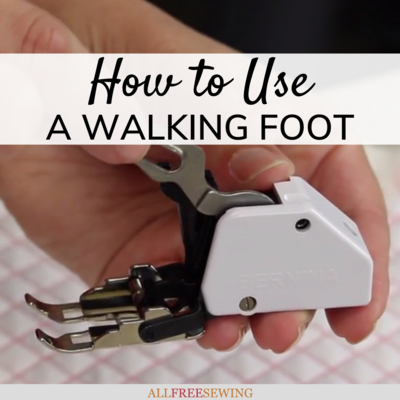
Quilted Mug Rug Video Tutorial
Click the play button to watch this video to learn how to seam bind your mug rug in a clever way you're going to want to see. After the video, scroll down for the written tutorial with pictures.
How to Seam Bind a Quilted Mug Rug
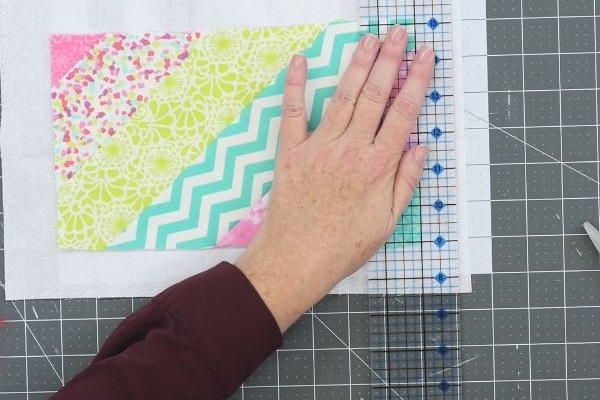
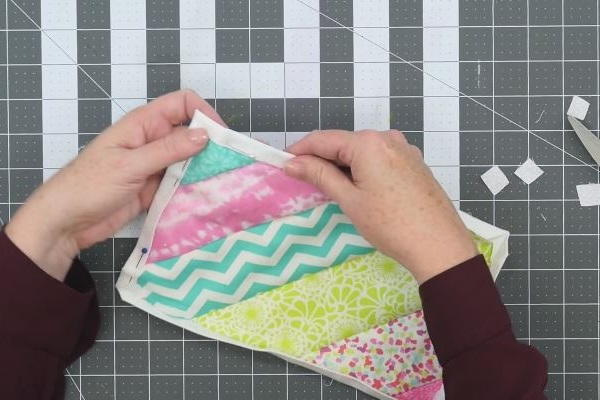
- Trim the excess backing fabric of your rug so that there is only 1" on all four sides.
- Turn each corner up at a 45-degree angle, with the fold evenly aligned with the corner of the backing. Press with the iron.
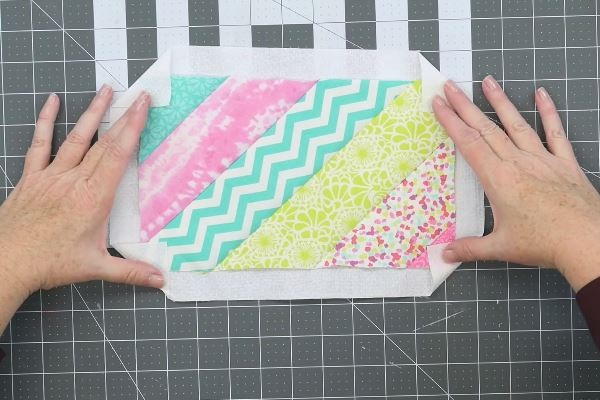
- Fold each side up half way so the raw edge meets the edge of the backing. Press with the iron.
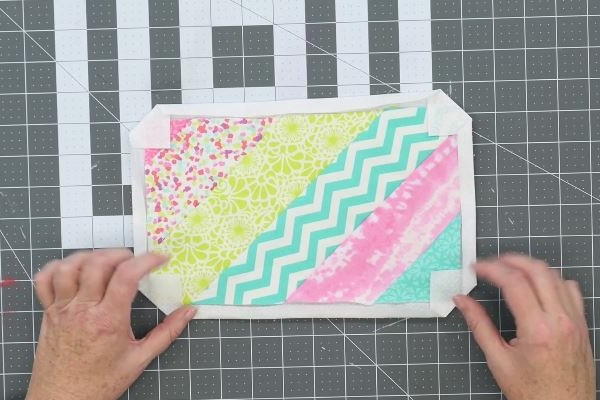
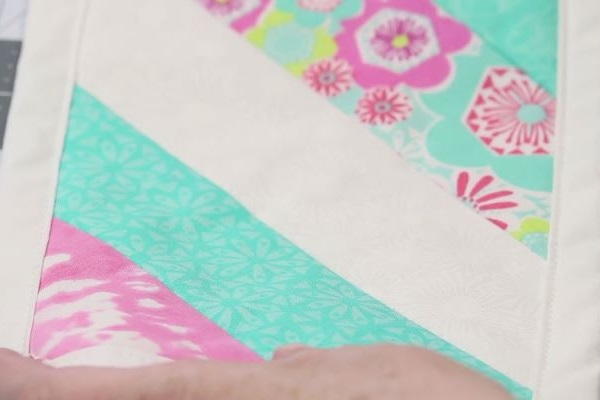
- Fold each side up (again) so the fold aligns with the edge of the backing fabric, and the folded backing fabric covers the raw edges of the strips. Press with the iron.
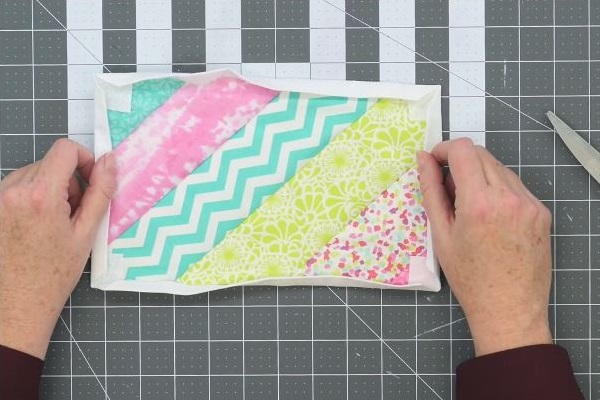
- Check all four corners to make sure that the miter is lining up as it should be.
If not, adjust folds and repress.
If so, use scissors to cut a small square out of the inside corner of all four sides so that the mitered edges are flatter.
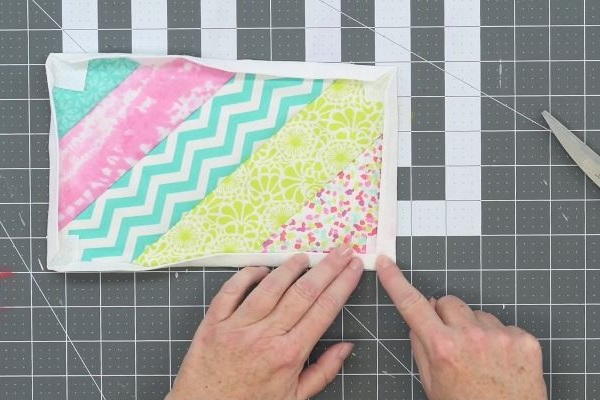
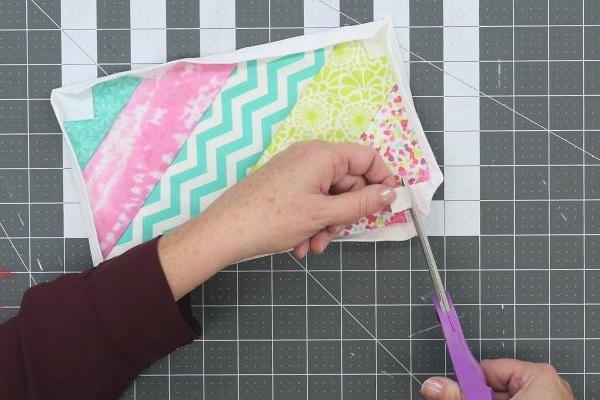
- Pin the binding down, making sure everything, especially the corners are lined up correctly before sewing.
You may also use a hand sewing needle and thread or sewing machine to tack down all four mitered corners, adjusting as needed.
- Topstitch binding into place. You're done!
Up Next
40+ Free Mug Rug Patterns >>
What is your favorite thing to sew for your home?
Read Next10-Minute Folded Fabric Coasters
Your Recently Viewed Projects
Thanks for your comment. Don't forget to share!
KLC
Aug 18, 2017
I can't believe how easy making mug rugs are! I am going to make one for every person I know :)
Report Inappropriate Comment
Are you sure you would like to report this comment? It will be flagged for our moderators to take action.
Thank you for taking the time to improve the content on our site.