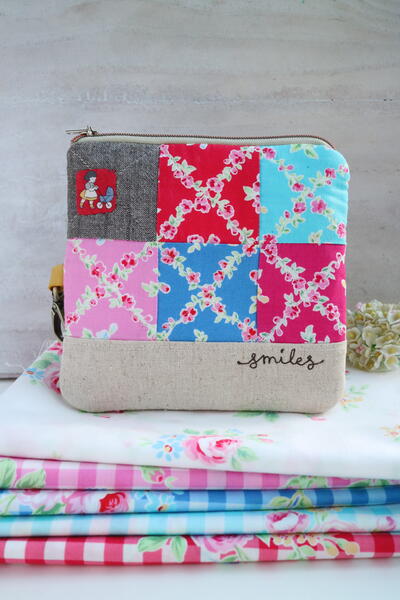
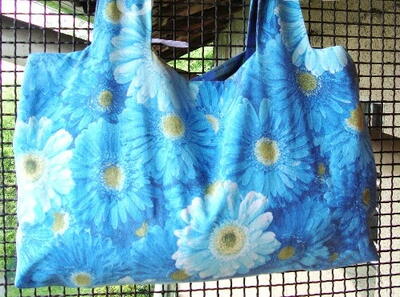
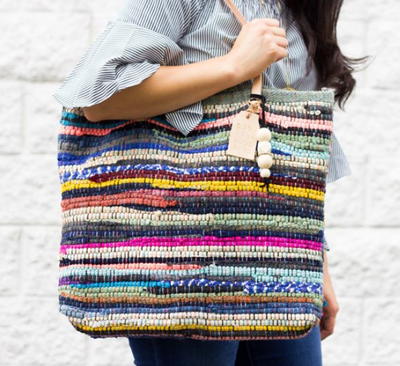
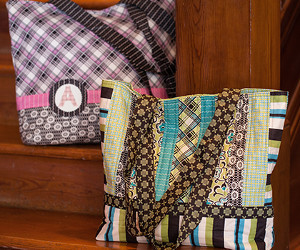
Tote Two Ways
Ansonia, the latest collection from Denyse Schmidt, is a celebration of contrasts. The grand, old-world glamour of a graceful waltz meets the wild bohemian charm of tango. The Ansonia Bags represents a mix of art and industry, historic elegance and trend-setting unconventionality. The green tote (Bag A) features patchwork on the upper portion of the bag. The pink tote (Bag B) uses the large plaid print instead of patchwork.

Materials
Green Bag featuring FreeSpirit Ansonia by Denyse Schmidt
- 1/3 yd. (.25m )PWDS059.MOSSY
- 1/4 yd (.23m) PWDS062.MOSSY
- 1/8 yd (.12m) PWDS062.ONYX
- 3/8 yd.(.33m ) PWDS064.MOSSY
- 1/4 yd (.23m) PWDS065.MOSSY
- 1/2 yd (.36cm) PWDS066.MOSSY
- 1/8 yd (.12m) PWDS068.TURQU
- 5/8 yd (.58m) PWDS069.MOSSY
Pink Bag featuring FreeSpirit Ansonia by Denyse Schmidt
- 1/3 yd (.25m ) PWDS059.MUSHR
- 3/8 yd (.33m ) PWDS062.ONYX
- 3/8 yd (.33m) PWDS065.MUSHR
- 1/8 yd (.12m) PWDS068.MAGEN
- 1/3 yd (.25m) PWDS068.ONYX
- 5/8 yd (.58m) PWDS069.MUSHR
For Both Bags
- Coordinating Coats & Clark Dual Duty XP® all-purpose
- thread
- Fusible fleece approx. 21” x 36”(53.3 x 91.4cm)
Instructions
Note: Seam allowances are 1/4” (.635cm) unless stated otherwise. WOF means Width of Fabric.
- For Bag A, prepare patchwork by following the guide in Diagram 1. Treat each patchwork section single piece for bag assembly. (One patchwork piece is upper bag front, the other is upper bag back.)

- Sew upper front and upper back to bag bottom as shown in Diagram 2.

- Following manufacturer’s instructions, apply fusible fleece to wrong side of bag. Quilt as desired.
- Right sides together, sew both side seams. Box each of the sides 2” (5cm) from end. See Diagram 3.

- Sew the two 2” (5cm) x WOF pieces together, end to end. Press seam open. Fold down each edge 1/4” (.635cm) and press. Pin this “trim” piece around bag, covering the seam joining upper bag pieces to bottom. Be sure to keep the top edge of the trim equal distance from the top as you pin around the bag. Edgestitch along both sides to secure.
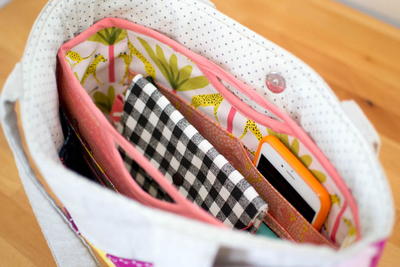
- Fold pocket piece in half with right sides together. (Pocket now measures 6” high x 9 1/2” wide (15.24cm x 24.13cm).) Sew along sides, leaving a gap of approximately 3” (7.62cm) for turning. Clip corners. Turn inside out and press. Slip stitch opening closed. Topstitch along folded edge.
- On right side of lining, mark bag back 4” (10.2cm) from top edge. Place top edge of pocket at mark, centering across piece. Sew in place along sides and bottom.
- Sew lining, right sides together, along each each side. Box sides 2” (5cm) from end as shown in Diagram 3.
- To make handles, fold each 6” x WOF (15.24cm x WOF) strip in half lengthwise and gently press a crease. Open the strip up and bring each side to the center, marked by the crease, wrong sides together. Press. Bring folded edges together to make a handle approximately 1 1/2” (3.8cm) wide. Press. Edgestitch along each folded edge. Cut each strip to 32” (81.28 cm) length.
- Place outside edge of straps 4 1/2” (11.43cm) from side seam with end of strap even with bag top. Stitch in place using a scant 1/4” ).635cm) seam allowance. Repeat for other side. See Diagram 4.

- Place bag inside lining, right sides together. Sew around top edge leaving a gap along back approximately 5”(12.7cm) for turning. Turn inside and press. Slipstitch opening closed. Edgestitch along top edge of bag.
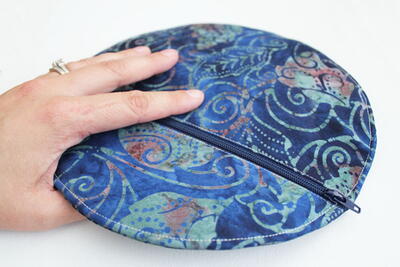
Read NextHalf Hour Circle Stitch Clutch
Thanks for your comment. Don't forget to share!
Sewing for Fun
Sep 25, 2014
What is the width of each of the strips? Doesn't state in the directions. Thank you.
lindapdeis 8427979
Aug 20, 2014
Rating is based entirely on Poor directions as they do not tell you what size to cut any of the pieces, guess you are supposed to figure that one out for yourself.
Kaylee
Aug 20, 2014
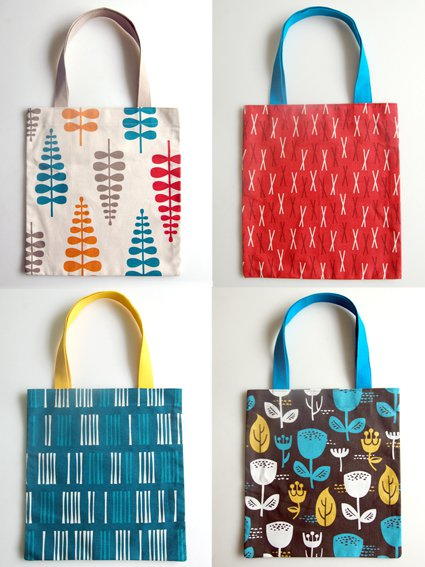
Hi! I am sorry you are having trouble with the pattern. This project is patcwork and the above instructions explain how large to make each patch. From there, you should be able to determine the width of the bag on each side. You will just need to decide how tall you would like the bag to be and measure/cut the bottom fabric pieces accordingly. If that does not help, I recommend asking our Facebook community from some tips and tricks on this specific pattern. Additionally, if you decide to move on from this project, we have a brand new collection of totes that might suit your sewing needs a bit better. That is located here: http://www.allfreesewing.com/Bags-and-Purses/Free-Tote-Bag-Pattern-Party-How-to-Make-a-Tote-Bag-Ideas Happy Sewing! Kaylee, Editor of AllFreeSewing.com
Report Inappropriate Comment
Are you sure you would like to report this comment? It will be flagged for our moderators to take action.
Thank you for taking the time to improve the content on our site.