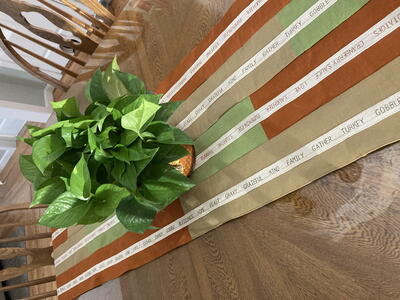
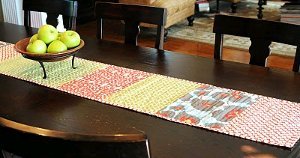
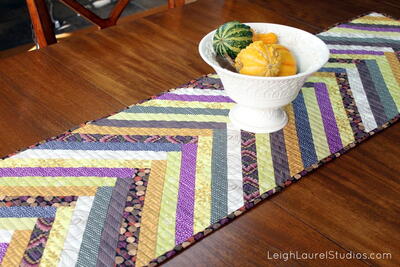
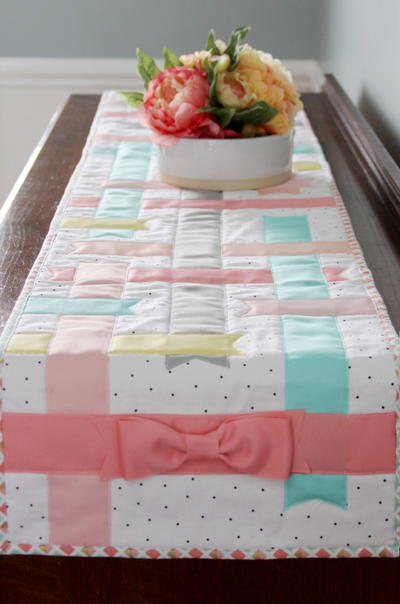
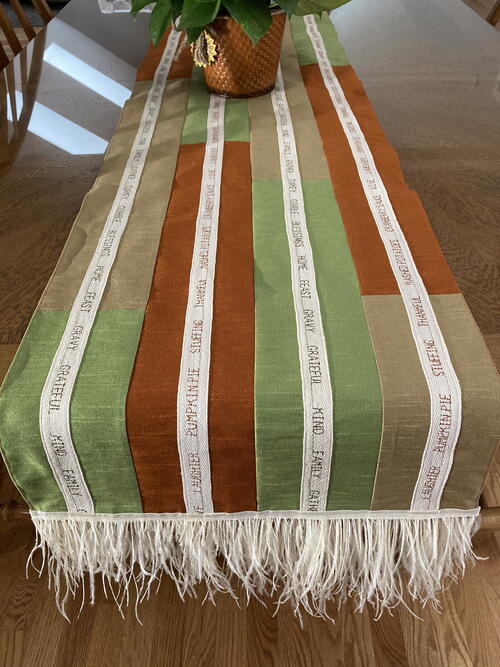
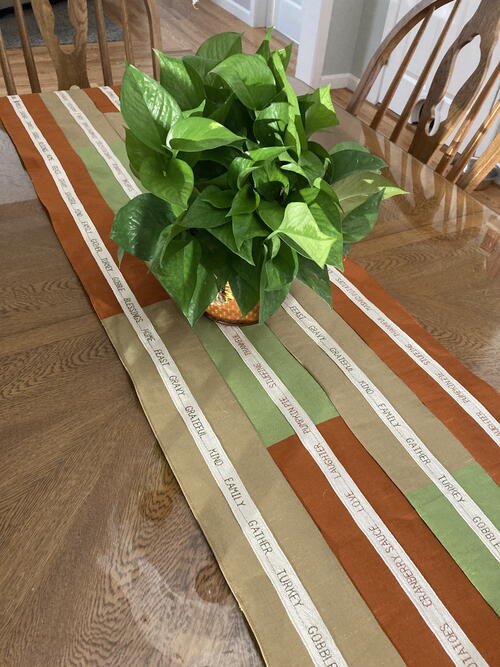
Be Thankful Table Runner

"Welcome friends and family to your Thanksgiving table with this personalized table runner. This is a great project to get the family involved with too. Before the big day arrives, have them jot down a few words to express what Thanksgiving Day or family gatherings mean to them.
Here’s a few examples: gravy, happiness, naptime, grateful, turkey day, family time, parade, leftovers, football, thankful, pumpkin pie, wishbone etc. Once you have constructed the table runner, use those big 9 mm or smaller alphabet fonts found on your sewing machine with your satin stitch foot to sew out those special or fun words onto some cotton twill tape to add as a meaningful accent to your table runner. And don’t forget to experiment with various thread types such as variegated, metallic, rayon, cotton, polyester and try out different thread weights such as a heavier 30 weight thread to make those words really stand out."

HolidayThanksgiving
Materials List
- Appropriate yardage of assorted (orange, beige and green) Dupioni Faux Silk fabrics*
- 1 - 25’ Roll of 1” wide cotton twill tape
- 1 - Spool of 40 wt. or 30 wt. polyester, rayon, metallic, variegated or cotton thread for decorative lettering
- 2 Yards - of feather fringe or other decorative trim
- Coordinating all-purpose sewing thread for the table runner construction
- Ivory colored all-purpose topstitching thread for the twill tape and trim
- ¼” Wide double stick tape
- Fabric and Craft Scissors
- Fabric marking pencil
- Cutting mat, rotary cutter & ruler
- Mini clips
- Fine pins
- An iron and pressing cloth
- Computerized Sewing machine with fonts
- Optional: 3 small 3M Command Strips
- *For a 5’ table size: I used 1 yard of each fabric, 60” wide.
- *The first step before you purchase your fabric is to measure the length of your table. This will determine the length of your table runner and the amount of fabric that you will need. Table runners should be long enough to hang over the edge of the table on each end by 6” to 10”. For example, for a 5’ table you would want your finished table runner to be from 72” to 80” long. You can choose your preference on the width but I found somewhere between 13” and 16” works nicely.
INSTRUCTIONS
Part 1 - Preparing the fabric
-
Using a low or silk setting and a pressing cloth, carefully press your fabrics.
Part 2 - Cutting Strips
Use a rotary cutter, cutting mat and ruler.
-
Cut 6 fabric strips, 2 of each color. Each cut strip should be 4.5” wide by 75” long.
Part 3 - Designing Layout
-
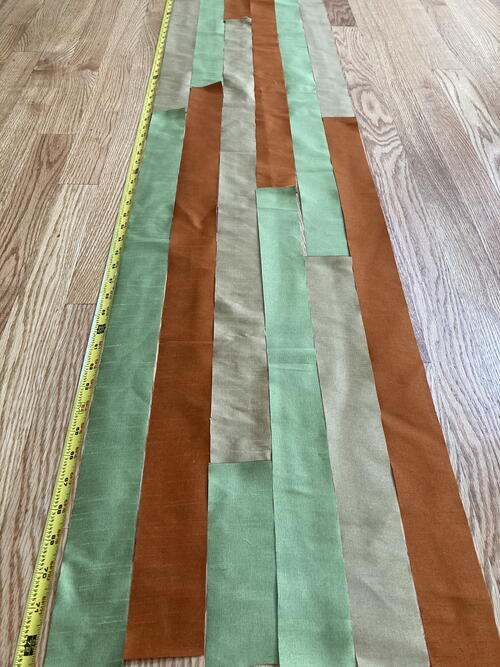
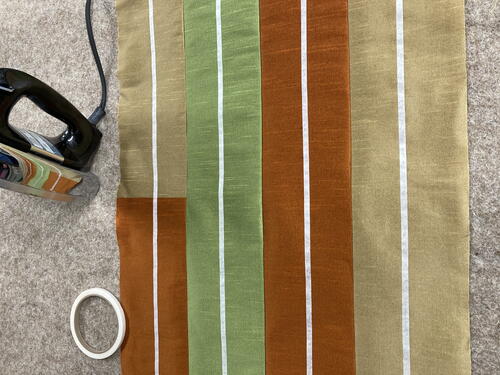
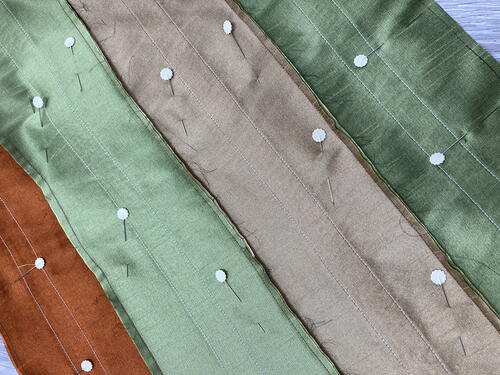
Next, cut each of the 6 fabric strips into 3 or 4 shorter lengths. Layout the shorter cut strips, staggering the cut strips by lengths and color until you are happy with your design. You should have 4 new columns of fabric strips that are 4.5” wide by approximately 75” long*.
*When calculating the final length of your table runner, plan for ¼” seam allowances that are used when stitching the shorter cut fabric strips together. -
*Note: The above photo shows a 6-fabric strip layout for a wider width table runner. However, if you wish to make a 16” width table runner similar to this project, you will only need a 4-fabric strip layout.
Part 4 - Sewing the strips
-
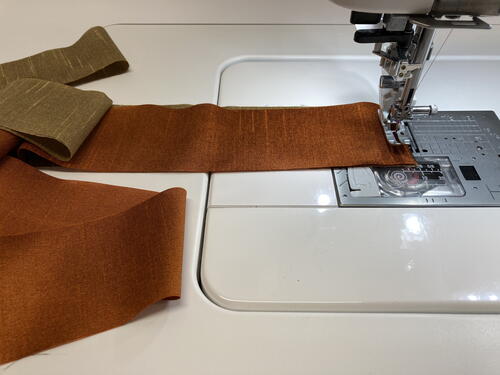
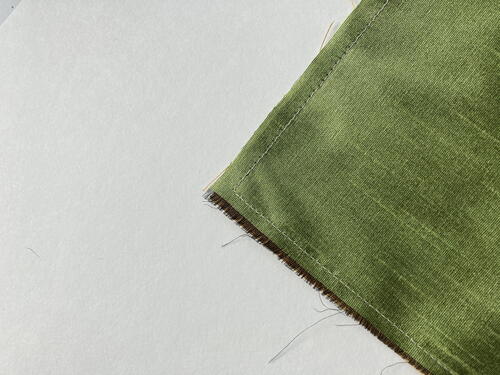
Following your design layout and starting with the first column of fabrics, match together each of the 4.5” ends and sew using a straight stitch and a ¼” seam allowance. Do the same for the remaining 3 strips. Trim each of your final fabric strips to 72.5” in length.
-
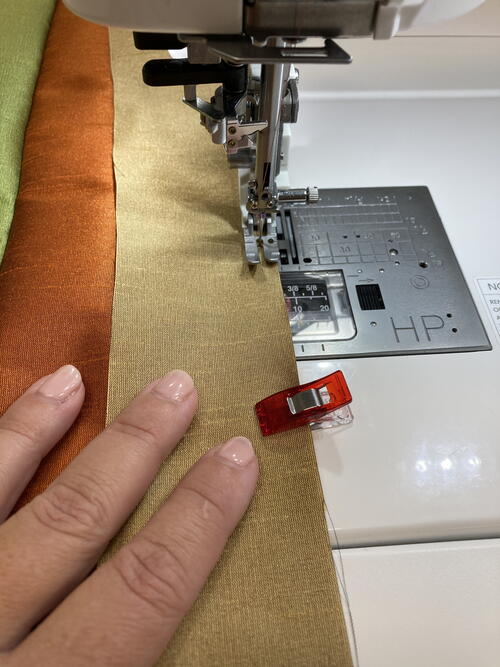
Next, use mini clips or pins to secure, then sew each of your 72.5” strips together lengthwise using a straight stitch and a ¼” seam allowance. Press the seams as you go along.
Part 5 - Making the lettering on Twill Tape
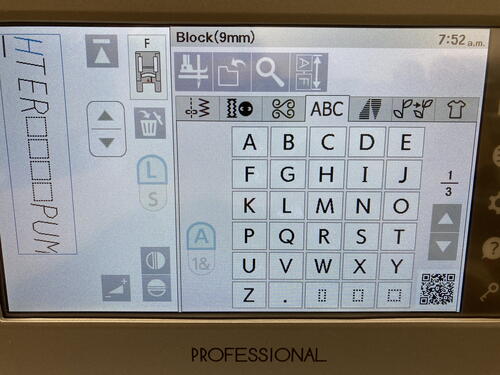
For this next step you will be using the lettering or monogramming feature of your sewing machine and the list of words your family members came up with. Depending on your sewing machine model, you’ll have either 5 MM, 7 MM or 9 MM lettering options. The following images show 9 MM lettering capabilities of the Janome Continental M7 Professional sewing machine.
-
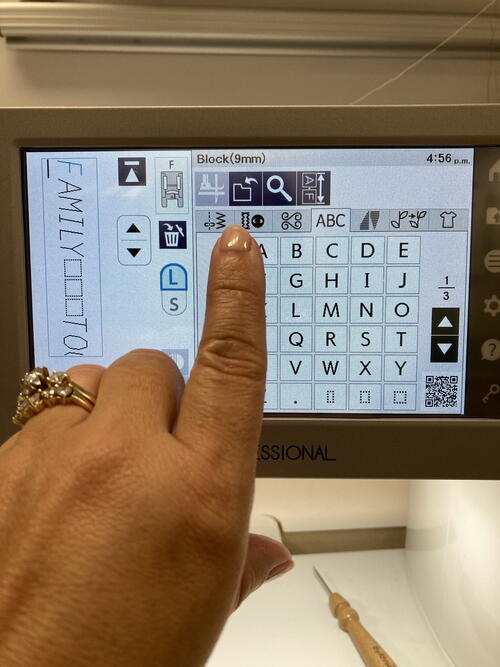
Click on the lettering tab.
-
*Refer to Monograming and Programming a Pattern Combination in the Janome User’s Manual or use your tablet or smart phone, the AcuSpark app and scan the QR Code displayed on the Continental M7’s touch screen for additional help.
-
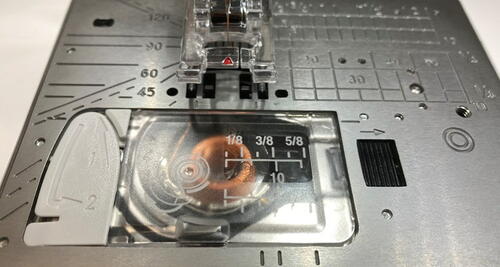
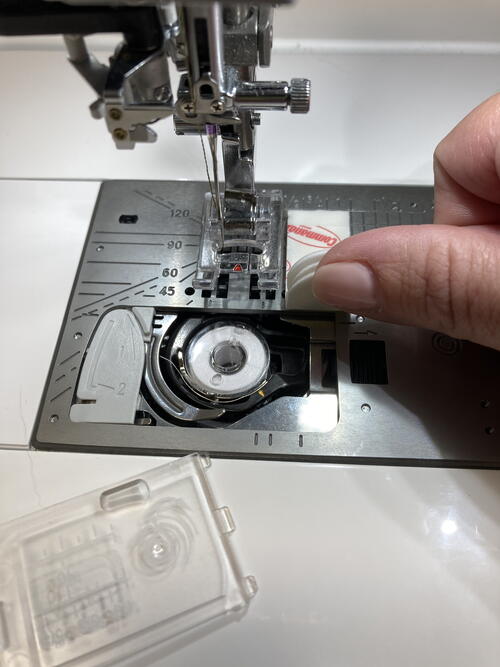
Set your sewing machine up with the satin stitch or F Foot and the zig zag stitch plate. Thread your machine with desired decorative or embroidery thread.
-
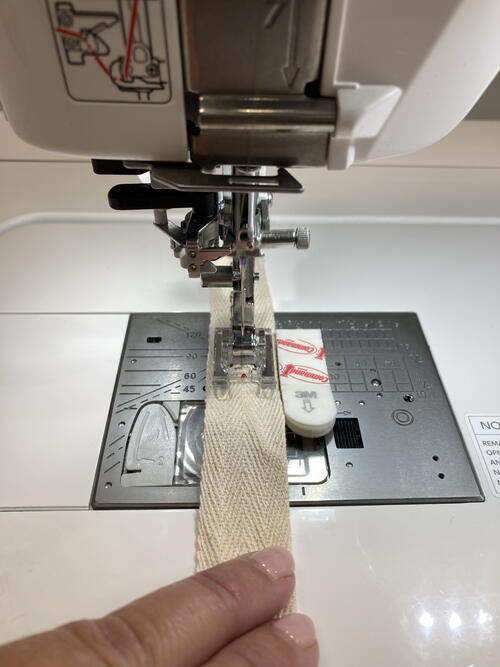
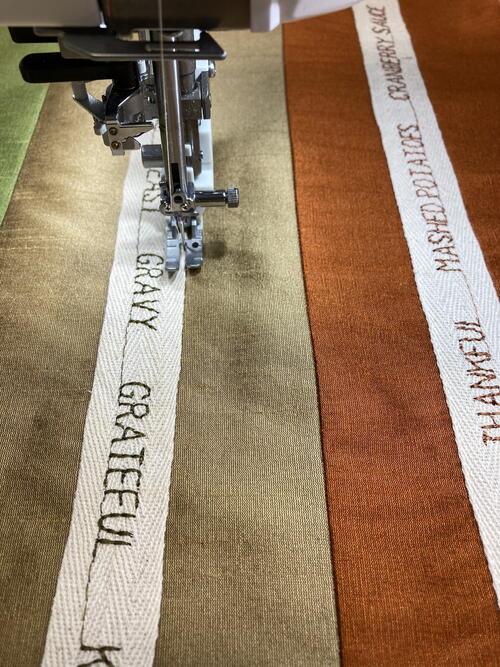
Once the words have been programmed into the sewing machine, you can start stitching the programmed words, feeding the tape and centering as you stitch along the cotton twill tape.
Here’s a great tip: Use 3 small 3M Command strips stacked. Peel off the protective tabs and stick them together except for the top tab and then temporarily adhered the stack onto your zig zag plate creating a temporary alignment guide. This keeps the twill tape feeding straight and smooth and your lettering will come out perfectly centered on the tape! -
Note: It’s a good idea to place the non-adhesive tabs of your 3M Command strips over the bobbin case cover so that you can still access your bobbin if necessary.
-
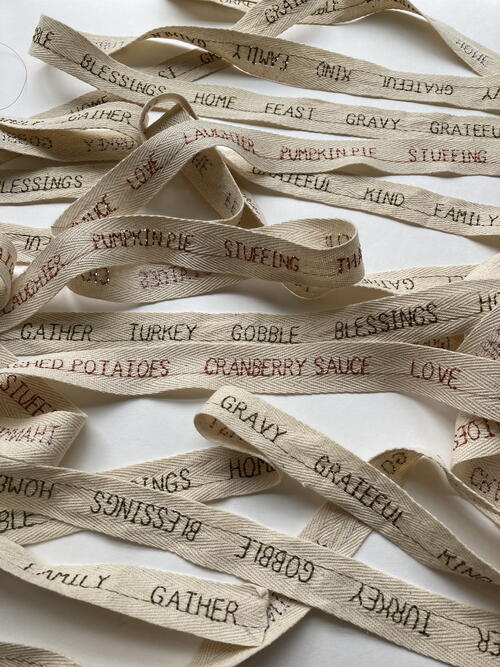
When you use the Programming a Combination feature on the Continental M7, you can have your combination of programmed words repeat over again and again down the entire desired length of the twill tape. I programmed two separate combinations (for two different sets of words) and I also used different colors of embroidery thread for each of set of words I stitched to create some added interest.
Yards and yards of beautifully stitched words on twill tape! -
After stitching out the lettering, cut the twill tape into strips each approximately 74” long.

Part 6 - Centering & Adhering the Twill Tape to the Table Runner
-
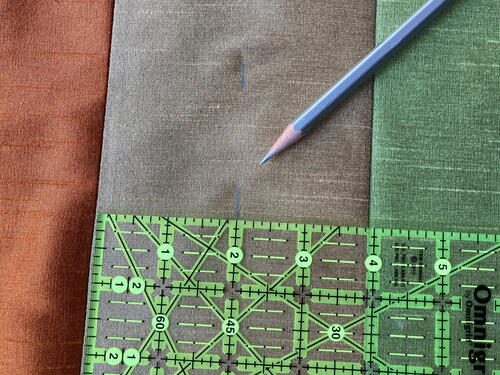
On the right side of your table runner top, measure and mark with a fabric marking pencil down the center of each of your 4 fabric columns.
-
Next, using ¼” wide double stick tape, cut 4 pieces of tape about 1/8” short of the length of each fabric column. Peel away one side of the protective paper and stick the tape down along the center of your markings. Following manufacturer’s instructions, iron to adhere the tape along the entire length of each of the 4 fabric columns. Using double stick tape not only help keeps your twill tape aligned straight but it also secures the twill tape for stitching eliminating the need for pins.
-
Working one piece of tape at a time, peel back the protective paper from the top of the tape to expose the adhesive.
-
Next, take the first strip of lettered twill tape and center the tape along the adhesive. Use your iron and press cloth as you go along to adhere the twill tape to the centers of each of the 4 fabric columns.
-
Using a colored thread that matches the twill tape, stitch 1/8” down along the left and right sides of each twill tape.


Part 7 - Final Construction
-
Using rotary cutter and ruler, measure and trim the ends of the table runner top to measure 72.5”. You should end up with a table runner top dimensions of 16.5” by 72.5”.
-
Next, using the leftover fabric, piece together, stitch and trim a backing equal to the same dimensions as the table runner’s top dimensions. With right sides together securely pin the table top runner to the backing.
-
Stitch ¼” around all sides leaving a 7” to 8” opening along one shorter ends. Don’t forget to activate both the awesome needle stop in fabric and pivot features of the Continental M7 for turning corners. With these features turned on, the presser foot will automatically go up when the machine stops and the needle stays down in the fabric very useful when turning corners.
-
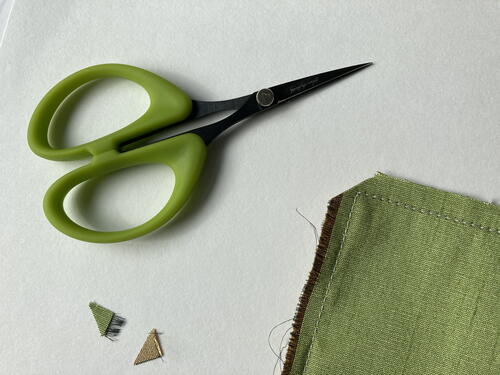
To reduce the bulk in the corners, carefully clip close to stitching all 4 corners. At the unstitched opening, turn the table runner right sides out.
-
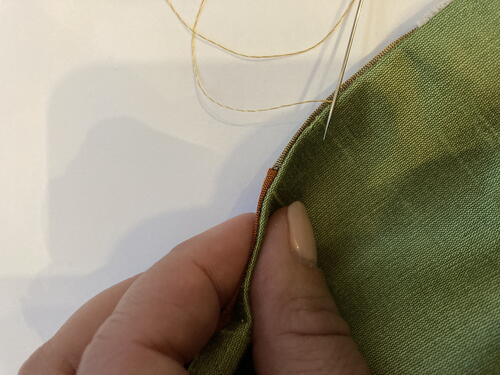
Hand stitch the opening closed.
Part 8 - Top Stitching
-
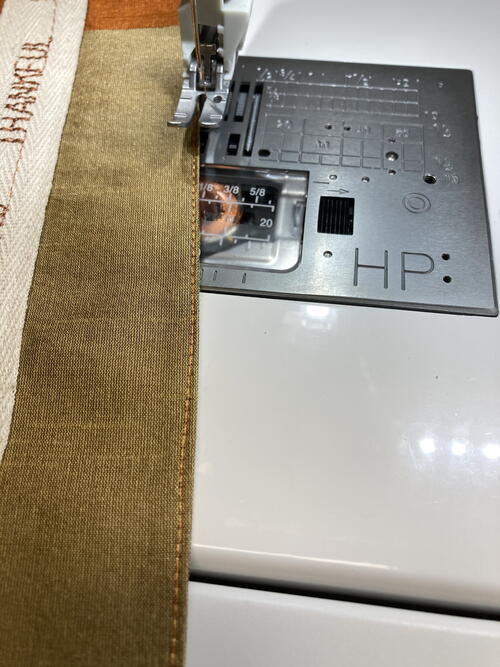
To give your table runner a professional appearance, edge stitch close, 1/8” around all 4 sides of the finished table runner.
Part 9 - Add Decorative Feather Trim
-
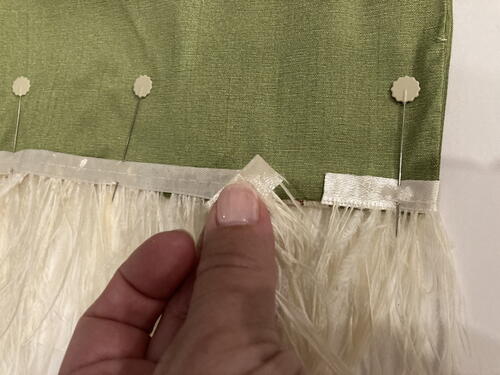
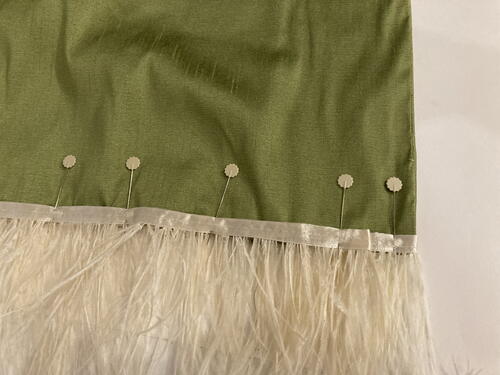
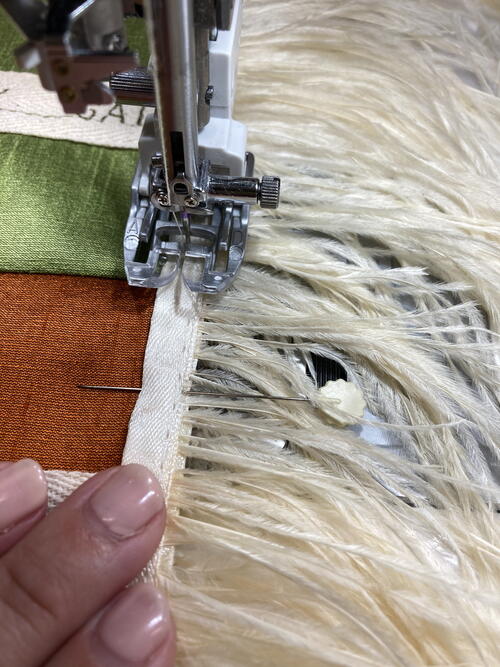
Measure the final width of your table runner, then cut 2 lengths of feather or other decorative trim double the width of the finished table runner and add ½” more to hide the raw edges. Pin the trim in place to each end. Fold the raw edges of the trim under ¼” and align overlapping the ends. Secure with pins. Because you are stitching through some bulk, use your walking foot and a straight stitch to attach the trim.
-
Note: Because of any adhesives that might be used in the purchased feather trim, I recommend discarding your needle once you have finished this project and inserting a new one for your next project!
-
Your project is finished! If you love this tutorial, be sure to check out Janome.com for even more inspiration.
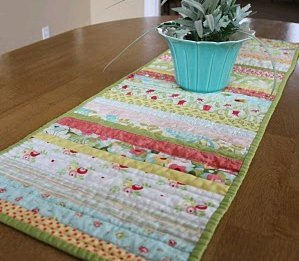
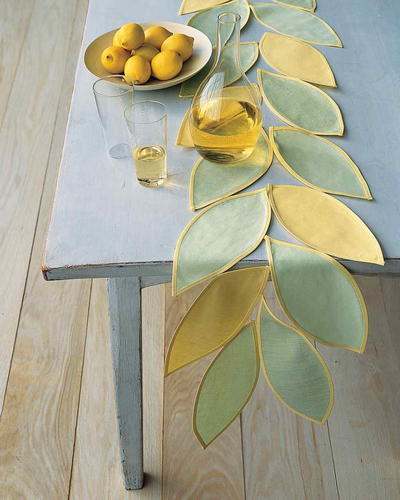
Read NextLeafy Table Runner Pattern