How to Use a Seam Ripper
Learn how to use a stitch ripper by watching the video or reading the instructions.

Learn How to Use a Seam Ripper properly using two different methods. We will also answer the question, "What is a seam ripper used for in sewing?" and other FAQs related to this sewing notion.
While using this essential tool may seem like a no-brainer, this video tutorial and step-out instructions show you how to correctly unpick a stitch safely.
Following the sewing tips and tricks for seam rippers in our video and written tutorials will allow you to take apart a seam safely, keeping your fabric as undamaged as possible.
Learning how to use a stitch ripper incorrectly can lead to disastrous results. The sewing hack provided in this step-by-step will help you avoid these errors.
NOTE: This tool is safer than other blades but still has sharp edges. Never point the seam ripper toward yourself or your hands.
Sign Up For More Free Patterns >>>
Table of Contents
Seam Ripper FAQs
What is a Seam Ripper Used for in Sewing?
First, what is a seam ripper and what does it do? A seam ripper, also known as a stitch unpicker, seam cutter, and stitch ripper among other names, is a small tool that is only a few inches long. It includes a metal hook connected to a handle to hold.
The top of the hook is pointed and longer. The top is made to catch stitches. The bottom of the hook is shorter and is tipped with a small ball, usually red. The ball is there to protect the fabric when in use. In between the two metal sides of the hook is a sharp blade that will do the cutting.
A seam ripper is used in sewing to undo stitches. It is used on thread or embroidery floss, both sewn by a machine or by hand. When a mistake in stitching is made, the seam ripper can be used to unpick the stitch without tons of work or heavily damaging the fabric (which can be the case when using scissors, knives, or other blades).
What is the Red Ball on a Seam Ripper Used for?
The red (or other colored) ball is a safety feature. It's usually red so that you can easily see it and follow along with your ripper as you unpick. Because the other side has a sharp point and the middle has a blade, the side with the ball is meant to help protect your hands/fingers and the keep the fabric stay unripped.
Can You Sharpen a Seam Ripper?
Yes. Honestly, if you have an inexpensive seam ripper, it may be more worthwhile to buy a new one. However, if you have a nice seam ripper and would like to sharpen it, it is possible. A seam ripper is not very helpful if the blade is dull! You can use a thin piece of steel wool or a bead reamer (a thin cylindrical file that can either be manually operated or battery operated).
What are the Parts of a Seam Ripper?
Below, you will find a diagram that shows the parts of a seam ripper. Most will look similar to the version shown here. There is a handle, short shaft that has a forked part with a blade in between the forks, then pointed longer side and a ball-tipped short side. Click here or the image to download your own copy.
Are There Alternatives for Seam Rippers?
Eyebrow razors, craft razors, utility knives, and similar sharp tools can be used instead of a conventional seam ripper. However, the safety aspects of a seam ripper far outweigh the alternatives (besides the eyebrow razor, which is very safe). We would not recommend using traditional razors or utility knives unless you are careful and confident in your movements.

How to Use a Seam Ripper Video Tutorial
If you're a visual learner, then take a look at this video tutorial. Our friend and expert sewist Angel Peterson will walk you through how to unpick using a couple of different methods. Once you watch the video, check out the written tutorials below and follow along for your own project.
How to Use a Seam Ripper: Method 1
This method is simple and fast but can be messy because there are more little pieces of thread left over.
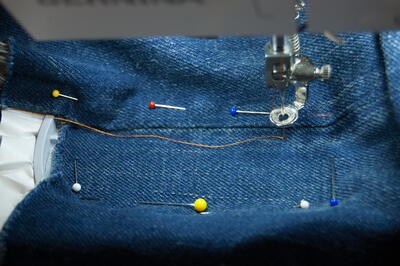
- In between the two pieces of fabric that the seam is holding together, set the seam ripper at the end of your stitching, the thread aligned with the blade.
- Hold the fabric from behind and push on the seam with the seam ripper.
- Continue pushing the seam ripper through the stitches until you have reached the end.
- Pull out the stitches until your two pieces of fabric are separate and the thread has been removed.
Tip: Using a lint roller or tape over the pieces of thread can help to remove them faster.
How to Use a Seam Ripper: Method 2
"Here's my preferred method of unpicking. It doesn't matter if you have been sewing for two days or twenty years, you will always have to unpick something. You are never free from mistakes."
— Angel Peterson, Fleece Fun
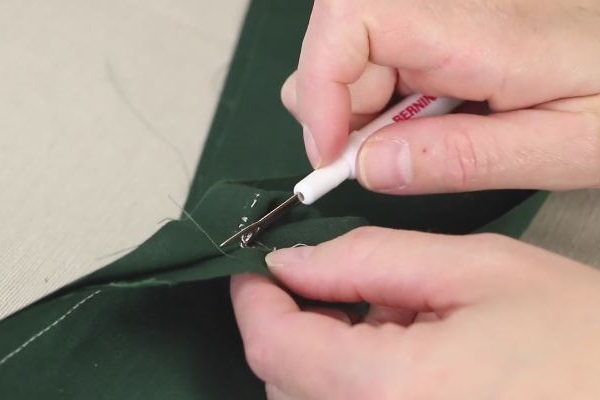
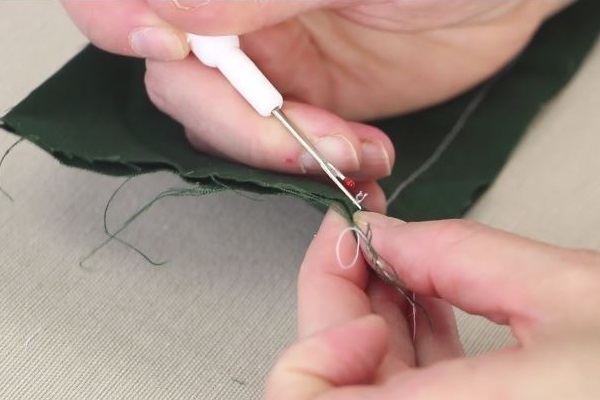
- Use the seam ripper to undo the lock stitch.
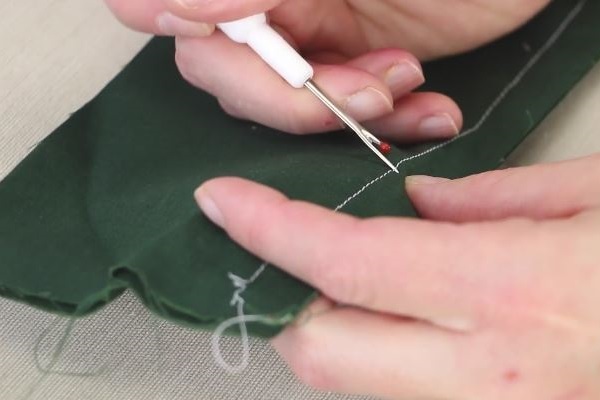
- Go down the seam on one side of your fabric and use the long part of the hook to rip stitches every inch or so until you have reached the end.
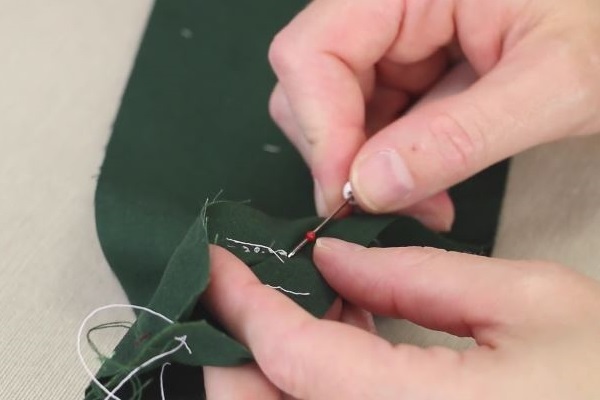
- Turn the fabric around to the other side of the seam and do the same there.

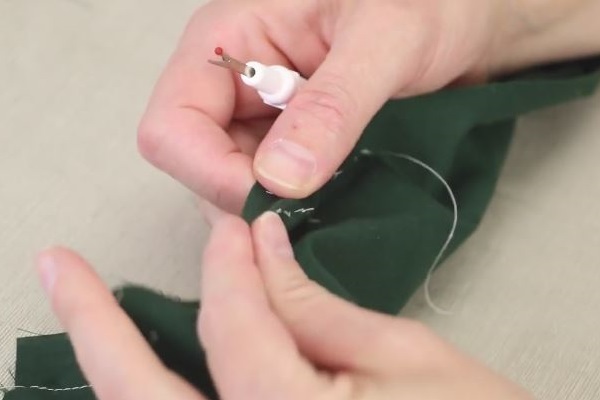
- Pull apart the fabric where the seam is holding it and start using the seam ripper to pull up the stitches.

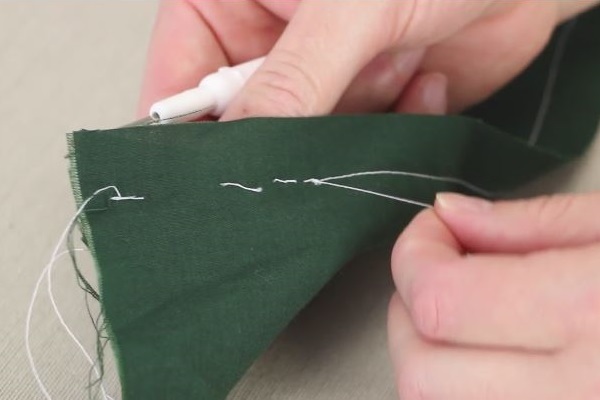
- Remove the thread pieces. These will be longer than the thread pieces in Method #1 above, making this the cleaner method to choose.
When was the last time you had to unpick a stitch and why?
Let us know in the comments!
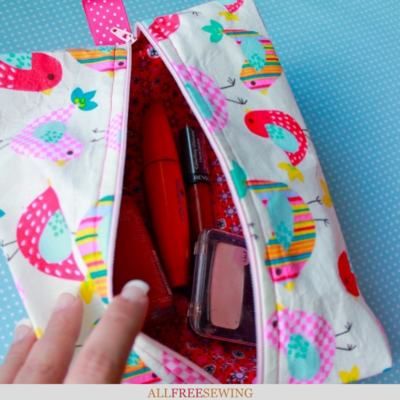
Read NextBoxy Cosmetic Bag Tutorial
Your Recently Viewed Projects
Thanks for your comment. Don't forget to share!
Report Inappropriate Comment
Are you sure you would like to report this comment? It will be flagged for our moderators to take action.
Thank you for taking the time to improve the content on our site.