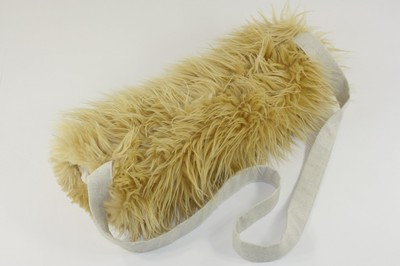
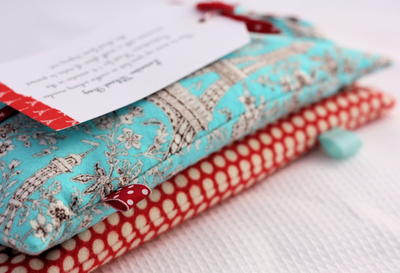
How to Make a Muff

Just because the temperatures drop in the winter and you have to pile on layer after layer to stay warm does not mean you cannot do it in style. If your personal style is more vintage babe than it is modern ski bunny, you are going to love this vintage sewing pattern. Keep your hands warm and look right out of the 1940s when you use this How to Make a Muff Pattern. This gorgeous idea would be a great accessory to wear on the way to a winter party or winter formal.
Project TypeMake a Project
Time to CompleteUnder an hour
Sewn byMachine

Materials:
- Muff Pattern (Download here).
- Faux fur material
- Inner material such as Cuddle fabric
- Strap material such as cotton, muslin etc. something sturdy and non-stretch, even belt material or grossgrain ribbon would work
- Thick batting
- Sewing machine
- Rotary cutter (optional)
- Lip edge ruler (optional)
- Scissors
- Iron & ironing board
- Double threaded hand sew needle with about 10″ of double thread, double knotted
Measurements:
For Girl's Muff: one 13x13" for each layer (outer, inner, batting) and one 5x18"
For Ladies' Muff: one 13x17" for each layer (outer, inner, batting) and one 5x22"
Instructions:
- Cut all pieces to the pattern. Pattern and measurements above.
- First, fold your strap piece in half lengthwise and press, then unfold.
- Unfold the strap and now fold in both long edges towards the center crease.
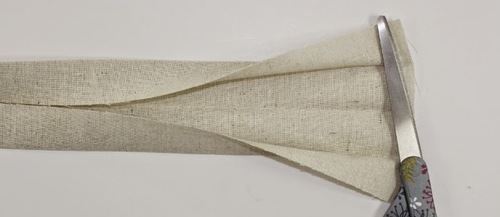
- Press and fold so you will have a 4 layer strap piece. Sew along the dashed line close to the two folded edges.
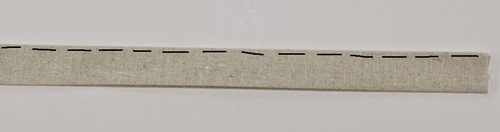
- This is the finished strap. Lay it aside.
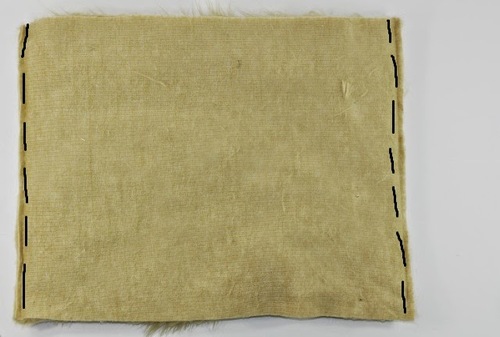
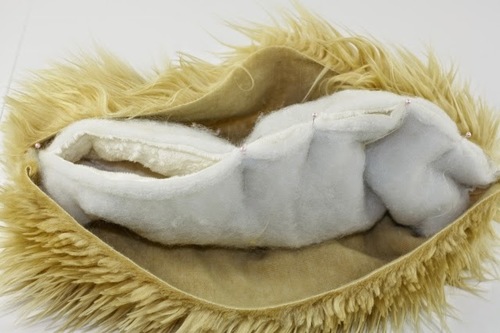
- Take your cut piece of batting and place the inside material (Cuddle fabric in the example) on top of it with right side up. Pin the long sides (if you are making the child’s version, it doesn’t matter which side you pin since the pieces are square). Fold all corners down (example flipped up corner is only for the picture) and sew in place with a 3/8″ seam allowance.
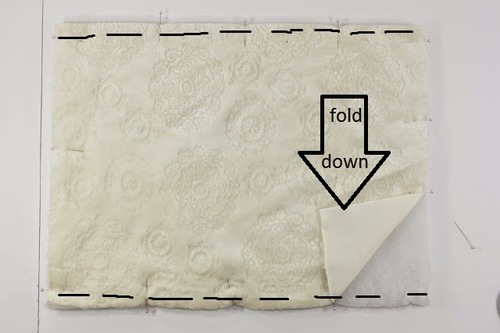
- Place the faux fur piece on top of the just sewn piece, with right side up.
- Sew along the dashed line (short ends on the ladies’ version and other ends on the child’s).
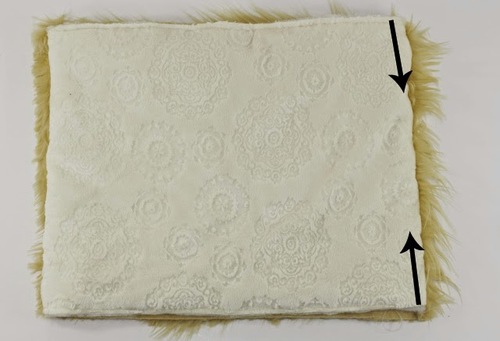
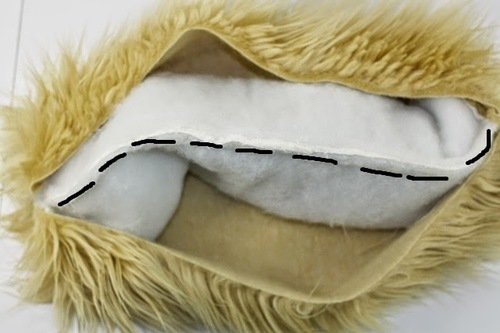
- It’s time to turn the 3-layer piece with right sides out. Turn it so the batting is on the inside. Then the top and bottom corner of the right side are going to meet.
- With your hand, grab the top and bottom corners of the right side and bring them together.
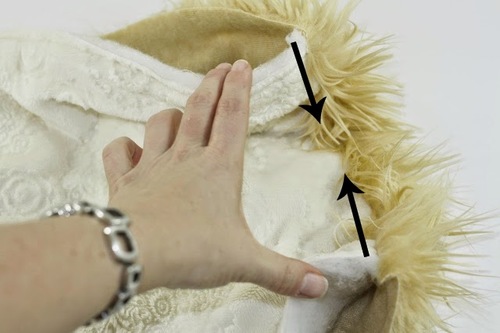
- Start pinning ONLY the inner material edges (with the batting).
- Sew along the dashed lines with backstitching the beginning and end.
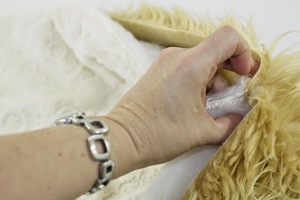
- Fold the outer material away or down so that your piece looks like this now. Place the strap ends above the muff as shown.
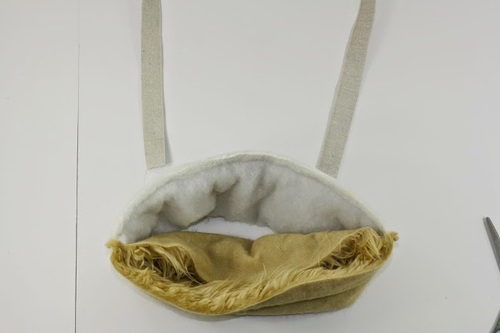
- Place the center of the strap inside the muff where the outer fabric is.
- Align the left strap end with the corner of the muff’s outer material.
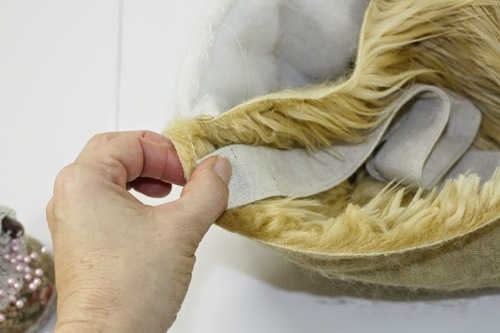
- Pin it in place.
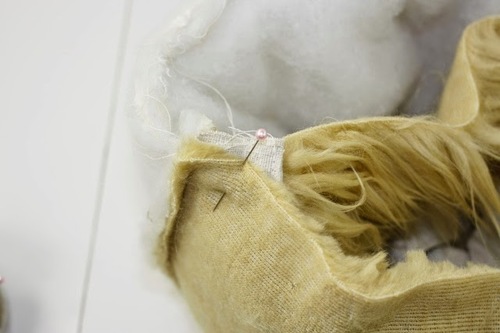
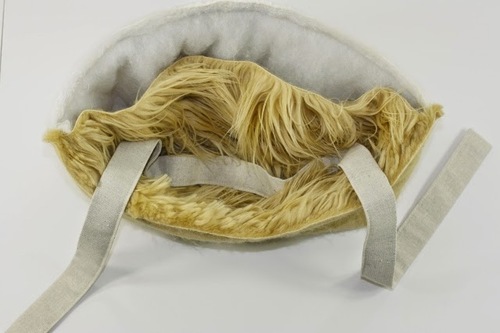
- Repeat with other side, making sure the strap won’t tangle up and will be even once pinned. Now sew both edges of the outer material closed, except a center opening of 4″. Backstitch the beginning and end. You are left with an opening like this now.
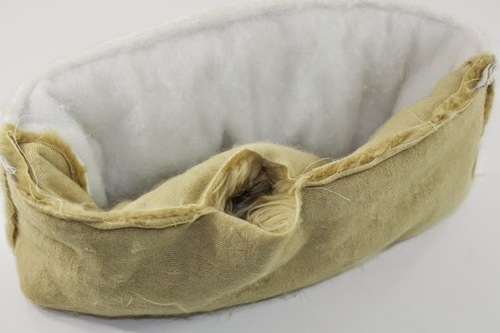
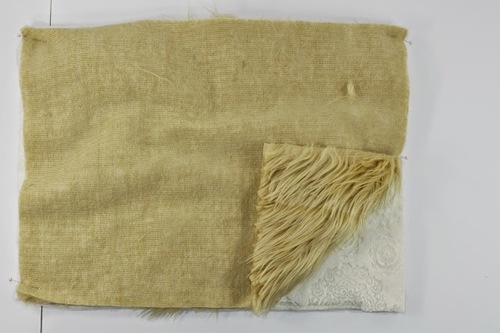
- Reach into the opening and pull the muff through, gently and slowly.

- Your muff should now look like this.
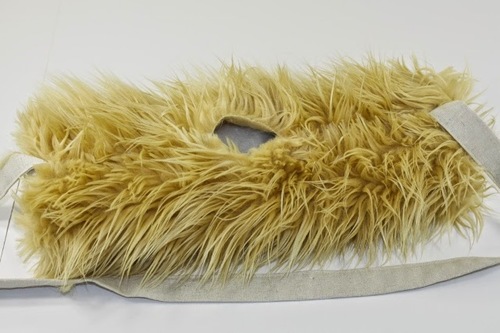
- With your hand sewn needle, sew the opening closed using a slip stitch.

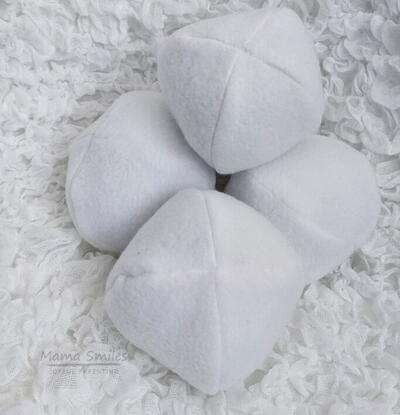
Read NextHow to Make Fleece Snowballs