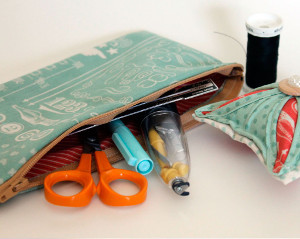
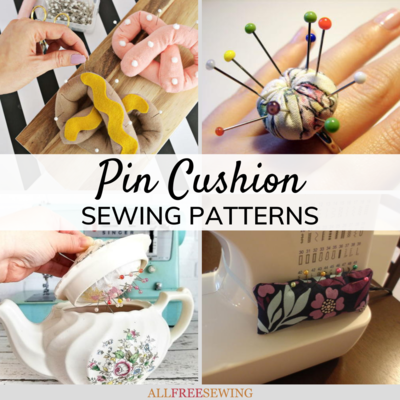
Handmade Pin Cushion and Zipper Pouch
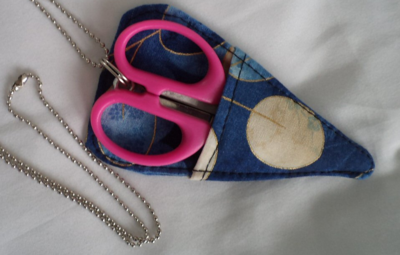
This adorable Handmade Pin Cushion and Zipper Pouch set is the perfect gift for the fellow sewists in your life! Roomy and easily adjusted for size, the sewn zipper pouch makes for a great place to store scissors, rulers, pens, and even small needle cases. It's the ideal match for the DIY pin cushion, which sports a soft pillowed look and is topped off with a button. Safely store all the sewing miscellanea that inevitably disappears if you don't keep it all in one place.

Materials:
- Fabric
- Pins
- Craft filling
- Thread
- Sewing machine
- Iron and ironing board
- Lightweight fusible interfacing
- 9” zipper
Instructions for the Pin Cushion:
-
Start by cutting one square of fabric measuring 10” x 10”. Fold over the raw edges by 1” and press with a hot iron.

-
Now fold the square in half and press. Open up and rotate the square by 90 degree. Fold it in half again, and press once more. Open out your square and you will have fold lines in the shape of a cross.

-
Fold each corner of the square in towards the center point. Accuracy is key here, so try and get your points to match up as perfectly as you can.

-
Now cut a square measuring 3 3/4” x 3 3/4” in a coordinating or contrasting fabric. Using a rotary cutter, ruler and cutting mat will give you the most accurate cutting lines.

-
Place the smaller square underneath the folded corners of your first square and fold the corners back over it.

-
Sew the points of each corner down in the center.

-
Carefully fold back the edges of the corner points and pin in place. You’ll notice the second fabric is being revealed underneath.

-
Stitch the folded edges down, working your way slowly and carefully around all four points.

- Sew a small button to the center of your ‘flower’. Not only does it look great, it hides any areas where your points may not meet perfectly!
-
Repeat the process to create a second secret garden quilt block then stitched both together with wrong sides facing. Leaving one side open enables you to add filling. Make sure to stuff the pin cushion as firmly as possible. You don’t want pins and needles to poke out through the other side. If you are feeling adventurous, stuffing a pincushion with sand (or even human hair!) helps keep the pins sharp.

- Sew up the remaining side to finish.
Instructions for the Zipper Pouch:
-
Cut 2 pieces of fabric measuring 10” x 10” and applied some lightweight fusible interfacing to the back of one of the pieces.

-
Fold the fabric around and pin the other side of the zipper to the other ends of both fabrics. Again, your zipper will be face down on top of the right side of your outer fabric.

-
Stitch the second side of the zipper to your fabric.

-
Sew the short ends together making sure that the zipper is folded down on both sides. Trim the seam allowance with pinking shears for a neat finish.

-
Turn your zipper pouch right sides out and press lightly with an iron. Avoid touching the zipper because if it is plastic, it will melt.

Read NextT-Shirt Infinity Scarf