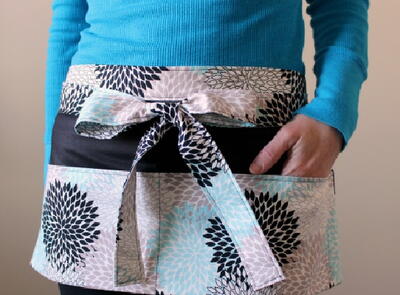
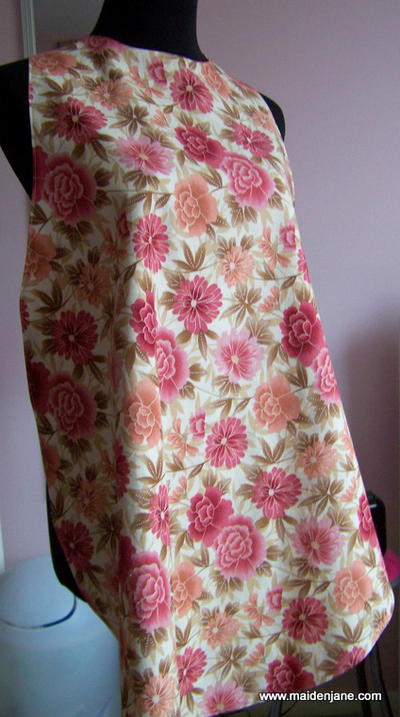
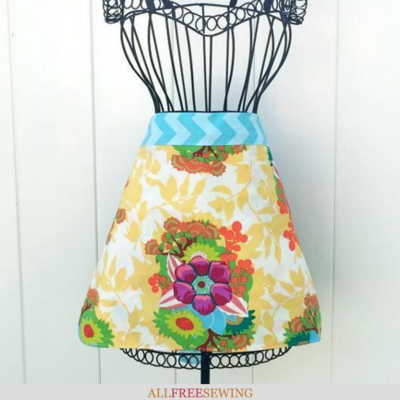
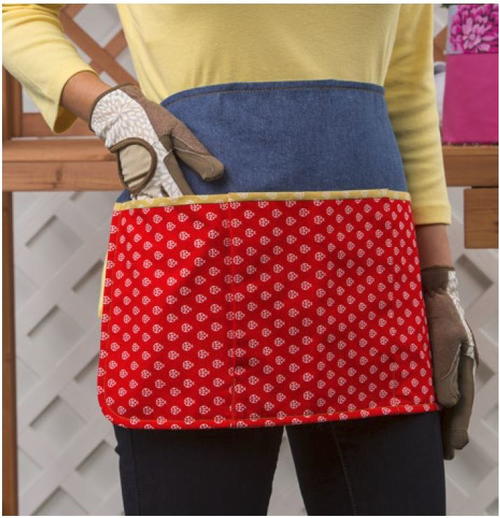
DIY Garden Apron

Summer gardening is always a relaxing way to get out in the sunny weather and this DIY Garden Apron will help you out tremendously!
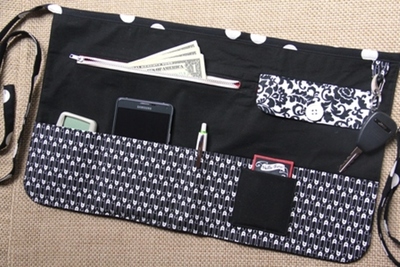
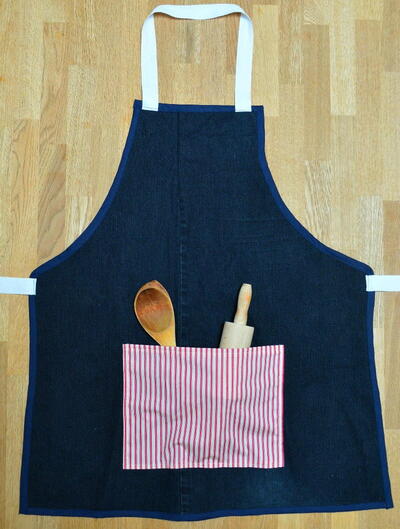
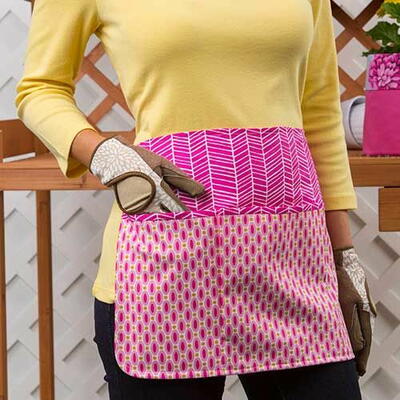
This DIY apron will keep the dirt off your clothes and has two pockets where you can put your gardening tools or keep your gloves in when you are not using them. And if you don't garden, this utility apron can be used for any work outside of gardening, too.
This sewing tutorial is for experienced beginner sewists and you can use any coordinating print fabric to make it. It will be the perfect gift for an avid gardener for any occasion.
Sign Up For More Free Patterns >>>
Project TypeMake a Project
Time to CompleteIn an evening
Sewn byMachine

Materials List
- Dual Duty XP® All-purpose or cotton thread, Jeans thread (optional), coordinating colors
- 1/2 yd (45.72 cm) apron front fabric
- 7/8 yd (80.01 cm) pocket lining/ties/apron lining fabric
- 1/3 yd (30.45 cm) pocket fabric (Note: If you choose to make the pocket or pocket lining from the same fabric as the apron front, there is enough yardage allowed to do so — just cut the pieces side by side across the fabric width.)
DIY Garden Apron
Cutting
-
From the apron front fabric, cut: 1 rectangle, 13 3/4" x 20" (34.93 cm x 50.80 cm)
-
From the pocket lining/apron lining/ties fabric, cut:
1 rectangle, 9 3/4" x 22" (24.77 cm x 55.88 cm) for the pocket lining
1 rectangle, 13 3/4" x 20" (34.93 cm x 50.80 cm) for the apron lining
2 strips, 2 1/2" x 40" (6.35 cm x 101.60 cm) for the ties
Assembling the Pocket
Note: All seam allowances are 1/4" (.64 cm).
-
With right sides together, match the upper edge of the pocket and pocket lining rectangles. Sew across the upper edge. Press the seam allowances toward the lining.
-
Flip the pocket lining to the pocket wrong side, matching the lining and pocket lower edges. Press. Note that the lining extends above the pocket evenly to form a trim. Baste the layers together at the sides and lower edges.
Assembling the Ties
-
With right sides together and matching edges, sew the long side and across one end of each tie.
-
Trim the corners, press the seam allowances open and turn the ties right side out. Press with the seam along one edge.
-
Edgestitch the ties along both long sides and the closed end.
Assembling the Apron
-
Pin-mark the lower center of the apron and the pocket. Position the pocket over the apron right sides up and baste the ends together. Match the centers at the lower edge and baste a 2" line across the bottom center. Note that the pocket is wider than the apron.
-
Measure 6 1/2" (16.51 cm) in from each end and mark a line parallel to the apron side edge through the height of the pocket. Stitch on the lines, backstitching at the upper pocket edge for reinforcement.
-
Fold a pleat in the pocket along the stitched vertical line until the pocket lies flat against the apron, press firmly, then baste the lower edge to hold it in place. This creates a 1/2" (1.27cm) deep pleat. Stitch along pleat fold 2" (5.08 cm) from the lower apron edge.
-
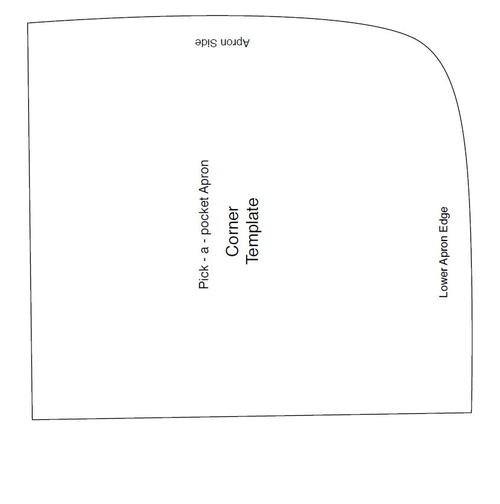
Trace the template provided onto plastic template material and cut out. Align the straight edges with the lower corner of the apron/pocket. Trace on the curved line, then cut through all layers. Repeat for the opposite lower corner and both lower corners of the apron lining rectangle.
-
Baste a tie 3/8"(.95 cm) from the upper apron edge on each side, matching the raw edges to the apron edge and placing the seam toward the bottom. Pin the tie length out of the way.
-
With right sides together, place the apron lining against the apron, sandwiching the ties and pocket between the layers, and matching all raw edges.
-
Sew around the apron edges leaving a 5" (12.7 cm) opening along the upper edge for turning. Be careful not to catch the loose ends of the ties in the stitching.
-
Trim the curves and corners and turn the apron right side out through the opening.
-
Hand stitch the opening closed, and topstitch around all apron edges.

Want More?
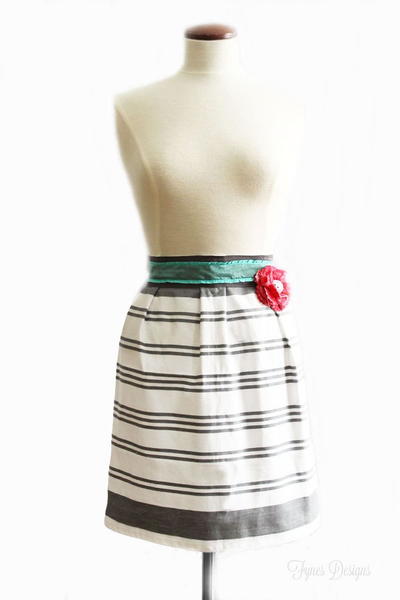
Read NextEasy Ruffle Apron
Your Recently Viewed Projects
Thanks for your comment. Don't forget to share!
mariastuff 4306975
Feb 16, 2018
I did wanted to upload my own pattern of aprons I designed and sewed.
Cheryl E
Apr 30, 2017
This garden apron might be a great gift idea for a hobby gardener. A simple to make apron, with roomy pockets. Add mini sized tools such as rake, trowel, spade and pruners, roll up and tie with raffia or twine for a crafty alternative to an expensive store bought kit. I like this garden apron for its cheerful fabric pattern.
Weberme
Jun 14, 2016
I can see this apron in a real pretty bright fabric maybe birds or a pretty floral. Such a super easy tutorial and this is great if you want a half apron. I like that when you make one yourself you can add a big pocket or a lot of pockets. I have not made any in a while so I need to do so again. Great way to keep your clothes from getting dirty Thanks for tutorial. Anyone use a apron when gardening?
AFC Editor Annalis a
May 27, 2016
I love the patterns and bright color of the pictured apron! This looks like it would be so great for keeping your tools handy while you garden.
Report Inappropriate Comment
Are you sure you would like to report this comment? It will be flagged for our moderators to take action.
Thank you for taking the time to improve the content on our site.