Sweet and Simple DIY Girl's Dress Pattern
Learn how to sew and make cute little girl dress patterns yourself with this easy-to-follow tutorial.

Go back to the basics of DIY clothes and sewing tutorials with this how to make a dress tutorial.
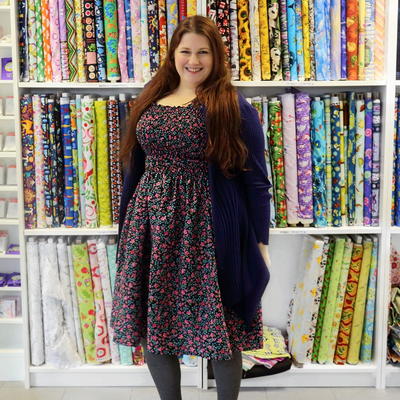
Remona from The Stitching Scientist will walk you through how to sew a dress in this step-by-step tutorial. Make this Sweet and Simple Girl's Dress Pattern by following along.
The pictures show the steps for a cute little girl's dress, but she also includes how to adjust the measurements to make a dress for yourself.
Once you learn how to make a dress with this sewing tutorial, you'll be able to move on to other more complicated free dress patterns.
It's a very simple DIY dress that anyone can make, even beginners, and it doesn't have any complicated steps like adding darts. Not only is this girl's dress pattern cute and easy, but it's cheaper than anything from the store.
Sign Up For More Free Patterns >>>

How to Make a Simple Girl Dress Pattern
Project Type: Make a Project
Skill Level: Beginner
Time to Complete: In an evening
Sewn By: Machine
Materials List:
- Main Bottom Fabric: Cotton or Knit; for a child: 1/2-1 yrd; for an adult: 1+ yrd
- Top Bodice Fabric: Knit; for a child: 1/4-1/2 yrd; for an adult: 1/2+ yrd
- Top Bodice Lining Fabric: Knit; for a child: 1/4- 1/2 yrd; for an adult: 1/2+ yrd
- Scissors or rotary cutter and mat
- Sewing machine and notions
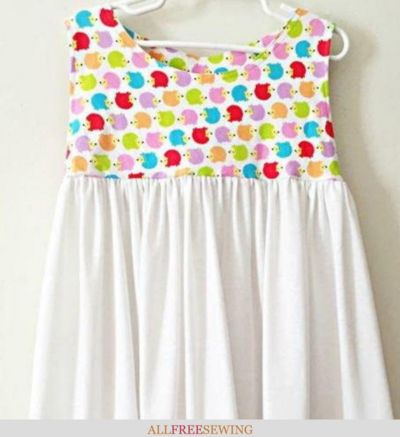
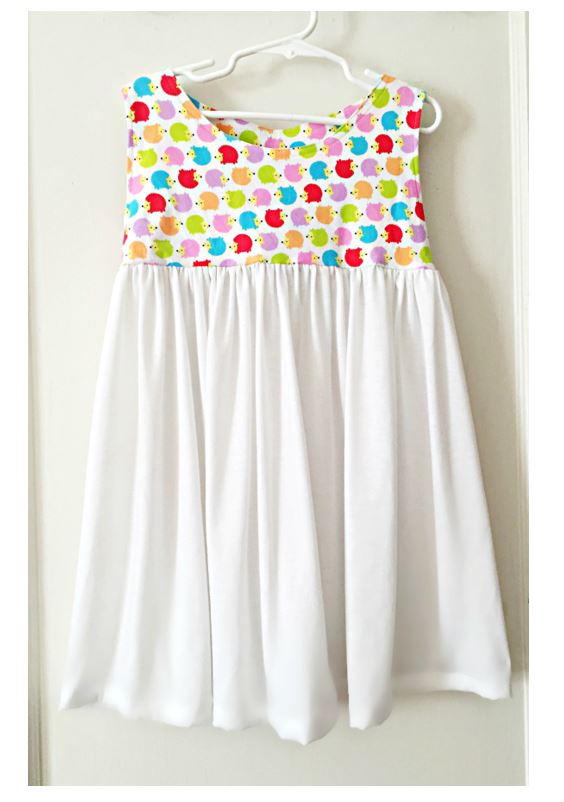
Sweet and Simple Girls Dress Pattern
Learn how to make a dress for your little girl by following along with this tutorial. Plus, you can easily adjust the pattern for larger sizes. It's a great basic dress plan for any age.
Top Bodice - Draft and Cut:
Note: The length will be based on how long you want the top of the dress to be.
- Fold your fabric in half.
- Fold a t-shirt in half and lay about 1" away from the edge of the fabric.
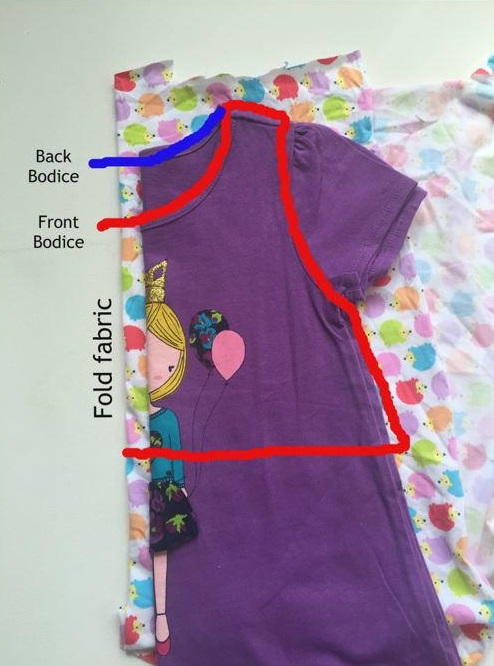
- Cut all around your t-shirt following the red line for the front bodice.
- Cut all around your t-shirt starting from the blue line for your back bodice.
- Repeat with lining fabric.
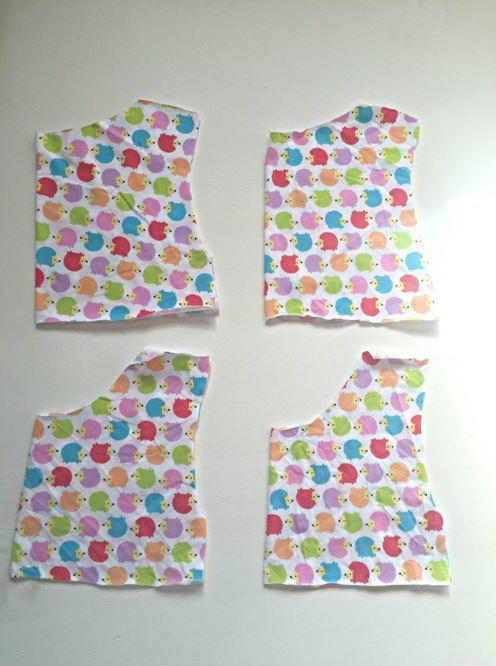
- The picture below shows your 4 pieces for the top: 2 lining and 2 main pieces.
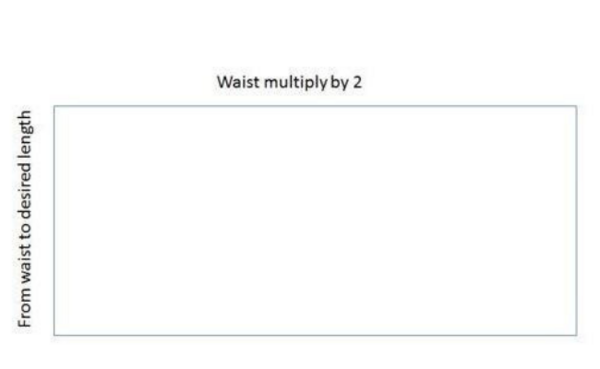
Bottom Skirt - Draft and Cut:
Width - waist x 2 in inches
Length - waist to knee in inches
Note: The length will be based on how long you want the dress to be.
See the diagram below for guidance on cutting out the skirt/bottom piece.
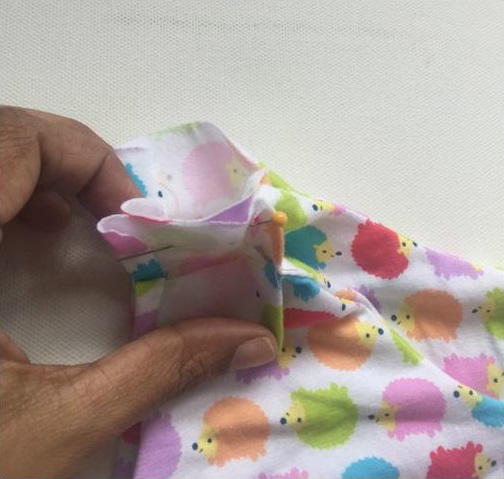
Assembling the Bodice:
- Lay front bodice together right sides together.
- Sew around the arm and then around the neck, leaving about 1" open on all the ends.
- Turn inside out and iron.
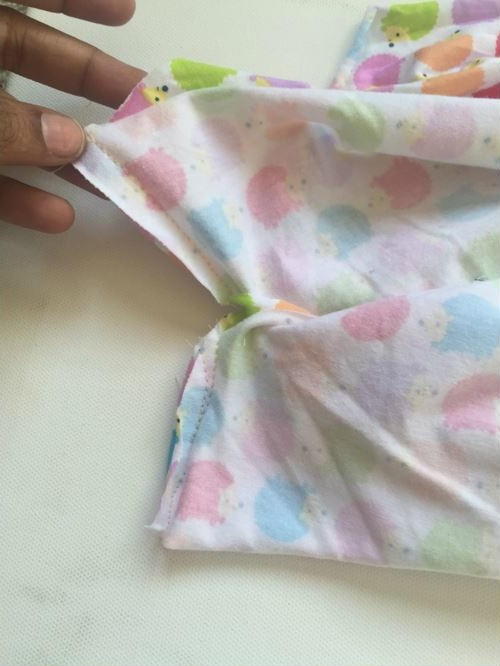
- Repeat for back bodice.
- Sew shoulder and sides of back and front bodice together: with right sides together, sew front bodice shoulder and side to back bodice shoulder and side.

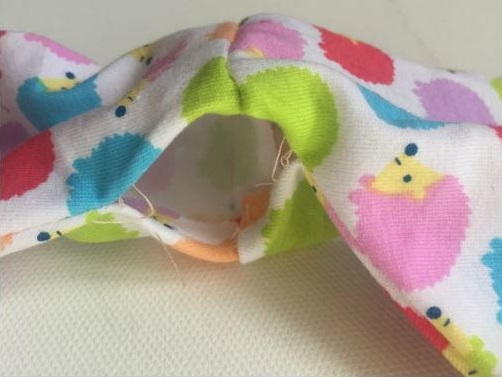
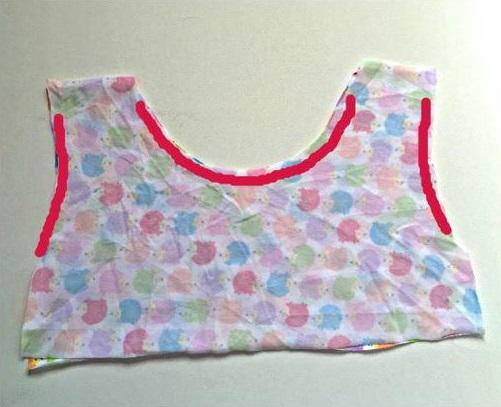
- Turn inside out and top-stitch around the neckline and arms.
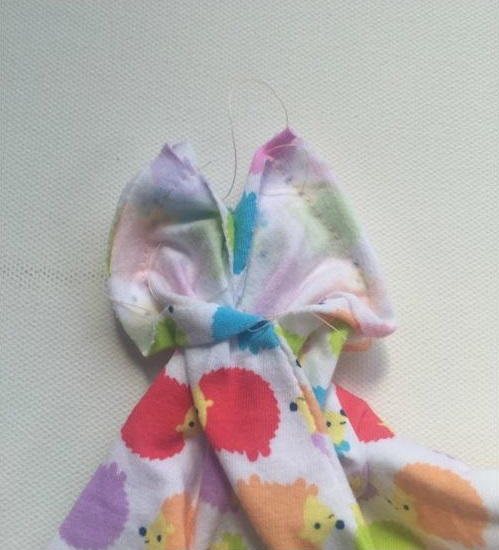
- Below is what your bodice should look like at the end.

Attaching Skirt to Bodice:
- Sew the sides of the skirt right sides together.
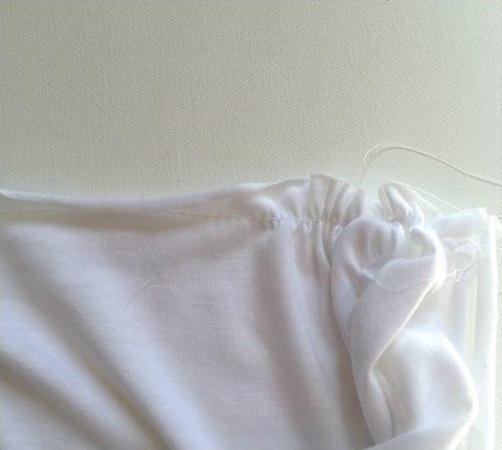
- Sew a straight line using the longest stitch on your machine about 1" from the top of your bottom piece.
- Pull and gather the skirt to fit the width of the top bodice created in Step 2.
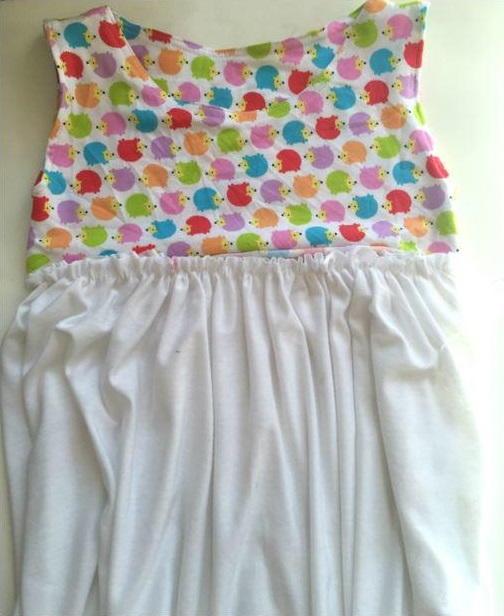
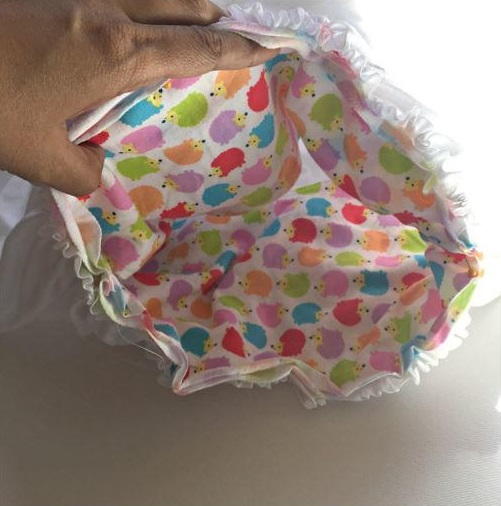
- Fit bodice into the skirt right sides together with back seam of the skirt facing back of bodice.
- Pin and sew bodice to skirt.
Hemming and Ironing:
- Hem the bottom of the dress by folding in 1/2" in and sewing all the way around (or iron), then folding again 1" and sew all the way around.
Iron the entire dress.
Read NextBohemian Rhapsody Wrap Dress Pattern