U-Shaped Baby Pillow Tutorial
Learn how to make a baby u shaped pillow for support when nursing.

Don't spend money on expensive pillows when there's this fantastic and budget-friendly U-Shaped Baby Pillow Tutorial for you to follow.
Use your handmade U-shaped pillow for nursing baby, bottle feeding, and more. For new mothers, this U-shaped pillow is a must-have.
Using these instructions, you can make one yourself! Once you have made these pillows, you can create colorful and fun pillowcases to give them more personality.
The slipcovers work whether you make your own Boppy pillow or already bought a Boppy pillow.
If you like visuals, then watch Maureen Wilson as she creates this simple pillow in the video tutorial after the written instructions. Take a look and see how easy it can be to make your own baby pillow.
This makes a fantastic baby shower gift as well, especially when you make a few covers to go along with the DIY pillow.
Sign Up For More Free Patterns >>>
Project TypeMake a Project
Time to CompleteUnder an hour
Sewn byBoth Hand and Machine

Materials List
- U-Shaped Pillow Form Pattern PDF
- 2/3-yd cotton
- Straight pins
- Sewing machine & thread
- Scissors
- Polyfill stuffing (33 oz)
- Hand sewing needle and thread
How to Make a Baby Support Pillow:
-
Print the free U-Shaped Pillow Form Pattern PDF. (Margins are already included, so do not scale.)
-
Cut out along the black line and tape together. Pieces A & B will be on top, with C & D on the bottom.
-
You'll need 2/3-yard of cotton fabric. I chose plain white since I'll be making a slipcover, but you could also choose a patterned fabric. Be certain to pre-wash and dry your fabric to prevent shrinking.
-
Fold the fabric in half and place the straight edge of the pattern on the fold. Pin in place and cut out. Repeat for the back piece.
-
Lay both pieces right sides together and pin. Sew together with a 1/2-inch seam, but leave a 5-inch hole along the top edge for stuffing.
-
Notch and clip the curves, being careful not to snip your stitches. Turn right side out and press.
-
Stuff the pillow with polyfill stuffing. You want this pillow to be very firm, so stuff it as full as possible. If you can still slide your hand inside the pillow, it needs more filling. This particular bag of polyfill was 50 ounces, and I used about 2/3 of it. So, you'll need approximately 33 ounces of stuffing.
-
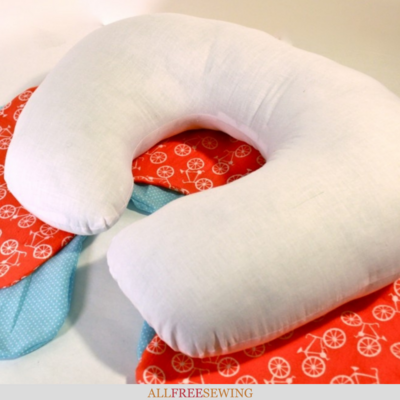
When you're finished, the fabric should be stretched taut. Once the pillow is stuffed, pinch the opening shut and hand-sew with a blind or ladder stitch.
U-Shaped Baby Pillow Video Tutorial:
Now that you have read the tutorial above, watch the video to fuly understand all of the steps.
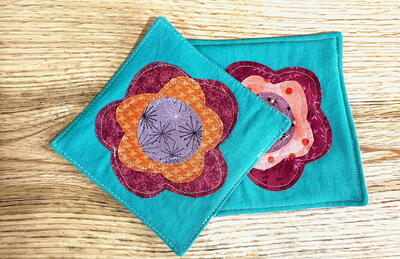
BONUS! Make a slipcover for your new pillow with this free Poppy PIllow Slipcover Pattern from Made by Marzipan.
Please note that this pillow is intended for infant support and feeding. Baby should never sleep on a pillow. Always supervise baby when using this pillow.
Made By Marzipan is in no way affiliated with The Boppy Company.
What's your favorite baby name?
Let us know!
Your Recently Viewed Projects
Thanks for your comment. Don't forget to share!
lorenescheidt12 78 32414
Sep 08, 2013
So easy, and what a price savings it would be to make it. A must for nursing moms!
storyteller324 247 9902
Sep 08, 2013
It will be a lot cheaper (and COOLER!) to make this than to buy one the next time I need a gift for a new mom.
Knittingdancer on Ravelry
Sep 08, 2013
This would be a great gift for new mothers along with a couple of extra covers.
Report Inappropriate Comment
Are you sure you would like to report this comment? It will be flagged for our moderators to take action.
Thank you for taking the time to improve the content on our site.