World's Best Burp Cloth Tutorial
Learn how to make burp cloths from flannel with this easy sewing tutorial.

Be it for a baby shower gift or as a sewn accessory for your own little one, this World's Best Burp Cloth Tutorial will deliver a hands-down amazing burp cloth.
Simple and concise, these step-by-step instructions on how to sew a burp cloth are just what you need if you're looking for something quick and easy to create.
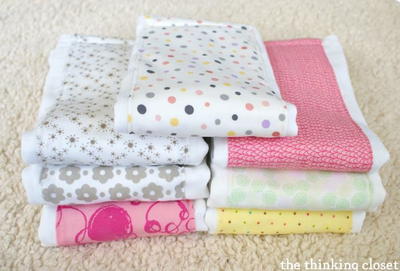
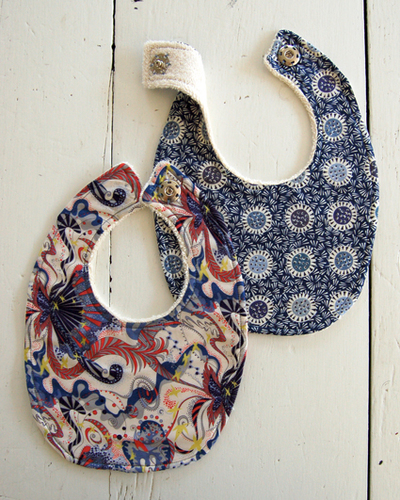
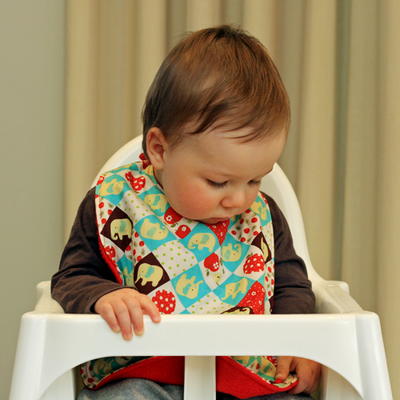
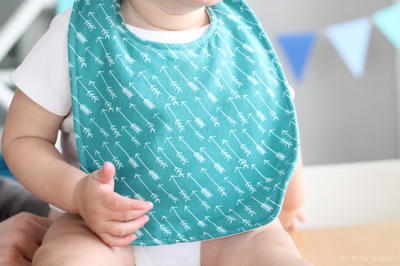
The resulting burp cloth is absolutely adorable, as you can see with our completed version here.
Truly one of the best burp cloths you can make, save this as a DIY gift when you next need to attend a baby shower.
On this page, you will learn how to sew darling embellished burp cloths, using a free printable pattern. Let's get started!
Sign Up For More Free Patterns >>>
Project TypeMake a Project
Time to CompleteUnder an hour
Sewn byBoth Hand and Machine

Materials List
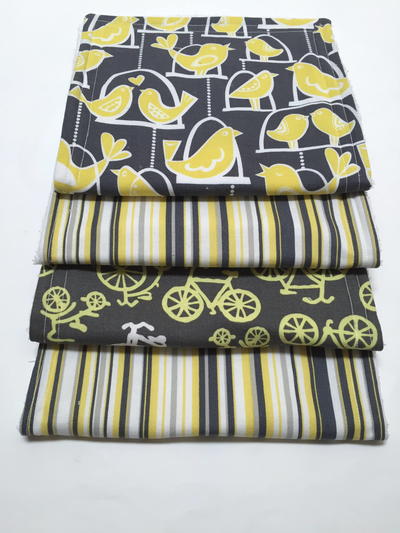
- 1/2-yard of flannel
- 1 yard low-loft cotton batting
- 1 yard washable ribbon (optional)
- 1 yd ric-rac trim (optional)
- Sewing machine, thread, straight pins
- Scissors
- Iron
- Burp cloth pattern PDF
Burp Cloth Tutorial
Burp Cloth Instructions:
-
Print and cut out the burp cloth pattern.
-
Fold a piece of flannel so that it is wide enough for your desired burp cloth to fit. Trace out half of the burp cloth along the fold and pin. Cut out the fabric. When you unfold the fabric it should be shaped like a peanut. The cloth is contoured to sit nicely on the shoulder.
-
Cut another flannel piece for the backing identical to the first.
-
Repeat once more to cut a piece from low-loft batting. I prefer natural cotton batting because it's most absorbent.
-
You can sew your burp cloth together now, or you can embellish it a bit. I'll show two different options for embellishing the cloth.

Ribbon Embellishment Instructions:
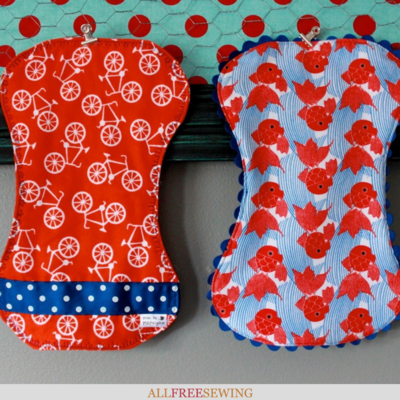
This is an optional addition to the burp cloth, as seen on the example image above.
-
Cut a piece of washable ribbon slightly longer than the width of the burp cloth. Pin the ribbon in place.
-
Sew the ribbon in place close to the top and bottom edge of the ribbon.
-
Since we want the ribbon to align on the back side of the burp cloth, you'll need to layer the front and back together, and position the ribbon so that it overlaps the ribbon on the previous piece. Sew the ribbon in place as you did the first.
-
Now we can assemble the layers. Place the front and back flannel piece right-sides together. Make sure that the ribbons are aligned.
-
Lay the batting on top. Pin the layers together. We will be leaving an opening along the middle of one side for turning. Sew the layers together with a 1/2-inch seam.
-
Trim the excess ribbon in the seam allowance. Notch the curves so the fabric will lay flatter, being careful not to snip your stitches. Turn right side out through the opening.
-
Press the burp cloth, being careful not to scorch the ribbon. Turn under the raw edges of the opening and press. Topstitch around the perimeter of the burp cloth using a straight or decorative stitch with a 1-inch seam.
Decorative Trim Instructions:
This is an optional addition to the burp cloth, as seen on the example image above.
-
Now I'll show you how you can add decorative trim to a burp cloth. I'm using wide ric-rac. Place a flannel piece face-up on the batting piece.
-
Pin the trim around the inside edge of the fabric. Remember that a portion of the trim will be caught within the seam allowance, so adjust the placement of your trim as needed. Make sure the pins stick out so that they are easily visible for removal while sewing. Leave a couple of inches of loose trim in the middle where the hole for turning will be.
-
Lay the second flannel piece facedown on top of the first. Pin through all layers.
-
Sew the layers together with a 1/2-inch seam, remembering to leave the hole in the middle for turning. Notch the curves, then turn right side out. Press the burp cloth, then fold in the raw edges of the hole. Tuck the loose ends of the ric-rac inside the hole, adjusting them so they overlap neatly.
-
Topstitch around the perimeter of the bib with a 1-inch seam.
-
These burp cloths are soft, absorbent, and absolutely adorable!
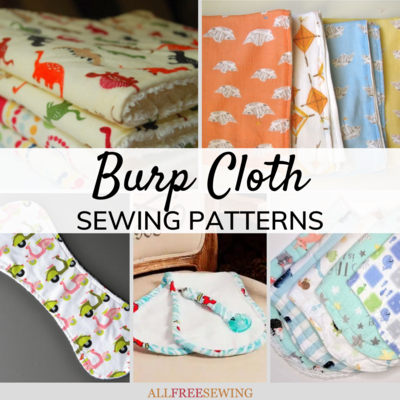
Read Next22 Free Burp Cloth Sewing Patterns
Your Recently Viewed Projects
Thanks for your comment. Don't forget to share!
Craftaddict
Dec 09, 2023
The PDF for the pattern still does not work. Can you email it to me? Thank you
KLC
Jan 14, 2019
This is really one of the best patterns I've seen for DIY burp cloths. Aptly named!
craftedbyfox
Jun 19, 2017
Really easy instructions to follow with a printable pdf which makes it easy to cut out your fabric pieces. These would make a great gift for a baby shower or new baby with matching bibs of the same material. The shaped sides are really good as they fit the neck and stay put on your shoulder unlike shop bought muslim squares. They are fast to make and you can make a few really quickly, as a new mum you can never have too many burp cloths.
Weberme
Dec 30, 2016
Want to be creative and make something for that special friends baby shower but you are just learning to sew? This is a perfect pattern for you. So simple and easy and you can add on some pretty ribbon to make it look even more special. The mom to be will think you are so talented and every mom needs these burp pads many of them as a matter of fact. And the fact that it uses very little fabric make a few of them. I love the shape of these to. Great tutorial.
MomLara
Jun 30, 2016
While I haven't made these, my Mom made some for me (10 yrs ago) this shape, and they were my absolute favorite.
prudheld 1639168
Oct 06, 2015
There is no template to download even from the tutorial.
cindyflanagan 7308 799
Sep 28, 2015
For the girls that didn't find the pattern - look to the upper right for the link that's under the "what's hot" title - it says burp cloth tutorial.
Report Inappropriate Comment
Are you sure you would like to report this comment? It will be flagged for our moderators to take action.
Thank you for taking the time to improve the content on our site.