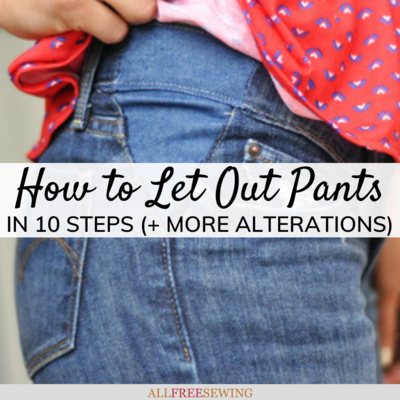
How to Let Out Pants in 10 Steps
Learn how to alter pants to make the waist larger and extend the life of your bottoms.

Everyone has that one special pair of jeans that they love, that hugs their curves perfectly and makes them feel chic and confident.
Everyone also knows that heartbreaking feeling when your favorite pair of pants no longer fits, whether due to wear, weight gain, or other circumstances.
If the thought of shopping for jeans fills you with dread, don't despair because AllFreeSewing has your back! Learn How to Let Out Pants with this step-by-step guide.
We've created an easy-breezy tutorial to letting out jeans and pants so that you can still rock your favorite pair of skinnies or bootcuts in comfort and style.
If you're nervous about slicing and dicing your jeans, then this 10-step guide to letting out pants is perfect for you! Yes, you can take in the waist of jeans or expand those jeans, too, without involving a tailor.
We've also included some other wonderful sewing tutorials, such as creating a maternity waistband or altering jeans that are either too small or too big. You can even use these tips for sewing jeans from scratch.
Stop stressing about shopping for new jeans and embrace your curves with this easy sewing how-to guide for letting out pants.
Looking for more? Sign up for one (or more) of our awesome free newsletters!
Letting Out Pants
This easy-to-follow guide is the best way to transform a too-small pair of pants into bottoms that fit you comfortably and flatter your shape. Perfect as a maternity sewing project, this free sewing tutorial is also great if you've just had a baby or there's just a little more of you to love.
Materials List
Pants or Jeans you are altering
Additional fabric in a color/fabric similar to the pants you'll be altering
Basic sewing supplies
Fabric marker
Measuring tape
Seam ripper
Fabric scissors
(Optional) Walking foot - This may help with heavier fabrics or thick seams

If the thought of tearing apart your favorite jeans fills your heart with fear, then you'll rest easy with this free sewing guide. In only 10 easy steps, you'll be rocking a pair of comfortable and fitted pants or jeans that make you feel confident and stylish!
Before You Start
We know you're eager to get to sewing, but here are some things to keep in mind before beginning your sewing project. These tips and ideas are perfect for helping you create a pair of pants that fit your body like a dream!
- This handy sewing guide is for letting out pants specifically at the side seams. You can also let out pants at the back seam as well, which works well for more tailored or dressy pants.
- Before sewing, visit your nearest fabric store to find fabric that best matches the jeans or pants that you're altering.
- Most jeans are made with a stud or rivet at the side seams. This is to help keep the pockets from ripping. When adjusting side seams, be conscious of side rivets when removing seams and cutting fabric.
- Most importantly, remember that you are more than just a size. Moving up or down a clothing size is typical throughout our lives, so embrace your curves and create a pair of jeans that are custom-made to fit your body and flatter your shape.
How to Let Out Pants:
In these 10 basic steps, you'll learn how to let out the waistband of your jeans to give yourself a more comfortable and flattering fit. Follow this handy how-to guide for letting out pants at the side seams and rock your favorite pair of jeans with confidence!
- Taking measuring tape, measure your waist/hips (where your waistband sits) and subtract the waistband measurement of the pants you're altering. This will help you determine how much additional fabric you need. Divide this number in half. This will tell you how much additional fabric you need for each side seam.
For example: My current waistband is 38" and the waistband of the pants I'm letting out is 36". That means I need slightly more than 2" of additional fabric, which is slightly more than 1" per side seam.
- You can also do this by measuring the gap between your button and buttonhole. Remove any belt loops that are connected to your side seams.
- At your side seams, using a seam ripper, rip your side seams down 2"- 4". If you are altering jeans, do not rip further than the rivets on your side seams.
- Fold your additional fabric in half. Make sure your additional fabric is long enough to fill the opening of your side seams.
- Lay your additional fabric underneath the opening of your side seams. Using a fabric marker, mark the opening onto your additional fabric. Repeat on the other side.
- Cut down your additional fabric and finish the edges. Make for each side seam.
- Using your marking lines, line up the opening with your additional fabric. Pin in place.
- Try on your jeans to make sure they feel comfortable before stitching anything into place.
- Similar to an applique stitch, zigzag stitch the two pieces of fabric into place.
- Re-attach any belt loops and you're done. Admire how fabulous you look!
BONUS! Pants Alteration Tutorials
If you've always wanted to turn your bootcuts into skinny jeans, add a maternity waistband, or just create a pair of tailored pants, then you're in luck! These how-to tutorials are great for sewing tips and tricks for your pants altering needs.
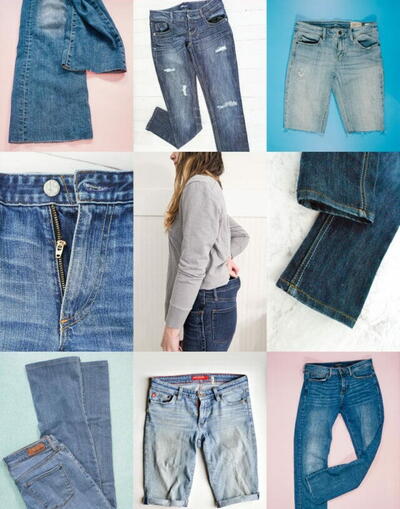
- Letting Out Pants - Shown below. You don't need to go out and buy new pants if you have gained a few pounds. Keep your old pants and simply make them more comfortable by letting out the waist with these easy steps. Our readers can't get enough!

- How to Alter Pants - Shown below. Emphasizing lowering a waist, this is a great article to read if you've found a pair of pants that you love that are just too high-waisted. Tailor your clothes to your body type with these instructions.

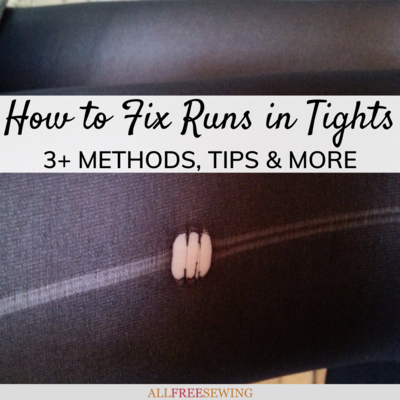
- Tailoring Pants Tutorial - Shown below. Have pants that are too big? Then check out this tutorial and learn how to alter pants. This easy-to-follow tutorial makes hemming and taking in your pants easier than ever. Great for fitted slacks!

- Easy Maternity Jeans - Shown below. Grab a pair of jeans you already have and a t-shirt you no longer wear. Use this easy sewing tutorial to learn how to make maternity clothes that are stylish and low-budget.

- How to Alter the Waist on Pants - Shown below. This is a tutorial on a common alteration for women's pants. The tailor describes in detail how to take in the waist and seat, show how to mark the garment with chalk, and what techniques are used.

Want More?
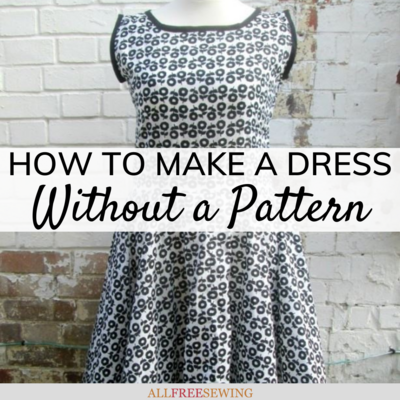
50+ DIY Pants Alterations: Ultimate Guide >>
Do you have some great alteration tips and tricks?
Let us know below in the comments!
Read Next50+ Sewing Crafts That Sell Well
Your Recently Viewed Projects
Thanks for your comment. Don't forget to share!
Report Inappropriate Comment
Are you sure you would like to report this comment? It will be flagged for our moderators to take action.
Thank you for taking the time to improve the content on our site.
![Know Your Skirts Guide [Infographic]](http://irepo.primecp.com/2021/10/509029/Know-Your-Skirts-Infographic-square21-nw_Large400_ID-4536247.png?v=4536247)