How to Use a Walking Foot on a Sewing Machine
What does a walking foot do on a sewing machine? Find out everything you need to know here!

This tutorial has everything you've ever wanted to know about using your sewing machine's walking foot. Learn what they look like, how to install them, and more with our guide, How to Use a Walking Foot (on a Sewing Machine).
Carolina Moore, your guide to this sewing attachment, will even show you five different pattern designs to create using the walking foot.
This walking foot video and written tutorial is an excellent resource for not only learning how to sew and quilt with a walking foot, but also for how to create different quilted patterns. This technique tutorial shows you some of the easiest and most popular patterns you can create, all using this sewing machine attachment.
Sign Up For More Free Patterns >>>
What do you use a walking foot for?
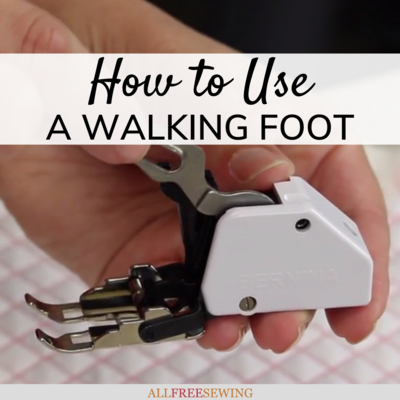
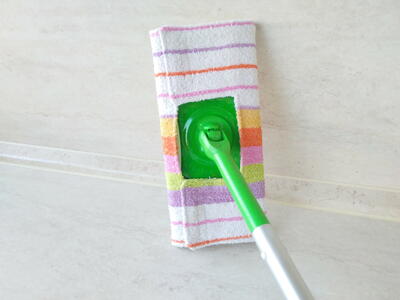
This sewing machine attachment is most often used in quilting. It has feed dogs that move the bottom fabric, allowing the layers to move evenly and smoothly through the machine as it's stitching. You can see in the image above what a walking foot looks like as well.
Materials Needed
- Sewing Machine
- Thread
- Fabric
- Walking Foot
Project Type: Learn a Technique
Time to Complete: Under an hour
Sewn By: Machine
How to Use a Walking Foot Video Tutorial
The sewing video below shows you step-by-step how to apply the walking foot and why it is better for your quilting purposes! Whether you are a master quilter or just starting this how-to video has some great tips and tutorials in it! Press play on the button and see how the walking foot works.
How to Use a Walking Foot
Walking Foot Assembly Instructions:
- Attach the arm that moves up and down to the needle bar and secure the foot in place. When you lower the needle you should see the arm go up and down.
Tip: Be sure to purchase the walking foot for your specific sewing machine brand.


Use a Walking Foot to Make a Stitch in a Ditch Design:
- If you have your seams pressed to the side you will see one side of your seam is raised and the other is hidden in a "ditch" of sorts.
Place your quilt underneath your machine and lower your foot. Make sure your needle is placed right underneath the machine in the "ditch" seam. This method will keep your seam virtually hidden.


Use a Walking Foot to Make a Straight Line Design:
- This is great for a quilt that has a lot of open or negative space.
Draw a line in the center of your quilt. Stitch down the line you drew and you will have your first line in your straight line quilt. Then you can use the edge of your walking foot to measure where to make the next line.


Use a Walking Foot to Make a Matchstick Design:
- This is a very popular quilting method for modern quilts or quilts with a more modern look to them.
Start by straight line quilting all of your rows. Stitch your second row roughly in-between the two middle rows you've already made, and stitch all the way down.
Continue to add lines all the way down one side, and then repeat the process all the way down the other side.
Repeat this entire process a second time.


Use a Walking Foot to Make a Grid Design:
- This is another great way to quilt when you have a lot of negative space. You can do this on an angle or straight down the middle however you would like.
Start by drawing a line down the middle of your quilt again. Stitch with your walking foot from one end to the other. Continue making more lines by using your walking foot as a guide. Go all the way down one side and then all the way down the other.
Using a ruler line up your center line and draw it from point to point on the other side so you are crossing over your last stitches. This will create the "grid" look.


Up Next
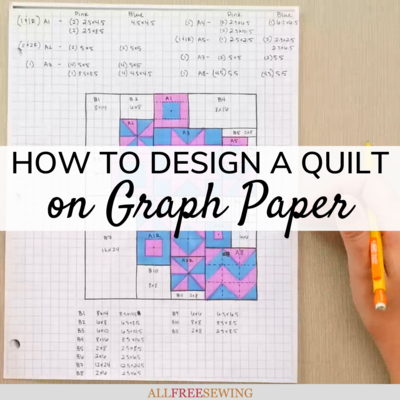
How to Design a Quilt >>>
Which quilt design is your favorite?
Let us know in the comment section!
Read NextCute and Easy Potholders to Sew