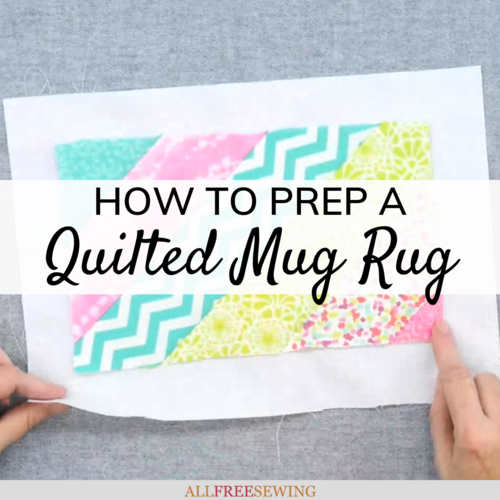
How to Prep a Quilted Mug Rug
This easy mug rug tutorial will help you create a beautiful and useful rug for your table.
Ready for part one of how to make a super cute and easy mug rug?
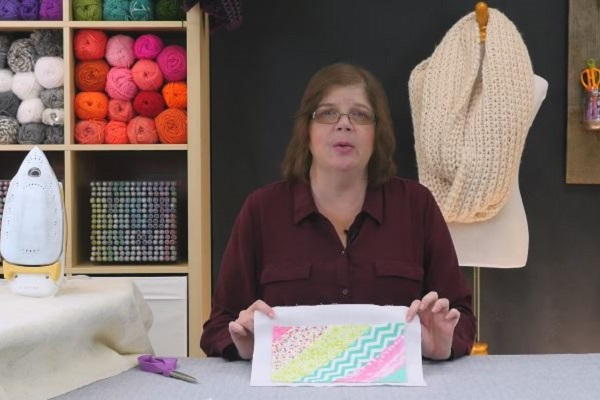
This How to Prep a Quilted Mug Rug video tutorial will show you everything you need to do to get your mug rug ready for binding and finishing, which you will learn in the next video.
If you aren't a visual learner, don't fret! After the video, we have a full written tutorial with step-by-step photos.
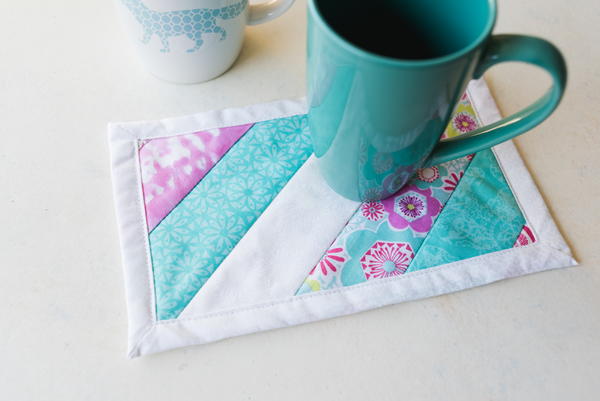
Mug rugs are fantastic for so many different purposes and reasons, and now you have a way to make them look super cute. Keep your tables clean and dry with room for both your mug and a treat on your own little mat.
This DIY mug rug pattern is super cute and definitely an easy pattern to recreate. Check out this sewing video to see how you can get started on making your new favorite mug rug pattern!
Sign Up For More Free Patterns >>>
What's a Mug Rug?
A mug rug is a small quilt that can vary in size from 4" x 6" to 9" x 10" but can really be any small, often rectangular, size that is larger than a coaster but smaller than a placemat.
As the name suggests, it is a tiny "rug" for cups, particularly mugs. Even with the mug sitting on the mug rug, the room on the mat is usually left for treats or spoons.
Mug rugs are often quilted fabric with batting that absorbs spills. These little fabric creations are great for protecting tables from heat and stains.
They make fantastic gifts as well, particularly at Christmastime. The image shown below is a great example. Check out the Upcycled Yuletide Mug Rugs here.
Learn more about mug rugs on our page, What is a Mug Rug?
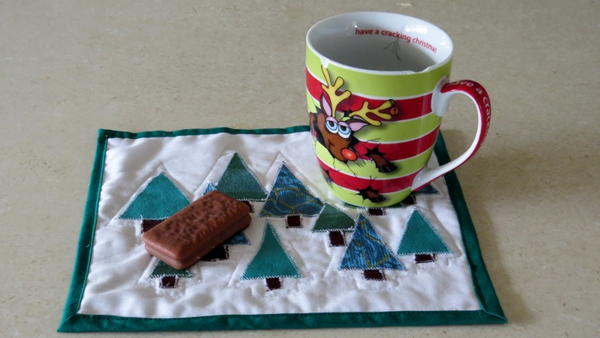
Skill Level: Easy
Project Type: Make a Project
Time to Complete: Under an hour
Sewn By: Machine
Materials List
- Batting, 6" x 9" or desired size
- Backing fabric at least 3" wider and longer than batting
- Assorted strips or scraps of fabric, cut about 2" thick
- Rotary cutter and mat
- Machine and machine supplies
Quilted Mug Rug Prep Video Tutorial
Click the play button to watch our fabulous and easy-to-follow video. After the video, scroll down for the written tutorial with pictures.
How to Make a Quilted Mug Rug
- Using a rotary cutter, trim backing fabric so there is 1-1/2" to 2" extending past the batting on all four sides.
- Center the batting on the backing fabric. Fold one corner of batting down at a 45-degree angle and press to mark, or use a marking pencil.
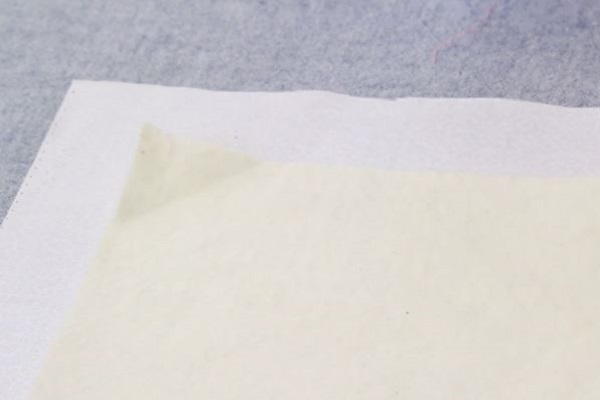
- Place one strip, right side up, on top of the batting, placing the long cut edge along the marked fold, and making sure to extend the fabric at least 1/2" on either side of the batting.
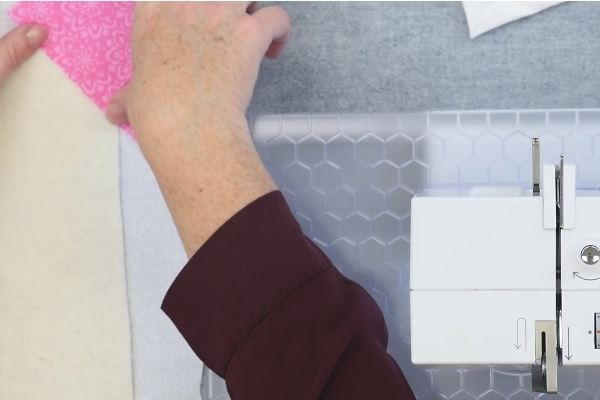
- Place the second strip right side down over the first strip, aligning raw edges and leaving plenty of fabric extended on either side.
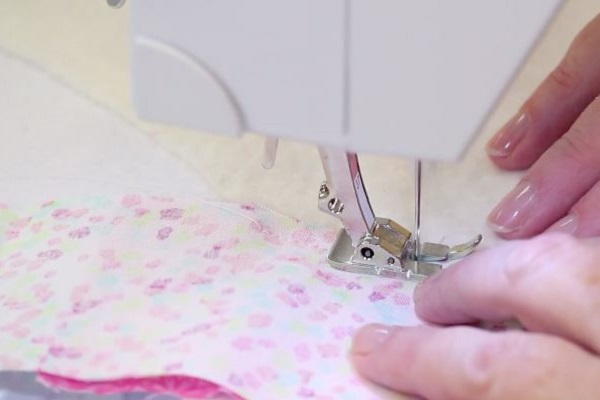
Stitch down with a 1/4" to 1/2" seam allowance, but do not go much past the batting.
Note: You can lock stitch the beginning and end but it is not necessary.
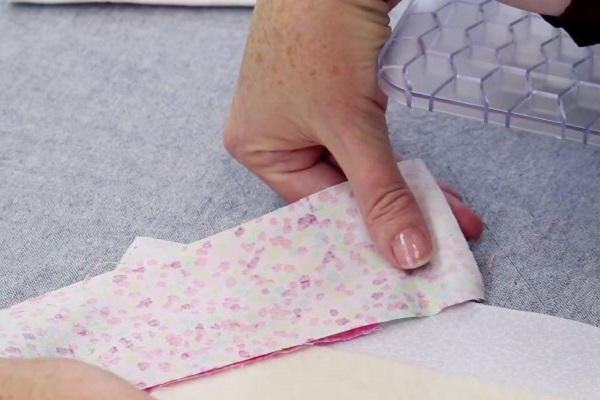
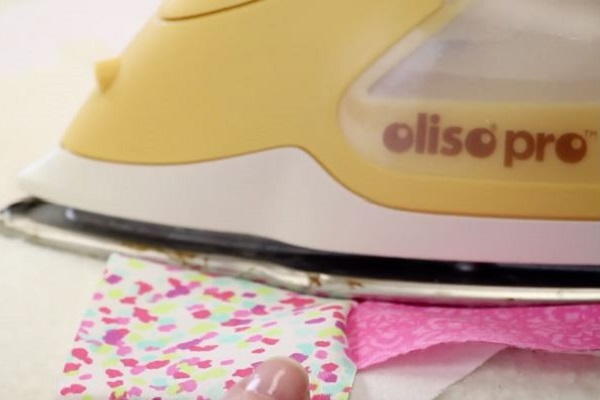
- Fold down the top strip so it's right side up. Press with the iron.
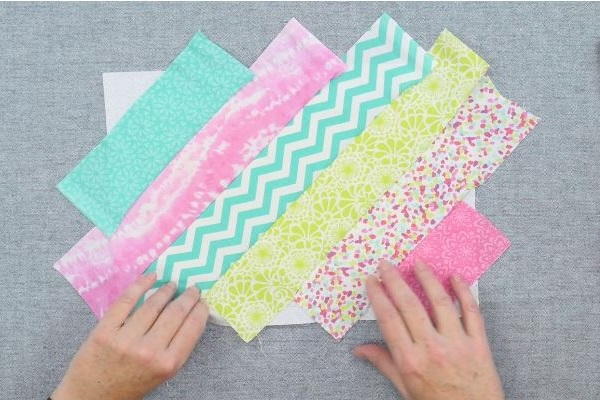
- Repeat steps 3 and 4 with the next strip (place strip right side down, aligning raw edges, sew, fold down, and press). Complete the process with strips until all of the batting is covered.
Note: As mentioned before, do not sew far past the batting.
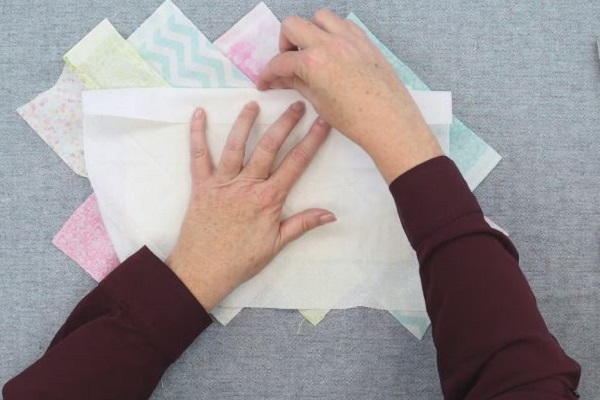
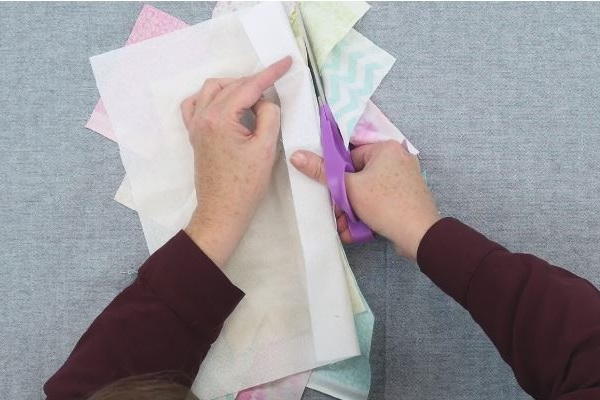
- Turn over your mug piece. Fold back the backing piece to expose the extra fabric strip pieces.
Using scissors or a rotary cutter, trim all raw edges of strips back to the same size as the batting.
Want More?
40+ Free Mug Rug Patterns >>
Would you give mug rugs as gifts?
Read NextMake A Gift Card Holder Pouch
Your Recently Viewed Projects
Report Inappropriate Comment
Are you sure you would like to report this comment? It will be flagged for our moderators to take action.
Thank you for taking the time to improve the content on our site.

