Boxy Cosmetic Bag Tutorial
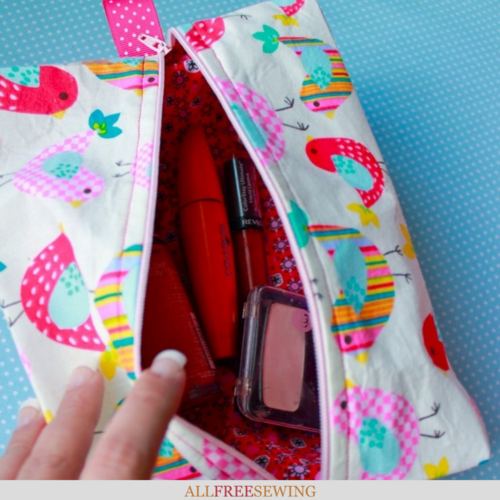
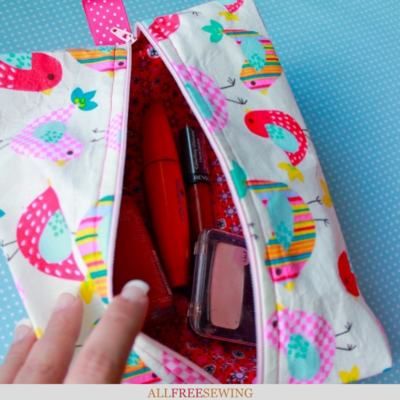
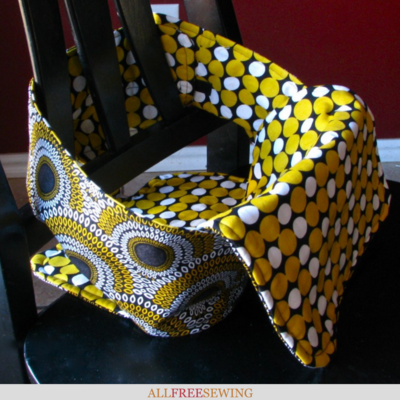
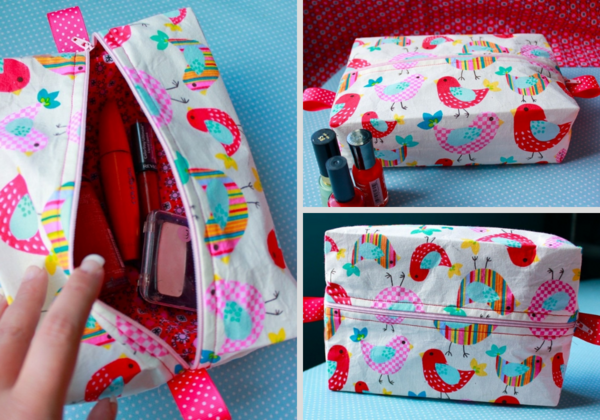
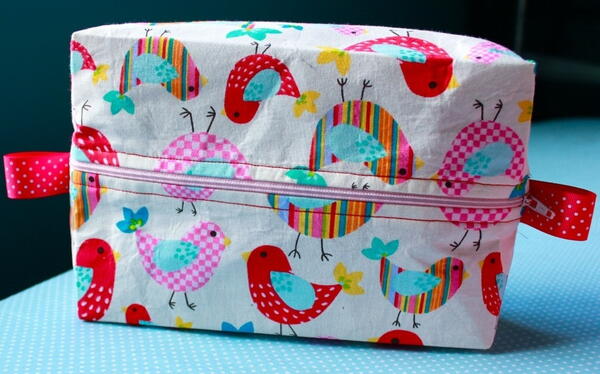
With this tutorial, learn how to sew a lined zippered pouch in a box design that not only holds makeup but is perfect for anything small you need when on the go!
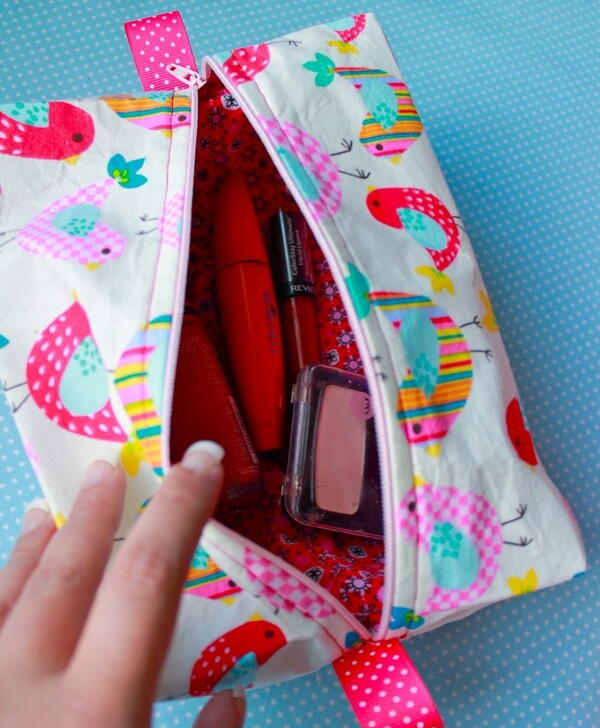
Fully lined and with ribbons to make zipping easy, this Boxy Cosmetic Bag Tutorial will result in your go-to for makeup storage.
From nail polish to tweezers to your lipstick collection, you can easily store your most precious basic beauty products in this adorable DIY cosmetics bag.
Simply follow this video tutorial to learn how to create your own, personal portable makeup bag without spending an arm and a leg.
This fully lined zippered box pouch can also be used as a travel or storage bag for all sorts of things. Sewing supplies, cords, hair clips/ties, snacks, and so much more. It's an on-the-go bag that isn't bulky but is spacious.
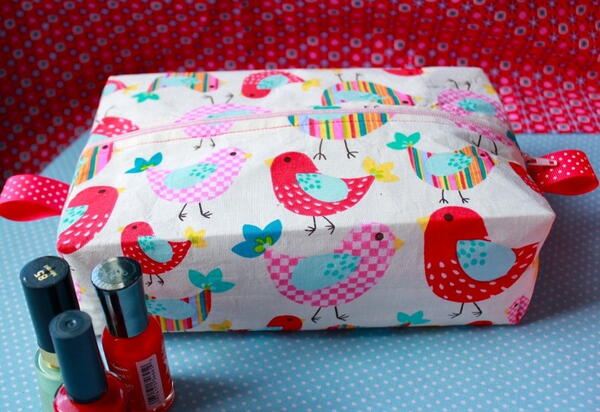
This Boxy Cosmetic Bag will help you create a cute, special bag you'll use every day. Plus, it's super simple to make!
Sign Up For More Free Patterns >>>
Boxy Cosmetic Bag Video Tutorial
Watch the video tutorial right below, then scroll for the written instructions and more images.
Boxy Cosmetic Bag Tutorial
Materials List
• 2 pieces of outer fabric (9 x 12 in)
• 2 pieces of lining fabric (9 x 12 in)
• 2 pieces of iron-on interfacing (9 x 12 in)
• Ribbon, 8 in
• Zipper, 12 in
• Zipper foot
• Standard sewing supplies: sewing machine, thread, iron, pins, etc.
Skill Level: Easy
Project Type: Make a Project
Time to Complete: Under an Hour
Sewn By: Machine
Boxy Cosmetic Bag Tutorial Instructions:
- Start by ironing the interfacing to the outer fabric pieces.
- Then lay one of the lining pieces face up, and place the 12-inch zipper on top of it. (It’s also possible to use a longer zipper and trim it later.) The zipper should be face up.
Line the outer edge of the zipper up with the top edge of the lining piece. Then, lay an outer fabric piece on top, sandwiching the zipper between the layers. Pin in place.
- Now we need to sew the zipper in place. You’ll need to switch to a zipper foot. It’s the one that looks like a ski. With my zipper foot, I need to change the orientation of the needle.
I can move it to the left or the right, depending on which side of the zipper I’m sewing. Your machine may be different, so check your manual if you’ve never installed a zipper before.
- Sew alongside the zipper, stopping and starting 1/2 inch away from the top and bottom edges. Then press the layers together.
- Now we’ll add the fabric to the other side of the zipper. Lay the remaining lining piece face up. Lay the sewn zipper piece on top of it, with the lining pieces touching each other.
Place the remaining outer piece face down on top. Pin the layers together.
- Change your needle’s position if necessary, to sew on the opposite side. Remember, start 1/2 inch in from the top, and stop sewing a 1/2 inch from the bottom.
Separate the layers so you have one outer piece and one lining piece on each side of the zipper. Press.
- Change back to your standard sewing foot, and center your needle again if needed. Topstitch next to the zipper, beginning and ending 1/2 inch away from the top and bottom. Do this on both sides of the zipper.
- Now we’re going to sew the outer pieces together, followed by the lining pieces. Fold the fabric so that the two outer fabrics are right-sides together.
Pin the long bottom edge opposite the zipper. Do the same for the lining pieces.
- Sew the outer piece along the pinned edge. Start at the top and sew all the way to the bottom.
- Now we’ll sew the lining pieces together, BUT you need to leave a hole open in the center for turning. So leave a 4-inch gap unsewn in the middle.
- Next, we’ll form the sides of our bag. Center the seams over the zipper, and press in place.
- Lift the lining layer and pin it out of the way on the short side with the bottom of the zipper. Cut a 4-inch segment of ribbon and fold it in half.
Slide it between the outer fabric layers, with the loop pointing inward. The ribbon should be centered over the zipper. Pin in place.
- Sew the outer fabric layers together with a 1/2-inch seam, securing the ribbon as you sew. Backstitch over the ribbon for durability.
- Flip the bag around to work on the opposite end. Make sure the zipper is unzipped about halfway!
If you don’t, you won’t be able to turn your bag right side out later. Pin the lining layers out of the way, then add the ribbon and sew as you did the other side.
- Now pin the outer fabric out of the way while you sew the lining fabric shut on each end with a 1/2-inch seam.
- Now it’s time to give our corners their boxy shape. To do this, lift one-half of the lining piece, and separate the layers by pulling them apart gently.
Your fabric should have a pressed line in the middle, center this, then squash the fabric flat in the middle.
- Notice how this forms triangles at the top and bottom. Flatten out the triangle, and measure 1.25 inches down from the top point. Draw a line there, and pin the top of the triangle.
- Sew across the drawn line. You’ll need to keep the outer layers of fabric out of the way, as you should only be sewing the lining pieces together. Then, cut off the point a 1/4 inch above the seam.
- Repeat these steps for the remaining 3 corners of the lining, then do the same for the outer fabric corners.
- Turn the bag right-side out through the hole in the bottom of the lining. Then pinch the hole shut, and hand-stitch closed with a blind or ladder stitch.
If you’d like, you can press your bag to give it sharper edges. Just be careful not to iron the ribbon, which could melt.
Want More?
Your Recently Viewed Projects
Weberme
May 05, 2017
Mother's Day is right around the corner and this is a very easy and fast gift to make mom and I am sure she can use one. These can be used for more than cosmetics. Great for men too for traveling to put their toothbrush,toothpaste, deodorant and razors in . You can cut the fabric bigger or smaller to change the size.These make great gift ideas for prizes or just for cheering someone up A well made video and a tutorial too. Thanks.
AFC Editor Annalis a
Feb 05, 2016
This is such a fun cosmetic bag! Sign up for our free newsletter to see this featured next week along with other patterns you absolutely need.
Report Inappropriate Comment
Are you sure you would like to report this comment? It will be flagged for our moderators to take action.
Thank you for taking the time to improve the content on our site.

