How to Make a Waterproof Changing Pad (for Travel)
Once you make this travel diaper changing pad pattern, you will wonder how you ever lived without it!

This is going to be the most popular baby shower gift idea you will ever give. Learn How to Make a Waterproof Changing Pad with this video and written tutorial.
This travel diaper changing pad pattern is the perfect gift to give a new mom, especially if she is on the go. This compactable sewing pattern for baby is easy to make and easy to clean too! No longer will mom have to search high and low for somewhere to change her little one.
This homemade baby shower gift is a diaper mat changing station you can take along! Let Maureen Wilson walk you through each step. You can also find the video tutorial for this project below, which will help you understand the written instructions.
Why buy an expensive version when you can make your own travel changing pad that's waterproof, convenient, and can be customized with the fabric you like and with the size and the pockets you need?
Sign Up For More Free Patterns >>>
Watch the video right below and then check out the written tutorial to learn how to many this handy travel pad.
Project TypeMake a Project
Time to CompleteIn an evening
Sewn byMachine

Materials List
- 2/3 yd cotton (main)
- 1/2 yd cotton (pockets)
- 2/3 yd clear vinyl
- 1/2 yd batting
- Hair elastic band
- Large button
- Double-fold bias tape (optional)
One way to cut down on the cost of raising a child is to sew some of the items your baby will need. Check out these
Travel Diaper Changing Pad Pattern:
Cutting Measurments:
- Main Mat: 23" x 12" (2)
- Vinyl: 23" x 12" (1)
- Pocket Backs: 21" x 7" (2)
- Pocket Tops: 15" x 7" (2)
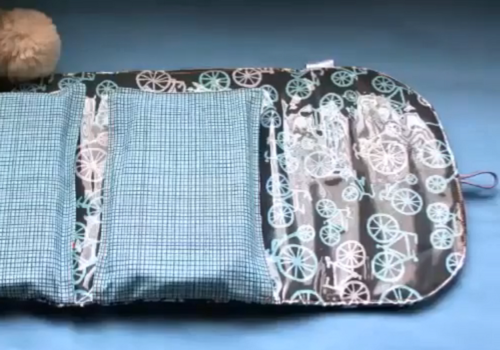
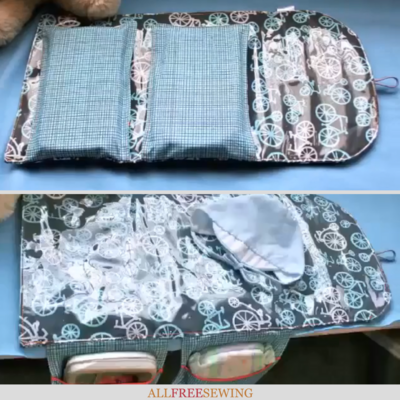
How to Make a Baby Changing Pad:
We promise, once you see this awesome DIY baby changing mat, you will never buy another for yourself, family, or friends with babies. See how to make a changing pad that's really an all-in-one design that can be used anytime.
But, it's particularly helpful when on the go. When you have a travel changing pad like this, you never have to worry about emergency situations. It's lightweight, compact, and super helpful for moms.
Click on any image to enlarge.
-
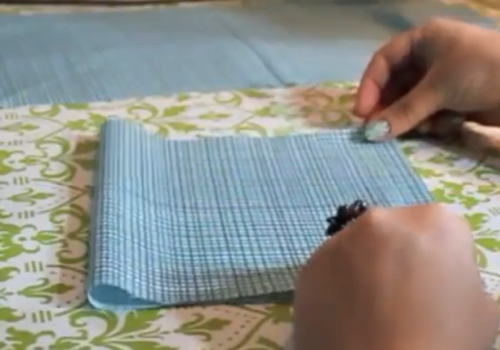
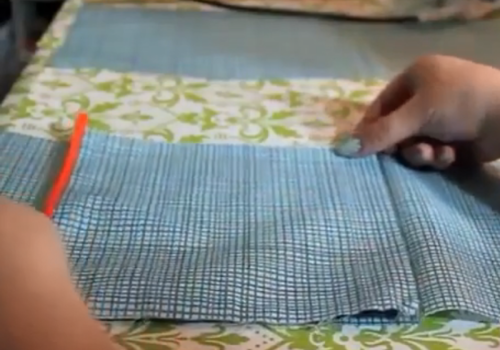
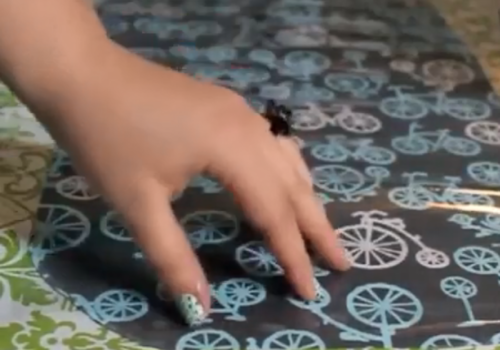
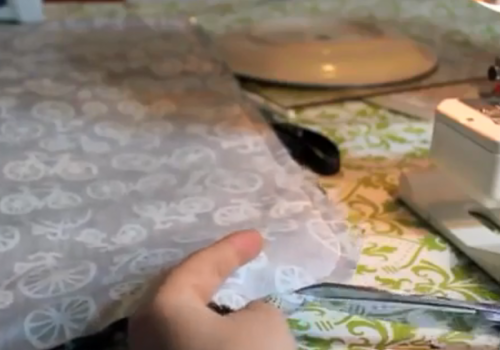
Start by ironing your fabrics. Cut the pieces to the measurements listed above. First, work with the smaller rectangles to create the tops of the pockets. Fold the 15" x 7" rectangles in half, wrong sides together. The pattern should be on the outside.
-
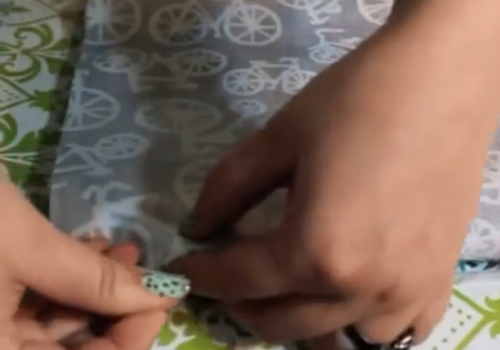
Add decorative bias tape to the folded edge. (Bias tape trim is optional, but it makes your project look polished.) Sew in place.
-
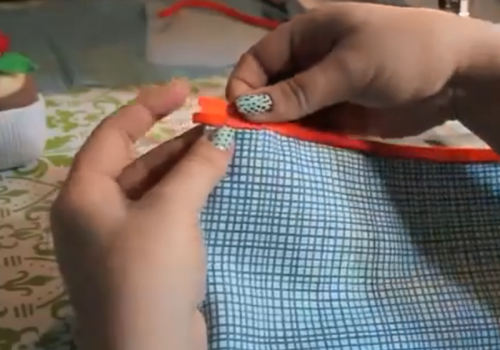
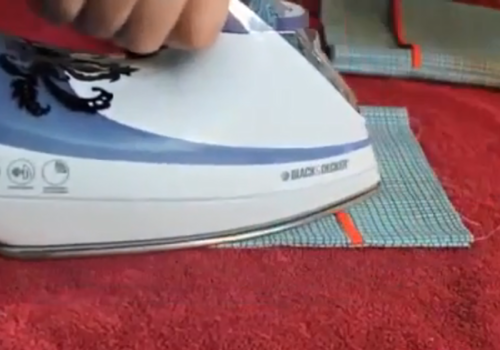
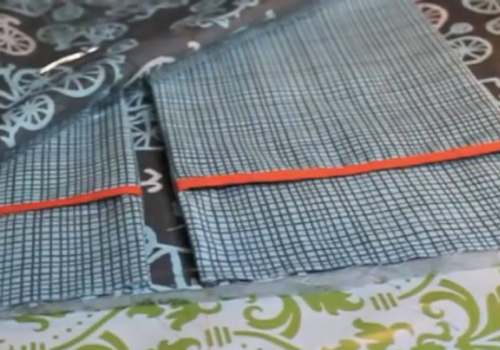
Now add the pocket tops to the main pocket pieces. Fold the 21" x 7" pocket pieces in half, right sides together. Press the fold.
-
Lay the pocket top piece on top of the main pocket piece, lining up the raw edge with the center fold line. Fold the main piece in half again, enclosing the pocket top. Pin the edges.
-
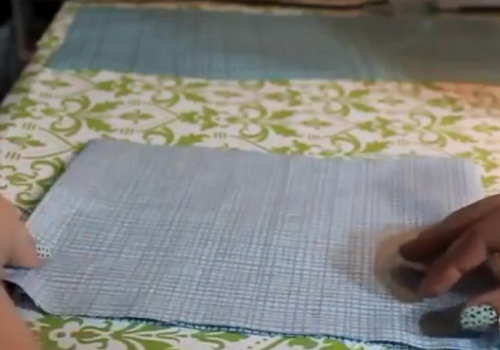
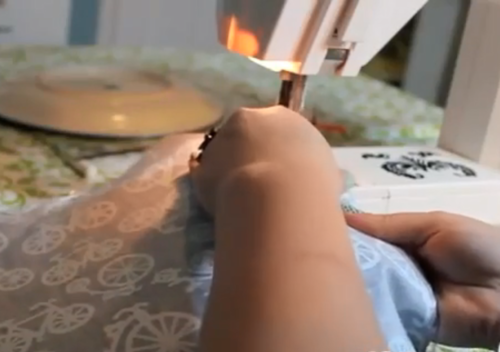
Sew the sides and bottom with a 1/4" seam, leaving the top open. Turn right side out and press. Repeat with the other pocket. Set aside.
-
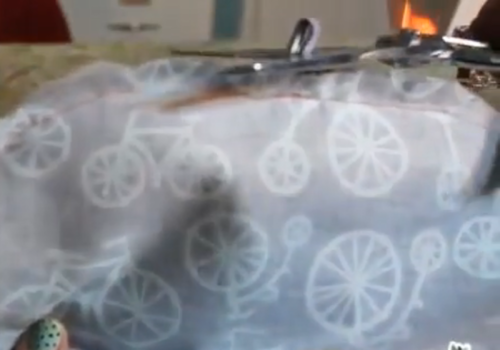
Now, work on the mat. (These pieces should have been cut to 23" x 12".) Lay the batting down first, then place a piece of fabric face-up on top of the batting.
-
A business tag is added here, but you can skip that if you don’t have one. Pin the elastic band to the center of one short end. If your elastic has a metal clasp, pin it so the elastic hangs off the edge. It can be trimmed off later.
-
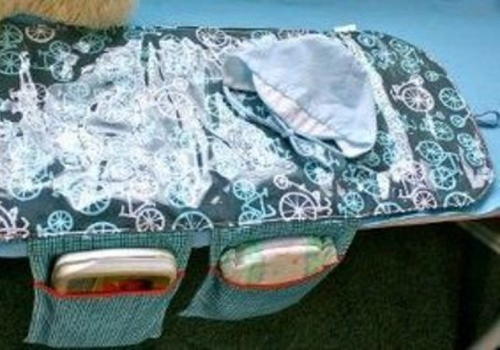
Next, add the pockets. Measure 2" in from the edge without the elastic, and line up the raw edges of the pocket with the side of the main piece. The pocket should be face-up. Add the second pocket 1" away from the first. (Put both pockets on the same side, as they’re designed to hang off the side of the changing table.)
-
If you’d like, you can curve the top edge of the mat by tracing a plate with chalk and trimming off the corners.
-
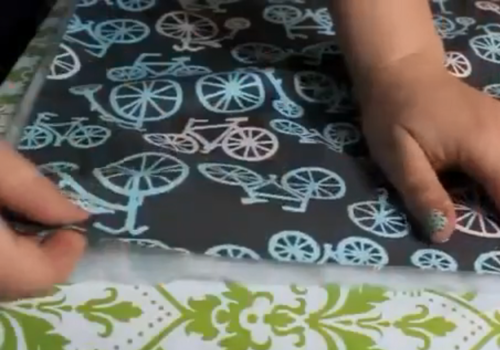
Now, pin the vinyl to the top of the other main mat piece (the piece without the elastic & pockets). It is suggested that you pin this separately, and pin it very well because you want the vinyl to be as smooth as possible.
-
Once this is pinned, lay it face down on top of the other mat piece and batting. Right sides should be together. Pin in place.
-
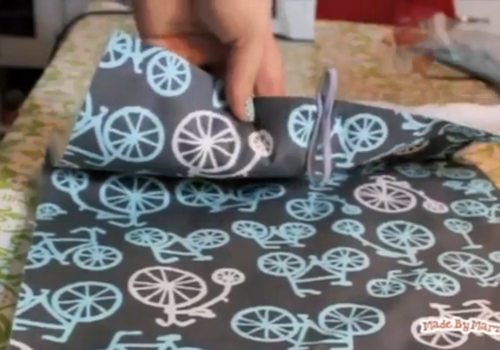
Sew with a 5/8" seam, leaving the bottom edge (without the elastic) open for turning. When you reach the elastic, backstitch over it for durability.
-
If you curved the end of your mat, you’ll need to notch the curves before turning right side out. Be careful not to snip your stitches. Trim the metal clasp off the elastic.
-
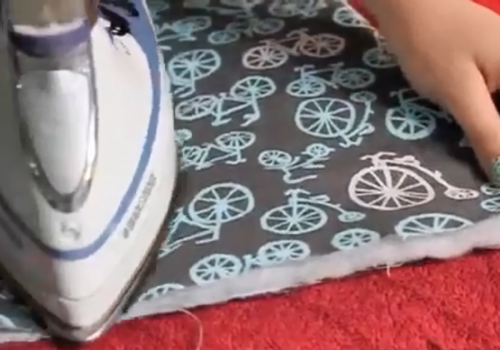
Turn out. Press the outside of the mat, the side without the vinyl. Be careful not to touch the vinyl with your iron.
-
Fold in the bottom raw edge a 1/2" and pin. Topstitch with a 1/8" seam, and continue to add a decorative topstitch all the way around your mat. Consider using a contrasting thread for a pop of color.
-
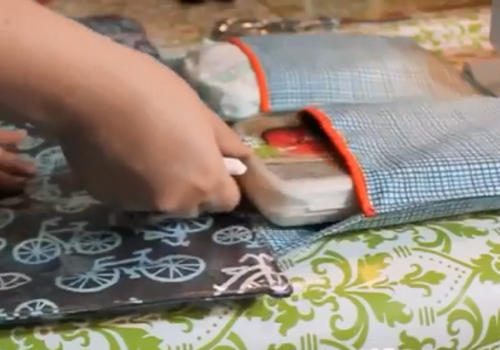
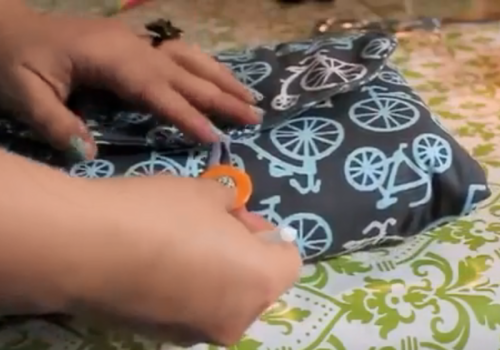
Finally, add the button. Fill the pockets, then fold the mat into thirds. Use chalk to mark the center of the elastic, and sew a button there. Pinch the fabric so that you are sewing through the top layer only.
-
Now you’re ready to grab it and go!


Up Next
More baby sewing patterns >>>
What is your favorite baby name?
Let us know in the comments!
Read Next10-Minute Folded Fabric Coasters
Your Recently Viewed Projects
Thanks for your comment. Don't forget to share!
LynM
Jan 10, 2017
This is a super idea. Its a long time since Ive had babies to care for, but I do remember finding a place to change nappies on an outing wasnt always the easiest thing to do. And even those public facilities provided at shopping centres are not always as hygienic as they could be. This change mat, with its pockets to contain nappies and baby wipes would be a great gift for a new Mum. Top marks for providing written instructions as well as the video.
Report Inappropriate Comment
Are you sure you would like to report this comment? It will be flagged for our moderators to take action.
Thank you for taking the time to improve the content on our site.