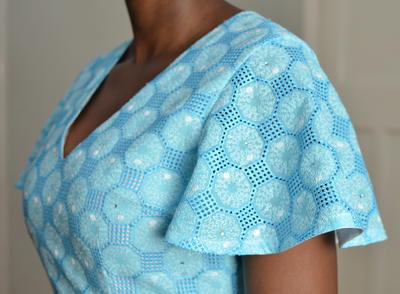
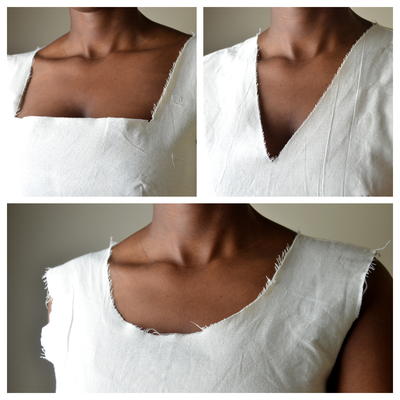
How to Sew a Rolled Hem Video Tutorial
Also known as a baby hem, the rolled hem is a beautiful way to finish off a sewing project.

Learning how to sew a rolled hem is essential for all sewists. This How to Sew a Rolled Hem Video Tutorial for beginners will teach you how to sew a rolled hem (also known as a baby hem), which is a useful hemming technique.
This hem allows your projects to have nice, finished edges, and it also keeps your projects from fraying at the seams.
The instructions in this stitching tutorial are clear and easy to understand, so even novice sewists can follow along without a problem. After learning this important skill, you'll be able to apply this technique to all sorts of current and future sewing projects.
Sign Up For More Free Patterns >>>
This video is so simple to follow along with and provides two ways to sew the baby hem with your sewing machine. If you prefer written instructions, take a look at the step-out below.
Project TypeLearn a Technique
Time to CompleteUnder an hour
Sewn byMachine

Materials List
- Sewing machine (for both ways)
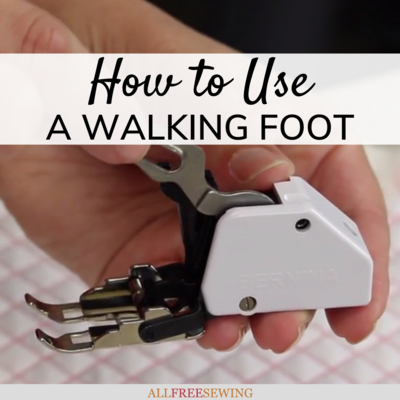
- Turning foot (for way 1)
- Regular foot (way 2)
- Iron and ironing board (way 2)
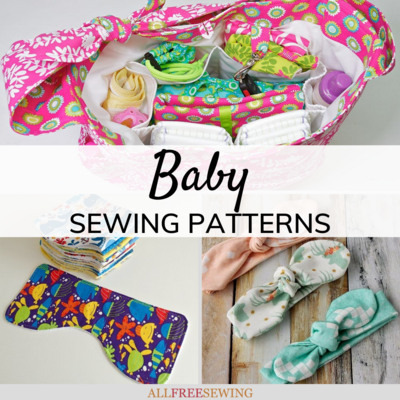
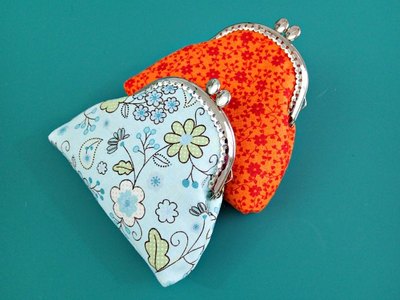
Find more patterns for your little one inside our collection of75+ Free Baby Sewing Patterns You'll Adore
How to Sew a Rolled Hem:
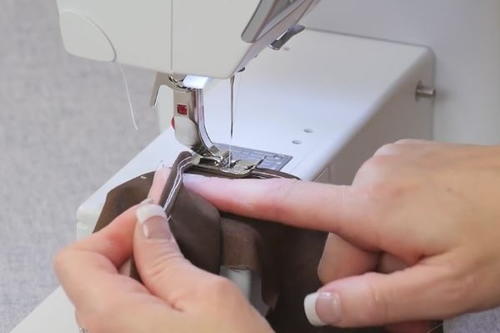
Rolled Hem Stitch: With a Turning Foot
Learn the baby hem or rolled hem stitch by following along with our friend and sewing expert, Angel Peterson.
There are two ways to sew this hem. First, we will go over the easy way that uses the turning foot. It's the easier of the two because it has fewer steps.
-
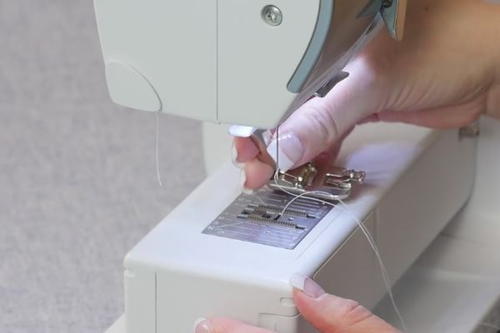
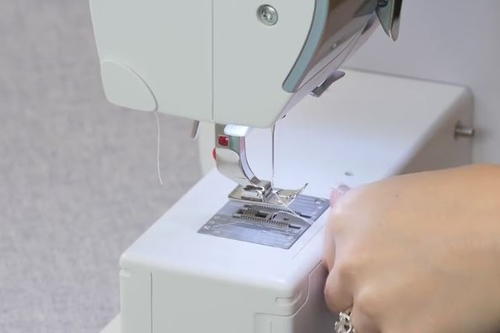
Attach the turning foot to your machine.
-
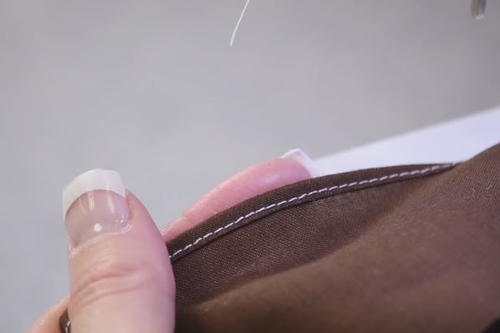
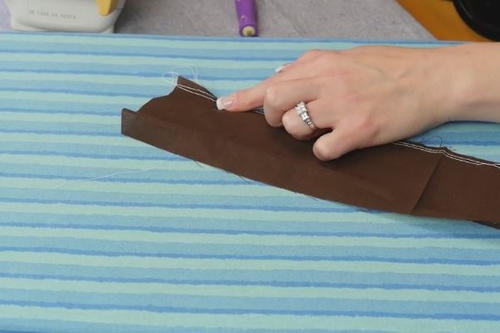
Fold the edge of your fabric twice to create the unsewn rolled hem at the end.
-
Set the foot down at the edge of the fabric. Move the needle down into the fabric.
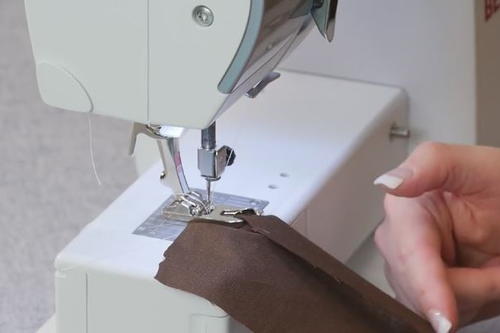
-
Raise the foot back up and feed the fabric through.
Note: With a turning foot, there is a curved loop. That is what you are feeding the fabric through. You are helping keep the folded fabric moving through the correct parts of the foot. -
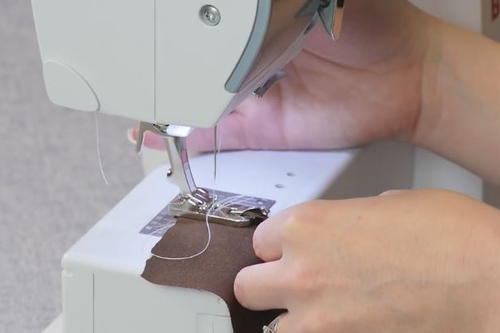
Start a few stitches and lock the seam.
-
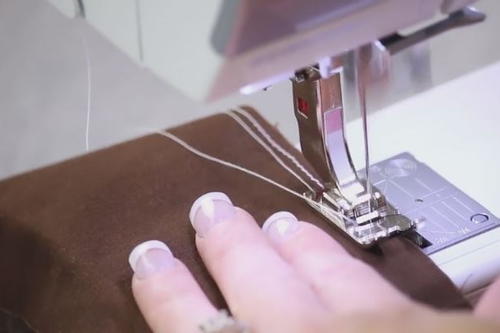
Start sewing your seam by moving the fabric through the foot.
Note: To help the turning process, be careful about keeping the rolled hem even. Do not feed in too much or too little. Go slowly. -
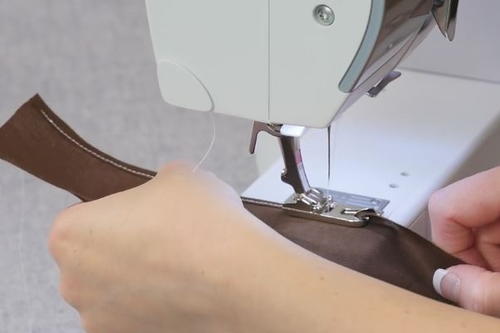
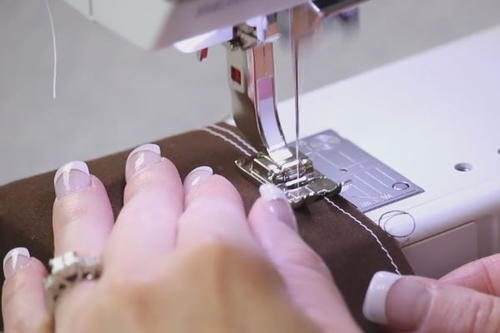
Finish the stitching and lock the seam when you are finished. Cut off excess thread. You will see the beautiful baby hem you have created.
Rolled Hem Stitch: Without a Turning Foot
If you do not have a turning foot, you can still create that beautiful rolled hem. This step-by-step tutorial shows you how to use your regular foot on the sewing machine to create this hem style.
It's not actually difficult but compared the technique shown in the tutorial above, it takes more time and effort.
-
Attach the regular foot to your machine. Set your machine to straight stitch.
-
Along the edge of your fabric, sew a straight stitch.
Note: You can use the inside of the foot as a guide to make the stitch as straight as possible. You do not have to lock the seam. -
Once you have reached the end, cut the thread. Then make another straight stitch next to the first one, again using the inside of the foot as a guide to help keep it straight.
Cut the thread and move to the ironing board.
-
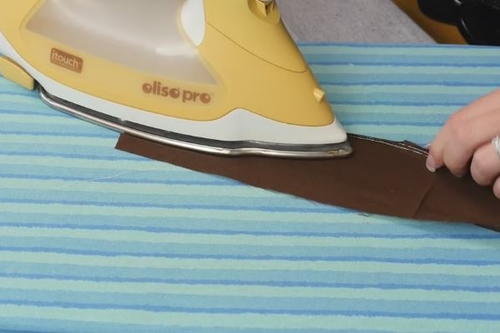
Use the first stitch as the guide and roll the edge down. Fold and press as you move down the fabric (as best as you can).
-
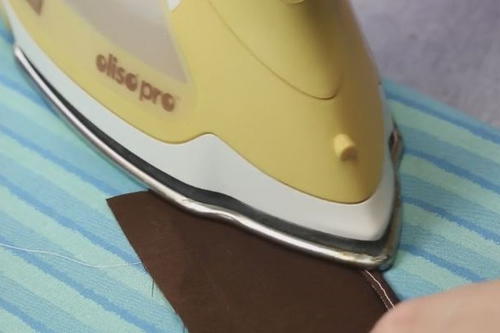
Use the second straight stitch as a guide and fold over the fabric once again. Fold and press as you move down the fabric until the end. Take it back to the sewing machine.
-
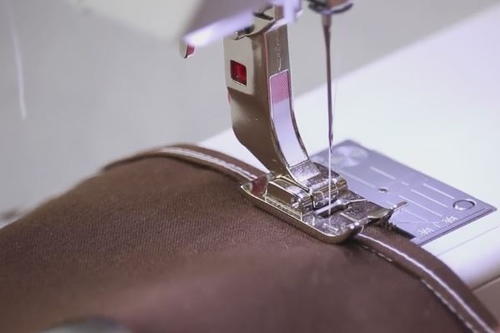
Sew a straight stitch down the middle of the folds you have created.
Finish by cutting the thread. You will see the stitching and rolled hem you have sewn.
Question of the Day: What is your favorite stitch?
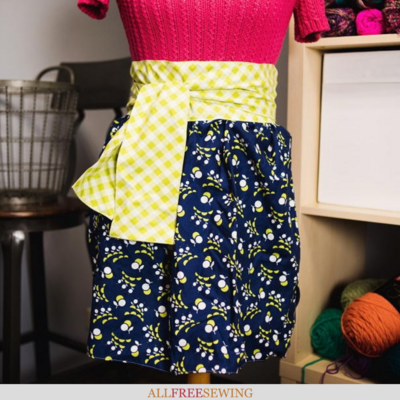
Read NextAdorable Half Apron Pattern
Your Recently Viewed Projects
Thanks for your comment. Don't forget to share!
onefineseamstres 0 384859
Nov 09, 2017
omg what a waste of time or at least it would be for me If you don't have the rolled foot But IF you do have a serger you can simply run the edge of the fabric thru the serger which will put a firmer edge on the fabric That edge makes it quite easy to simply roll the fabric into the narrow hem with your fingers stitching as you go I've seen some roll once and stitch then go back and roll it over the second time and stitch again finishing BUT that is not necessary it's quite easy to do it in one swipe IF you are hemming a formal dress you can do a similar thing After marking the hem you can carefully go around the bottom pressing a crease just about longer than marked once the crease is all the way around you can then stitch right…Read More on the very edge then carefully trim off all excess Next go back and make your own tiny roll with the fingers and stitch around a second time It will give you that tiny hem
lynnettefrance 818 6252
Sep 29, 2017
I have the foot with my older Burkina machine but have never used it. This baby hem would be great for making napkins too. My favorite stitch is the decorative blanket stitch. Thanks for the opportunity to win a Bernina sewing machine and fat quarters!
upnseams
Sep 25, 2017
A straight stitch is the easiest and the most versatile. I have to turning hem feet I use for round shirt tails.
larbuckle2 2451822
Sep 08, 2017
i'm so glad I read this tutorial. I never heard of a baby hem. Now I need to see if I have a turning foot.
margiekins22
May 15, 2017
I never knew about baby hems or how to sew them! This is such a great video and I'm so excited to try this out on my next project!
Weberme
Dec 30, 2016
This is a great video showing the two different ways to sew a baby hem. I could not figure out how to do it using the turning foot which makes it so much easier but I also do it a different way by ironing the hem over first and then folding and ironing the folded edge again and then sewing it. It makes only on sew line. Yes it is time consuming but it works. I am going to see if I have a turning foot and try it because it saves time. Thanks for a great video.
Report Inappropriate Comment
Are you sure you would like to report this comment? It will be flagged for our moderators to take action.
Thank you for taking the time to improve the content on our site.