How to Make a Christmas Fabric Face Mask [Printable Templates]
We're showing you step-by-step how to make a festive Christmas or holiday face mask.

As much as we would like our holidays to be the same as always, it will not be the case. Not only is winter flu and cold season, but COVID-19 is still spreading.
We're still wearing masks and social distancing. To add a little holiday joy to your mask, we're showing you how to make a festive Christmas face mask.
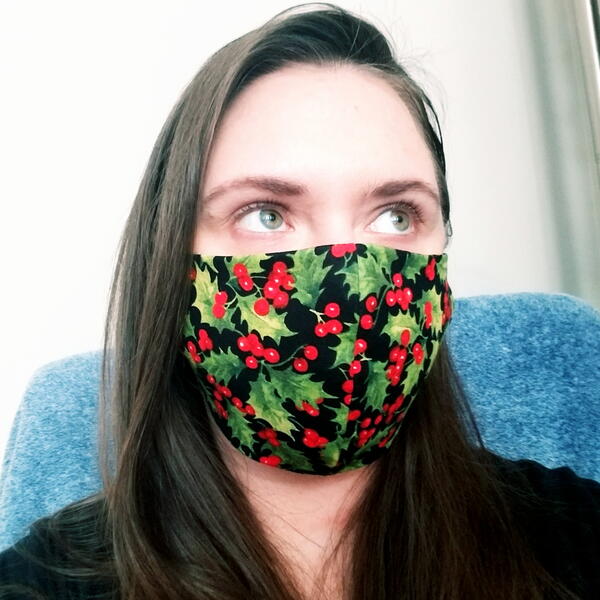
This face mask tutorial walks you through using your favorite Christmas fabric to make a comfy mask that will cover your nose and mouth, and help keep your face warm when you are outside.
If you're used to covering your face with scarves or other fabric coverings, then you'll love wearing this mask. We're even making reversible masks so you can have options!
To make the mask even warmer, you can use multiple layers or add a warmer, thicker fabric to the side that touches your face.
Fleece, flannel, or thicker cotton would add a layer of warmth perfect for colder temps. However, you do have to keep in mind that the thicker the mask is, the harder it will be to breathe. For a flannel mask tutorial, click here.
Let's get started!
P.S. Sign Up For More Free Tutorials, Patterns, & Resources >>
Face Mask Materials Needed:
- 100% cotton Christmas or holiday fabric and backing fabric (4 template-sized pieces for a two-layer mask, 6 pieces for a three-layer mask)
- Scissors (and rotary cutter/self-healing mat if desired)
- Sewing machine
- Matching or complementary thread (spool and bobbin for machine)
- Iron and ironing board
- Fabric pins or clips
- Elastic or adjustable earloop bands
- Face mask template (available in different styles and adult/child sizes) or face mask template of choice
- Filter liner - learn about filters here (optional)
How to Make a Christmas Mask:
Skill Level: Easy
Approximate Time to Complete: About 1 hour
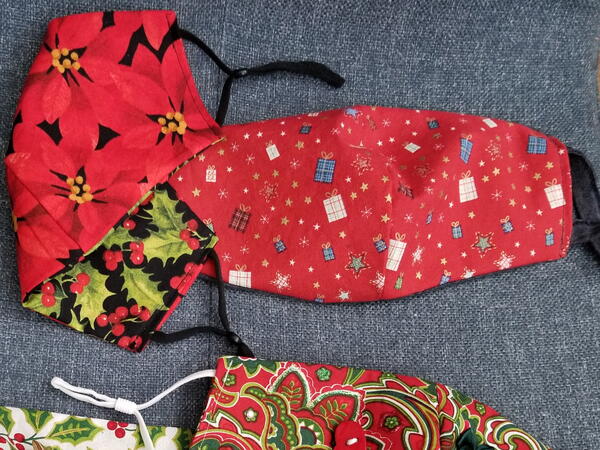
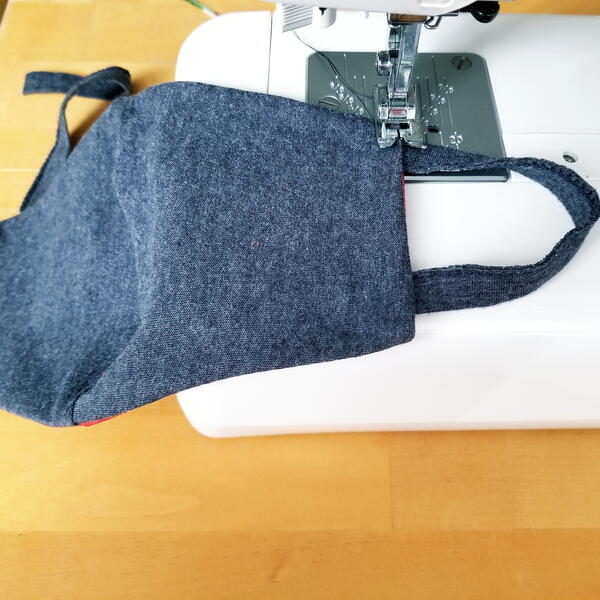
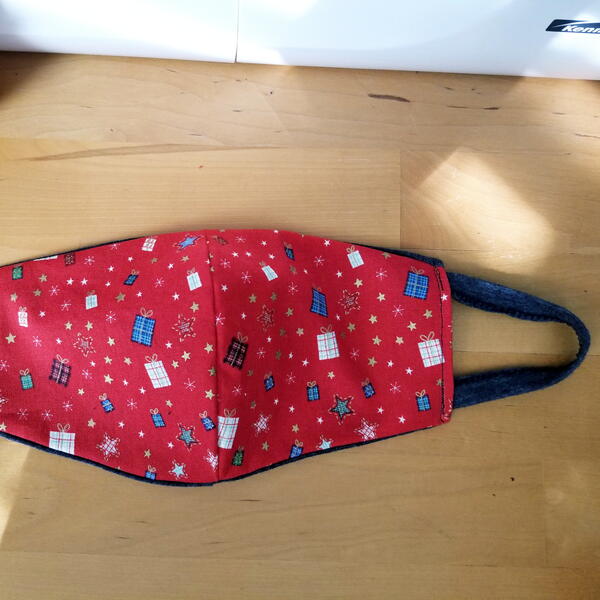
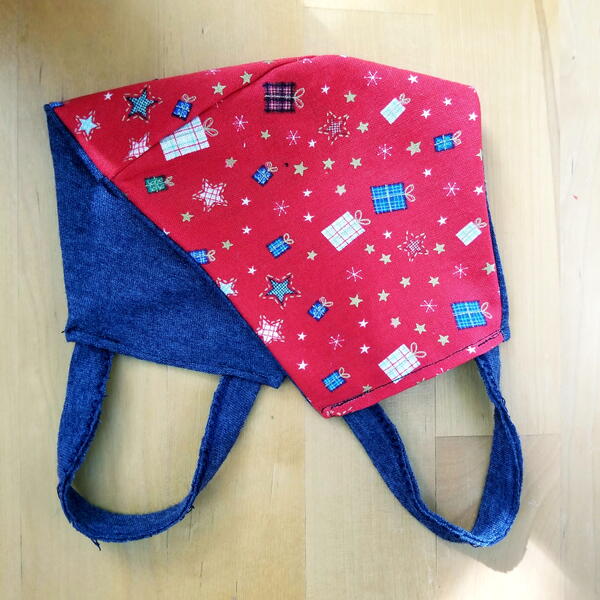
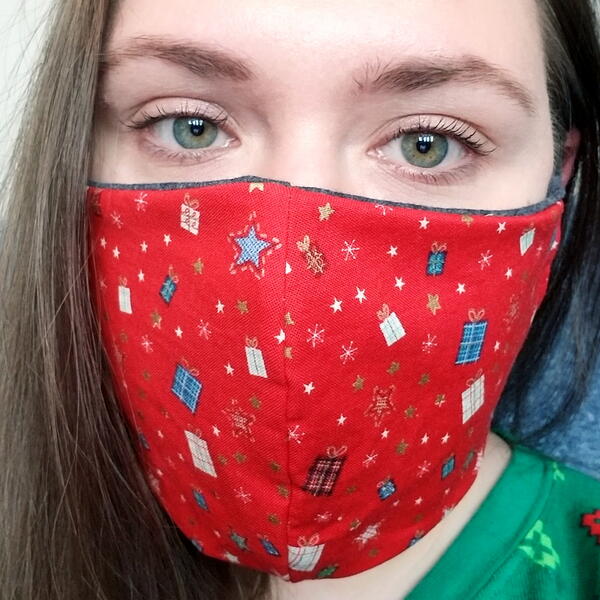
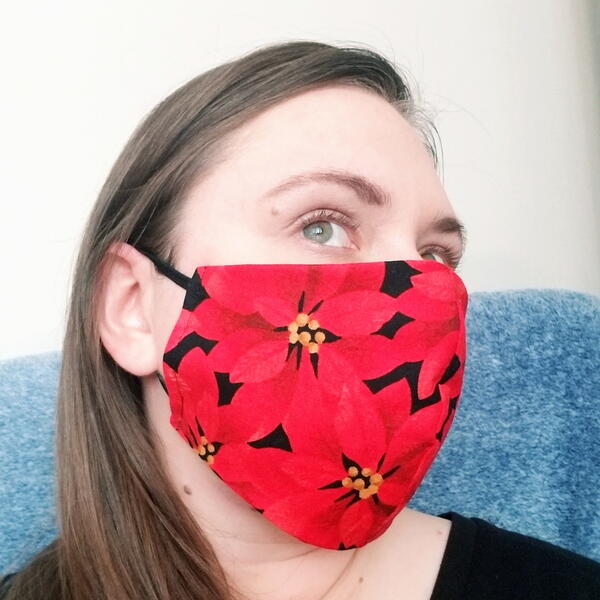
Tutorial Note: This tutorial features two main different masks shown in the photos. One is reversible (poinsettias on one side and holly on the other) and the other features Christmas fabric (gifts on a red background) on one side and a stretchy gray t-shirt fabric on the other.
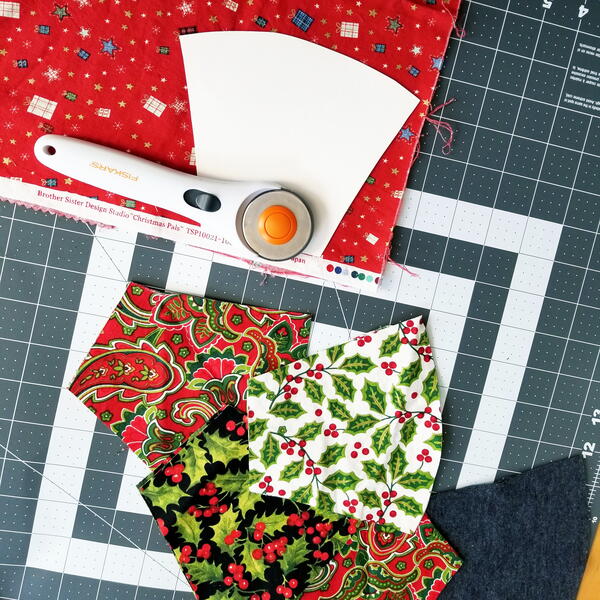
- Print the mask template PDF in the style and size desired. Cut out the mask template.
Note: Read through the tips and details on the template page before printing.
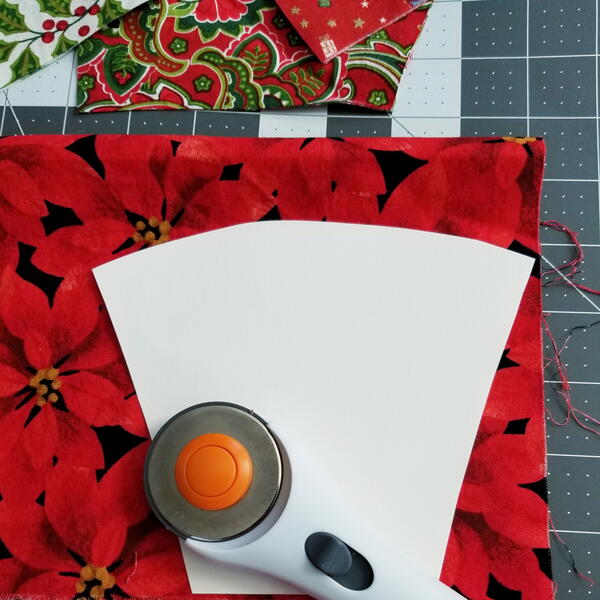
- Using the template of choice, cut out two decorative fabric pieces for the front of the mask.
Cut two additional fabric pieces for the back (decorative for a reversible mask, otherwise, soft and comfortable fabric is recommended - like t-shirt fabric or flannel).
If you would like the mask to have three layers, cut another two pieces (this set of fabric will not show).
Note: If the print is directional, make sure you are placing the template at the correct angle.
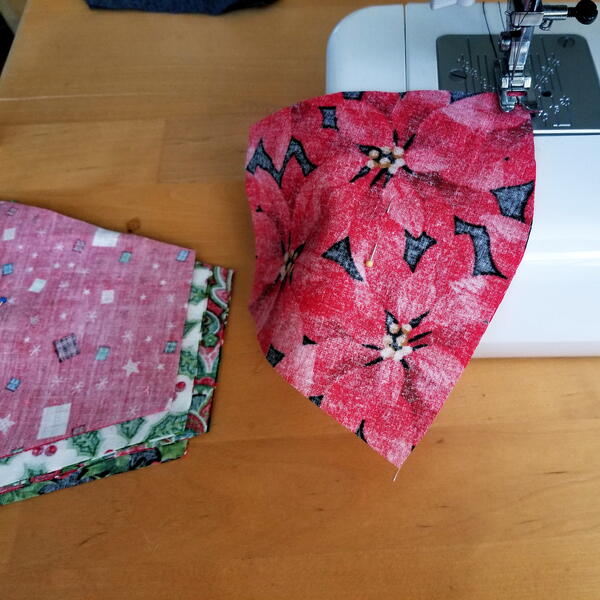
- Place two cut fabric mask pieces together and pin, right sides together (if applicable). Sew along the curved edge with a 1/4" to 3/8" seam allowance.
Lock stitches at the start and end. Cut excess thread and clip curves along the sewn edge. Be careful not to cut the seams. Repeat for all pairs.

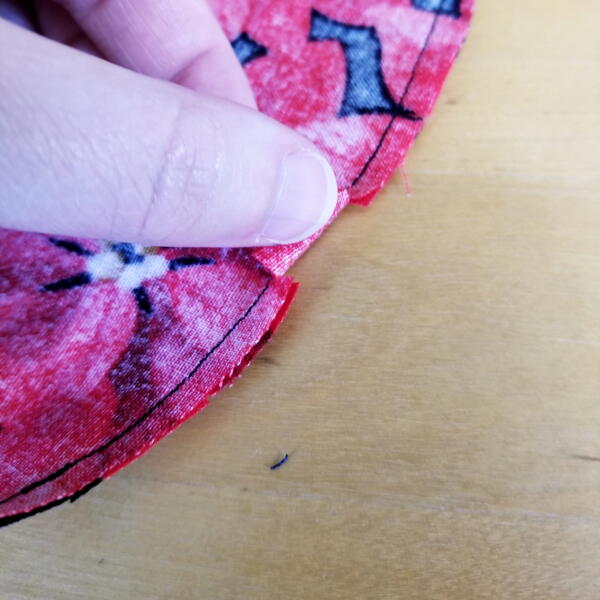
- Open and press the seams to one side for all pieces.
- Add a filter pocket if desired. Put the sewn mask pieces right sides together and pin to secure. You want to line up the middle seams more than the sides. Sew along the top and bottom to attach (again with a 1/4" to 3/8" seam allowance). Lock stitches at the start and end.
- Cut excess thread and clip curves along the sewn edges. Be careful not to cut the seams.
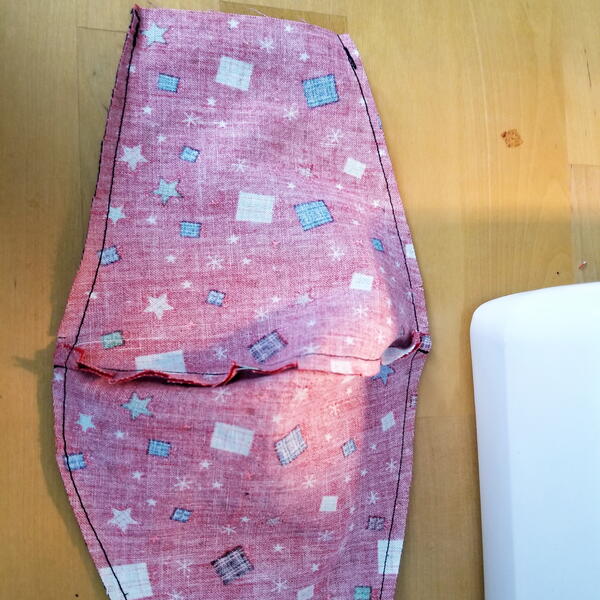
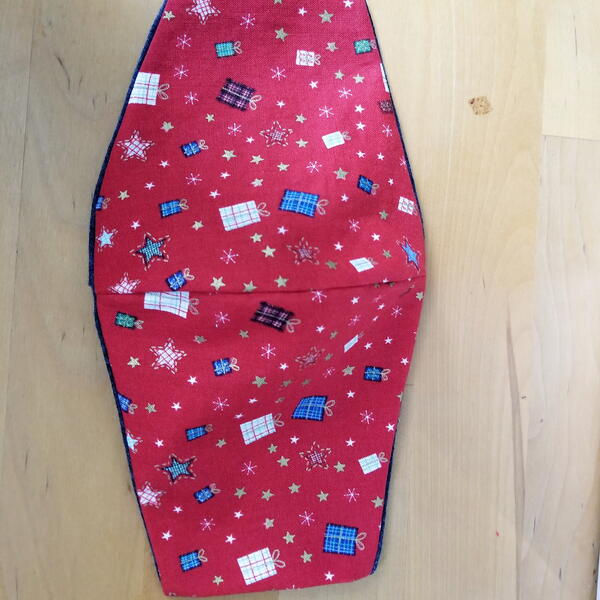
- Turn out your DIY mask so that the right sides are out.
- Press both sides of the mask to flatten seams and remove any wrinkles.
- Fold in sides about 1/2-inch to hide raw edges and prepare for sewing. Press if needed to keep in place.
- Sew on elastic (should be about 7" for adults and 5" for children), adjustable earloops, or other types of mask attachments (the image below shows fabric earloops made from the same t-shirt fabric as the back fabric). Lock stitches going over the earloops.
You're done!
![How to Make a Christmas Fabric Face Mask [Printable Templates]](http://irepo.primecp.com/2021/10/506887/Christmas-Face-Mask-square21-nw_Large400_ID-4506395.png?v=4506395)


![DIY Ugly Christmas Face Masks [Printable Templates]](http://irepo.primecp.com/2021/10/506869/Ugly-Christmas-Face-Mask-square21-nw1_Large400_ID-4506155.png?v=4506155)