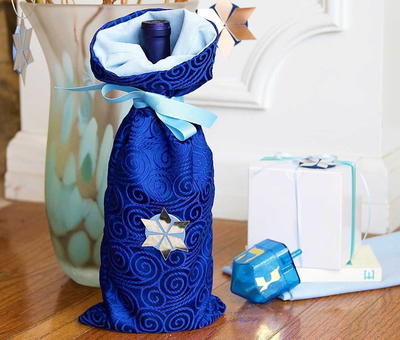
Hanukkah DIY Wine Bag

Are you looking for a gift for your favorite host or hostess? Are you in search of a festive sewing project? Try making this Hanukkah DIY Wine Bag! This beautiful blue brocade wine bottle bag tutorial is a great project for beginner sewists since this bag uses only half a yard of fabric and half an hour of your time.
Feel free to mix and match fabrics for a wonderfully elegant DIY gift idea that’s great all year long! With such a great base pattern, the fabric choice options are truly endless. So, take a look at this easy-to-follow tutorial from Emma for Fiskars and start crafting today!
Project TypeMake a Project
Time to CompleteUnder an hour
Sewn byMachine

Materials List
- ¼ Yard brocade fabric for bag outer
- ¼ Yard lining fabric
- Pins
- Sewing machine and thread
- Ribbon
- Amplify® RazorEdge™ Fabric Shears (8")
- Adjustable Three-Position Rotary Cutter (45 mm)
- Acrylic Ruler (6" x 24")
- Cutting Mat (12" x 18")
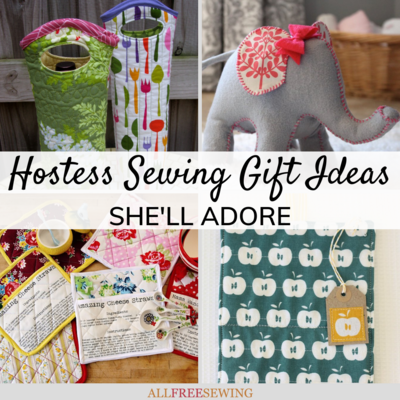
Are you looking for more DIY hostess gifts? Check out these 25 sewing tutorials for inspiration!
>>25 Hostess Sewing Gift Ideas She'll Adore
Instructions:
-
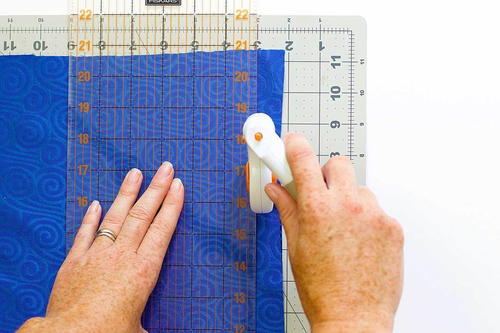
Use the Adjustable Three-position Rotary Cutter to trim two outer fabric pieces and two lining fabric pieces to 16” x 7”. Using the rotary cutter in the ergonomic position, where the handle is slightly off center, allows you to clearly see your cutting line.
-
Pin the outer pieces of the bag together with the right sides of the fabric facing each other. Sew along the two long edges and bottom short edge. Repeat with the lining fabric pieces, but leave a 4” hole unsewn in the bottom short edge.
-
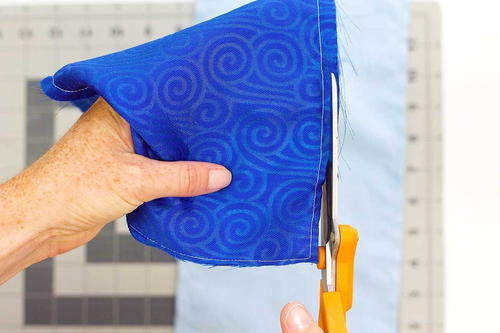
Use the 8” Amplify® Fabric Shears to carefully trim away the seam allowance.
-
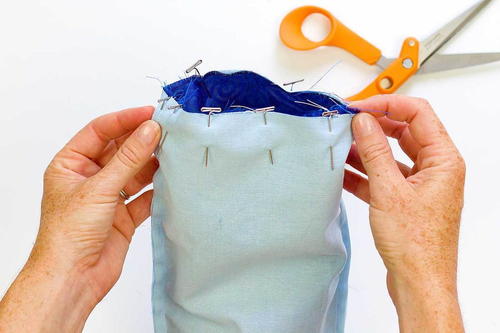
Turn the outer bag to the right side and leave the bag lining inside out. Insert the outer bag into the lining. The right side of the outer bag should be facing the right side of the bag lining. Pin around the perimeter of the top opening edge and sew.
-
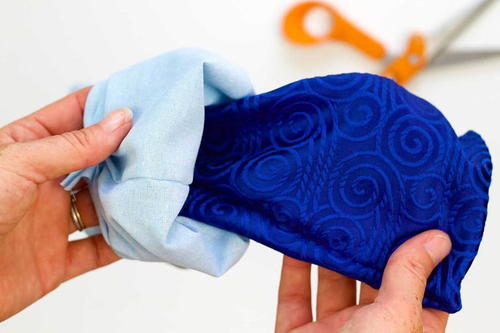
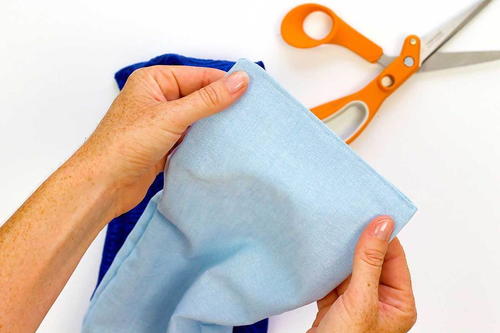
Pull the outer bag out through the hole you left in the bottom edge of the lining.
-
Sew the hole in the bottom edge of the lining closed. Push the lining down inside the outer bag and push out the corners with your fingers.
-
Insert the wine bottle and tie closed with a length of ribbon.

Read NextHanukkah DIY Wine Bag