Kids' Canopy and Cloud Pillow Patterns
Make a magical nook perfect for reading, napping, and doodling the day away!

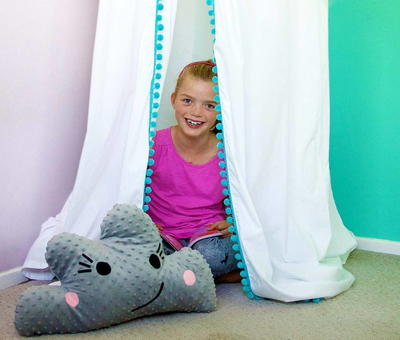
It is the dream of every child to have a magical nook that they can call their own. In order to give your children the cozy space they want, follow these quick and simple Kids' Canopy and Cloud Pillow Patterns! This cute, decorative, and cozy DIY canopy tent is the perfect hideout for any rainy day. Let your kids claim a cozy space for reading, doodling, and napping by following this simple guide on how to sew a kids canopy. As if the canopy wasn't enough, the extra cloud shaped pillow pattern will add a quirky and snug feel to your child's dreamy den.
Project TypeMake a Project
Time to CompleteWeekend project
Sewn byMachine

Materials List
- 9 yards of fabric
- XL wooden embroidery hoop
- Decorative pom pom trim
- Ribbon
- Iron and ironing board
- Sewing machine and thread
- Minky fabric for pillows
- Felt for pillows
- Fusible stabilzer
- Polyfil
- 8'' Fabric shears
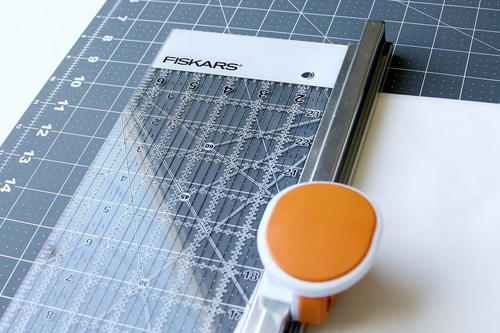
- Rotary cutter and ruler combo (12'' x 12'')
- Cutting mat (24'' x 36'')
Looking for more ways to populate your kids' new hideaway? Check out these cuddly fire truck pillow to make your canopy perfect for any little boy.
Canopy Instructions
-
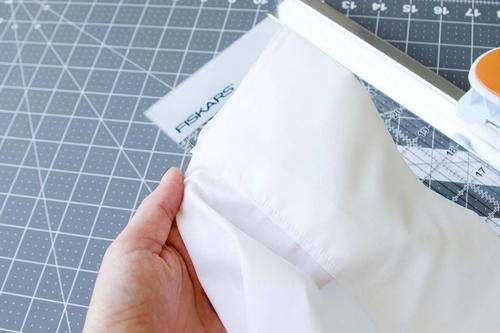
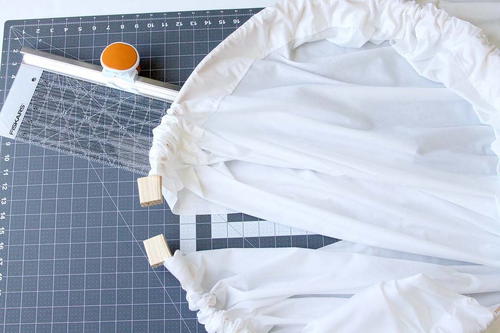
To make the nook, use the rotary cutter and ruler combo to trim fabric into three panels of equal length. This tool is quick and convenient, as the rotary cutter is attached directly to the ruler. The desired length will vary from room to room, depending on ceiling height. The panels in this project each measured three yards.
-
Create a wide casing at the top of each fabric panel by folding the top edge over about 3" and hemming.
-
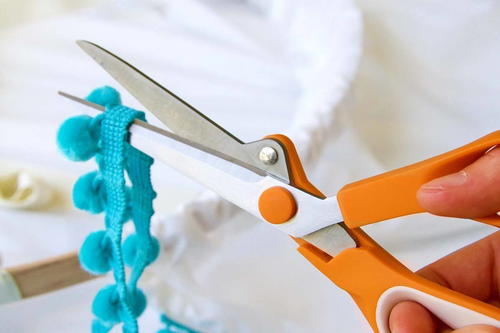
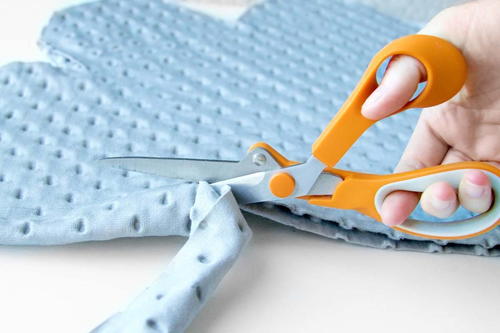
Use the 8” fabric shears to trim the decorative pom pom trim to the same length as your fabric panels. These scissors are versatile and will cut through the variety of materials used in this project.
-
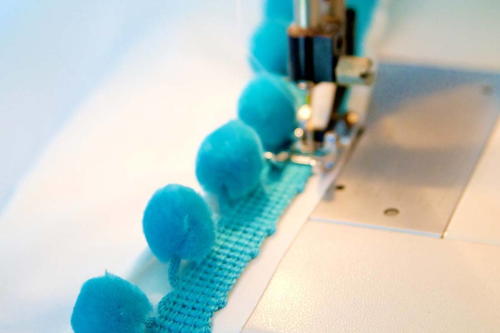
Sew the pom pom string to one long edge of two fabric panels. This will create a cute decorative 'doorway' for the nook.
-
Thread the extra large wooden embroidery hoop through the casing at the top of all three fabric panels. Use the hoop's hardware to close the circle.
-
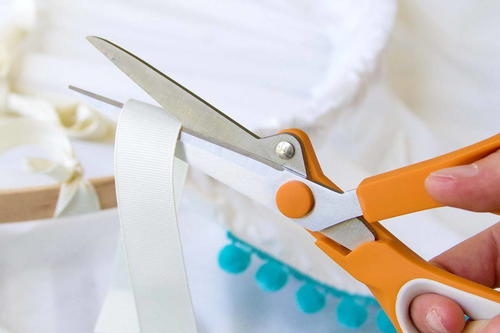
Trim three lengths of ribbon and tie to the embroidery hoop between each panel. Tie the ends of the ribbons together and form a loop for hanging.
Cloud Pillow Instructions
-
To create the cloud floor pillows, place two pieces of minky fabric on the work surface. Use a marker to draw an outline of a cloud and cut out through both layers using the shears.
-
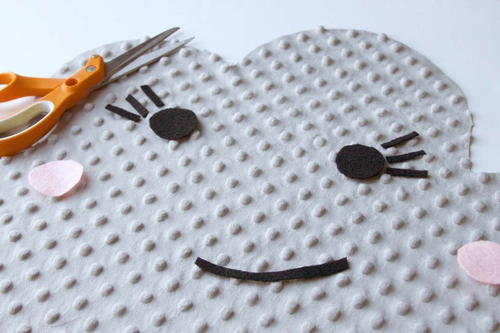
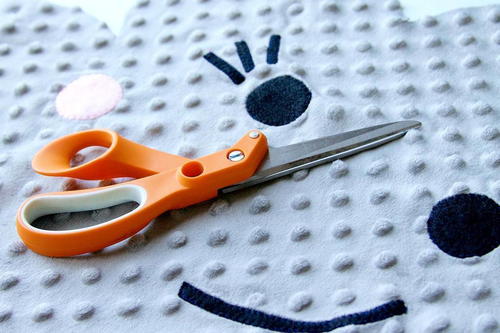
Cut facial features from colored felt and use a fusible interfacing to temporarily adhere the cut-outs to the front of one cloud fabric piece.
-
Sew the facial features to the front of the fabric using a blanket stitch on your machine.
-
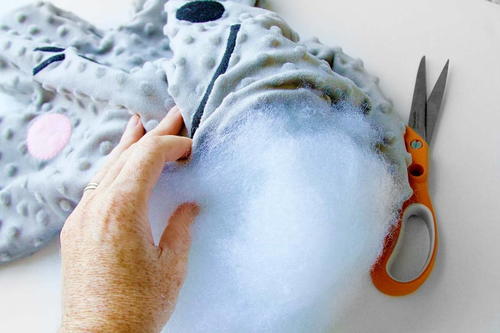
After the "face" on the pillows has been created, sew both fabric cloud shapes together with the right sides of the fabric facing each other. Leave a small hole in one edge to be used to insert poly-fill.
-
Trim the seam allowance on the pillows and cut curves. Turn the pillow to the right side and begin to stuff with poly-fill. Close the hole with several small hand stitches.
Read NextThe Tropisch Dress Pattern
Your Recently Viewed Projects
Thanks for your comment. Don't forget to share!
Weberme
May 30, 2018
What little girl would not love to have their own canopy to play in and this one is so super cute with the pom pom along the edges. This is a great hide-a-way for the girls to play when they have play dates or sleepovers. Like a canopy made for a princess. The downfall is it uses a lot of fabric but is simple to make and you can add some extra touches of your own and the cloud pillow is an added bonus. Make extra pillows for all here friends and you can make the pillows in a unicorn shape.
Report Inappropriate Comment
Are you sure you would like to report this comment? It will be flagged for our moderators to take action.
Thank you for taking the time to improve the content on our site.