Soft and Sweet Owl Plushie Pattern (Video Tutorial)
Cut out the owl template pdf, follow along with the video tutorial, and put your own owl plushie together.

It doesn't matter if you're old or young, having an owl plushie is going to make your day better. With this Soft and Sweet Owl Plushie Pattern, you have printable patterns and instructions along with a video tutorial to make your own.
You will love your DIY stuffed owl because it uses felt and other scrap fabric of your choice and allows for lots of creativity.
This owl plushie tutorial proves how easy it is to make your own toys. Not only will adults enjoy making this squeezable owl but it's a fantastic sewing project for kids just learning how to sew.
They can practice cutting out shapes, sewing, and stuffing their owl. Toys are always more special when they are homemade. With this owl plush pattern's free printable pieces and video instructions, it's easy to achieve a professional-looking doll.
Sign Up For More Free Patterns >>>
Start with the video right below and then find the written tutorial lower on the page.
Project TypeMake a Project
Time to CompleteIn an evening
Sewn byMachine

Materials List
- 2 fat quarters in contrasting colors, or 1/4 yd each of 2 contrasting colors of cotton fabric
- Scraps of white, black and orange felt
- Thread
- Fabric glue
- Small amount of stuffing
- Printable Owl Template PDF
- Straight pins
To stay updated, be sure to subscribe to AllFreeSewing's newsletter, Sewing it Up.
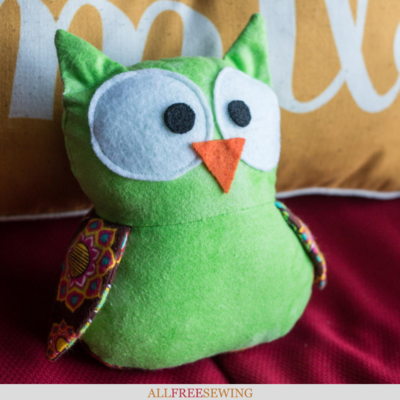
DIY Owl Plush
Free Stuffed Owl Sewing Pattern:
- CLICK ON ANY IMAGE TO ENLARGE.
-
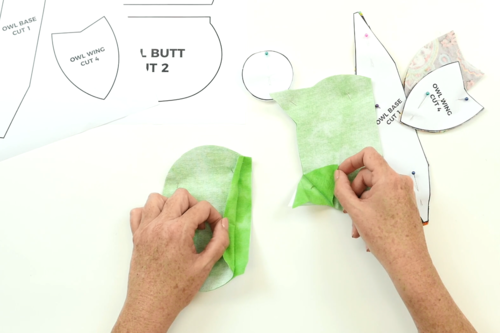
Print the pattern out and cut out the pieces:
- In main color of fabric cut 2 of the owl head and owl butt.
- In contrast color of fabric cut 1 of the owl base.
- In contrast color of fabric cut 4 of the owl wing.
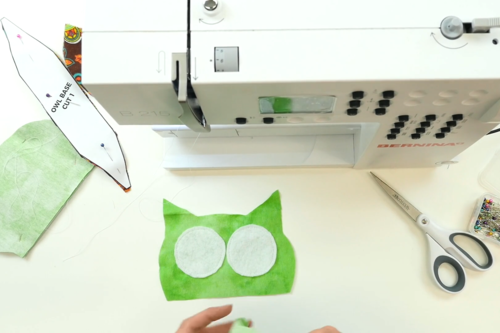
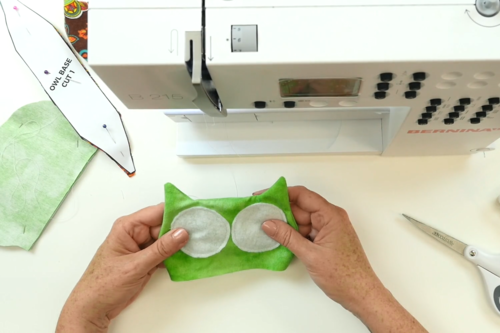
- In white felt, cut two of the eyeball.
-
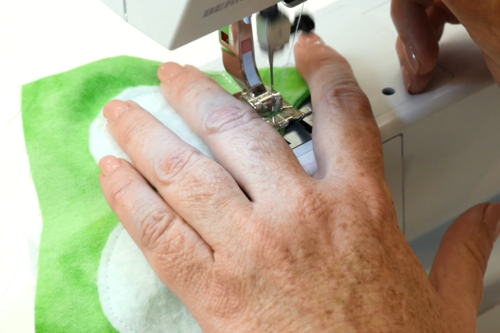
Place eyeballs on right side of one owl head piece and topstitch into place.
-
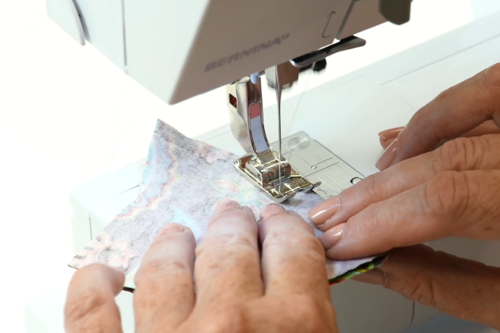
With right sides together stitch both pieces of owl head together, leaving bottom open.
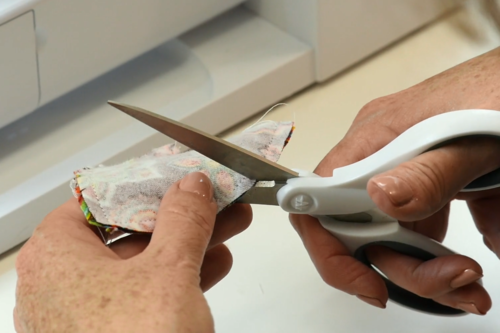
Clip curves and points, turn right side out. -
Top stitch on an angle at base of each ear, set aside.
-
With right sides together, stitch two wing pieces together, leaving top open, twice.
Clip curves and points, turn right side out, set aside. -
With right sides together, line up center of one owl butt with center of owl base and stitch into place.
-
With right sides together, stitch second owl butt to first owl butt/base, leaving approximately 4” open at bottom. Clip curves.
-
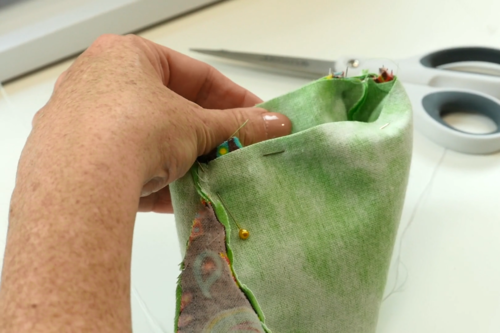
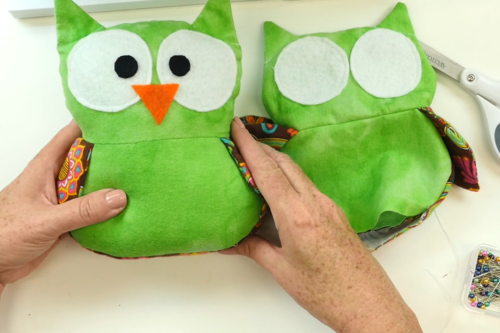
Turn assembled owl head upside down and place inside assembled owl butt/base as shown in the video.
-
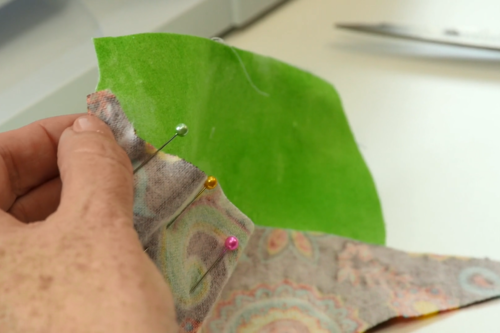
Fold a small tuck into each wing, and pin it into place on each side, lining up center of wings and side seams.
-
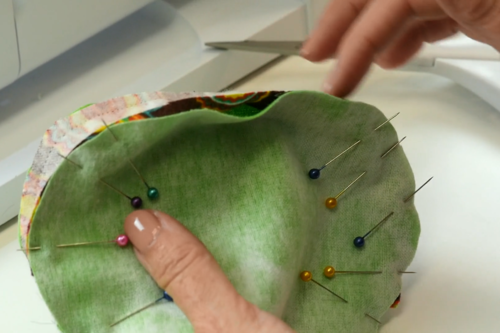
Pin as needed around seam to join butt and head, and stitch all the way around.
-
Pull owl head out of opening in bottom/base.
Stuff, and whip stitch opening together, turning under a seam allowance to match the rest of the piece. -
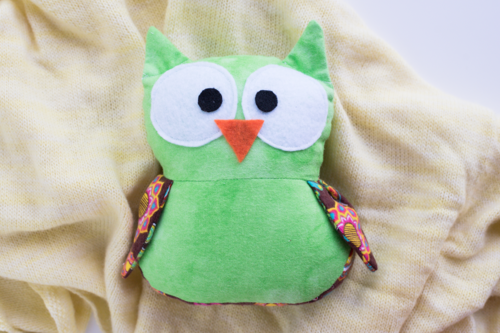
Cut two small black circles for eyes, and one small triangle for beak and glue into place.
NOTE: If giving the toy to an infant or small child, use safety eyes and eliminate the beak, or embroider eyes and beak – do not use glue.

What is your favorite animal?
Answer below!
Your Recently Viewed Projects
Thanks for your comment. Don't forget to share!
beth062363
Sep 09, 2019
I wanted to print off the directions to this owl to make at a later date but was unable to. I guess I won't be making this owl any time soon. (
Weberme
Sep 30, 2018
Oh how cute is this owl and they are on a list of many animals I like. I do not just like one but I have got to make one if not more of these owls.This has a downloadable free pattern and so easy to make. I would love to make one in a bigger size and you can print larger. Super cute.
acornelson 3286183
Sep 27, 2018
Owls, of course. This is a great project to do with my Granddaughter, Emma, age 8, who also loves owls. Thanks for taking time to make this great project and providing the instructions, tutorial and video. Love, love, love it! Thanks, so much!
Report Inappropriate Comment
Are you sure you would like to report this comment? It will be flagged for our moderators to take action.
Thank you for taking the time to improve the content on our site.