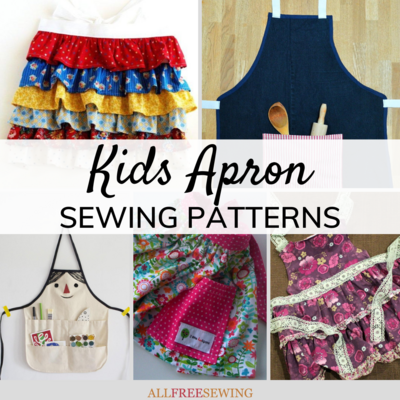
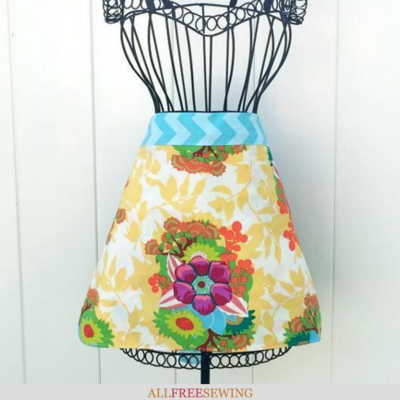
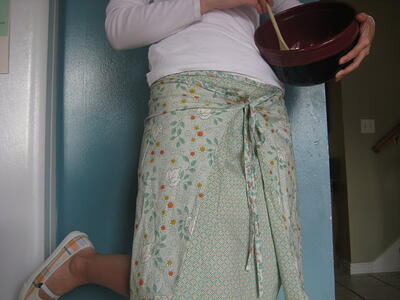
Little Birdie Girl's DIY Apron
Show your little girl that cooking is fun!

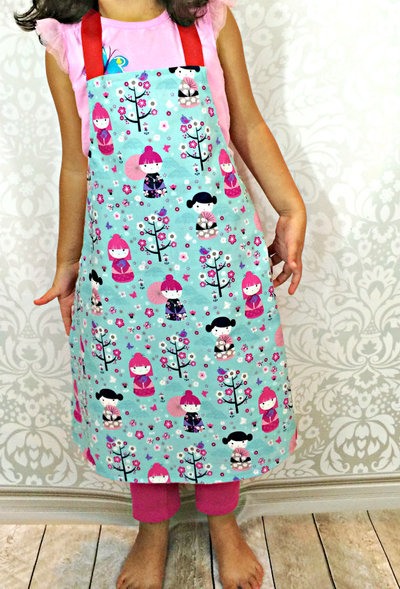
If you've got a free evening, you should use it to make this Little Birdie Girl's DIY Apron! The fabric it uses is from FreeSpirit's Novella collection and it has an adorable pattern on it for your mini chef to wear. Your little girl will fly around the kitchen with excitement in this apron and it's nice and long in case she makes a mess while cooking. The ruffles on the bottom of the pattern make it even cuter. Just print out this sewing tutorial and you'll be able to get started as soon as you have the fabric.
Project TypeMake a Project
Time to CompleteIn an evening
Sewn byMachine

Materials List
- FreeSpirit fabric from the Novella collection:
- 2 pieces 15 ½“ x 17 ½“ for front and back of apron
- 2 strips 1 ½” x 15 ½” of white solid
- 6 ½” x 30” of fabric for ruffle
- 2 strips 3” x WOF for neck and ties
- Cut this into 2 strips 3” x 18” and 2 strips 3” x 17”
- Coordinating Coats & Clark Dual Duty XP all-purpose thread
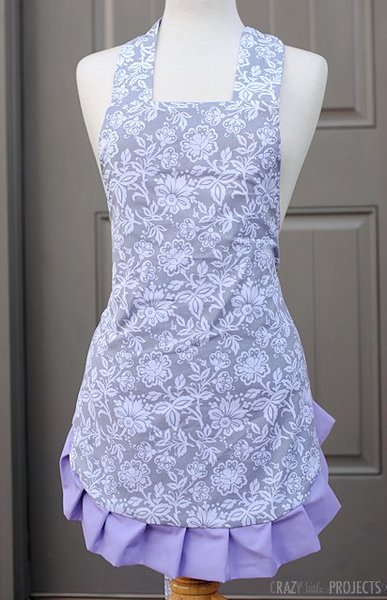
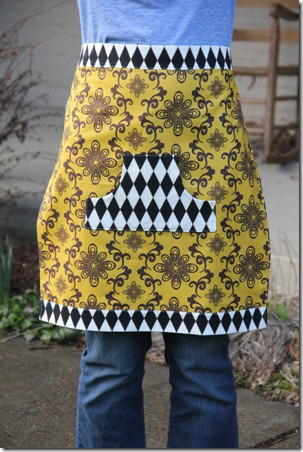
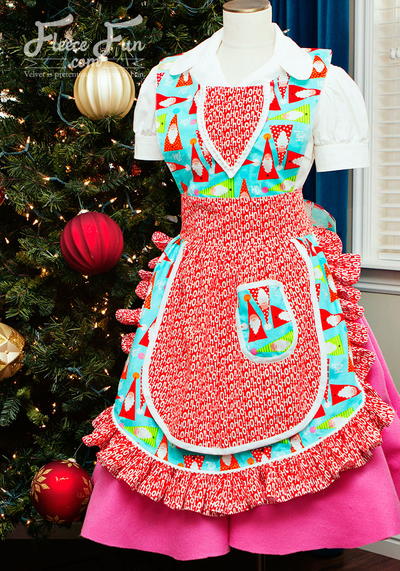
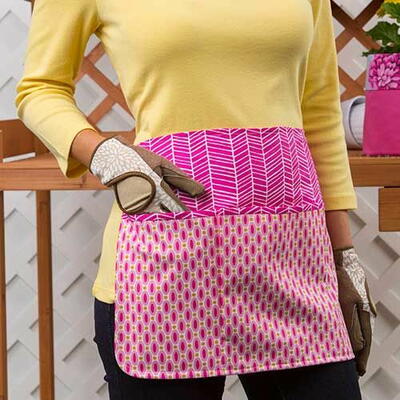
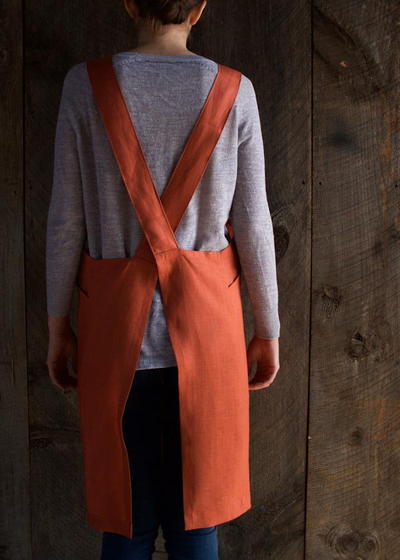
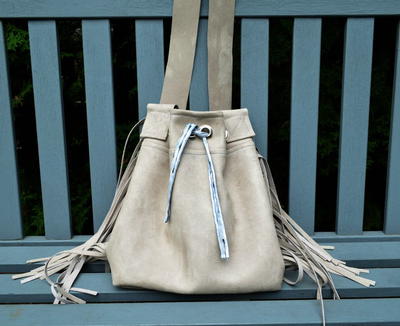
Short on time? Check these DIY apron patterns out:
General Instructions
Preparation
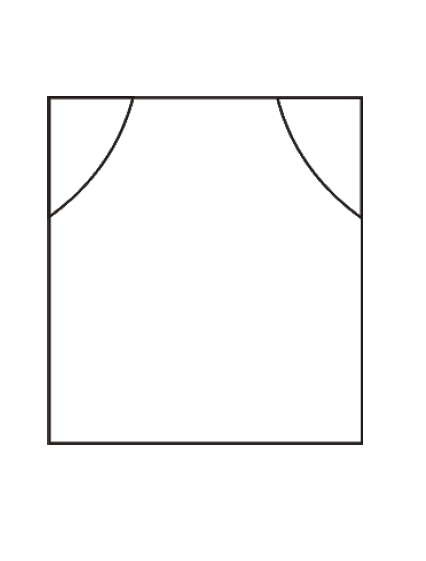
Print out template.
-
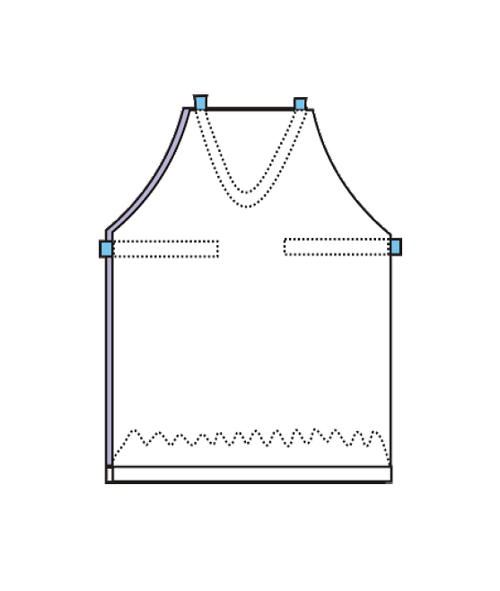
Align the template with the top-left and top-right of the front and back pieces as shown. Draw around the template and cut out.
-
Make the Ruffle
Fold the 6 ½” x 30” ruffle strip in half lengthways with right sides facing. Sew the short ends together. -
Trim the seams in the corners to remove excess fabric, turn right side out and press.
Change your machine’s stitch length to the longest setting possible. Start by leaving a long thread and sew just under ¼” from the top, across the open long edge of the strip. Leave a long thread at the end.
Take either the bobbin or the front thread at one end of the seam. Gently pull on the thread to gather the fabric. Continue to gather the fabric evenly across the strip. Pull gently or the thread may break. If the thread does break you will have to re-do this step. -
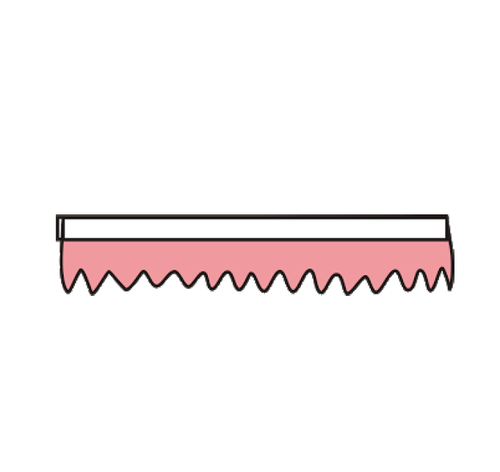
Continue to gather until your strip measures 15 ½”. Use the white 1 ½” x 15 ½” strip as a guide. Change your stitch length back to your normal setting and stitch to secure the gathers in place, about 1/8” from the top.
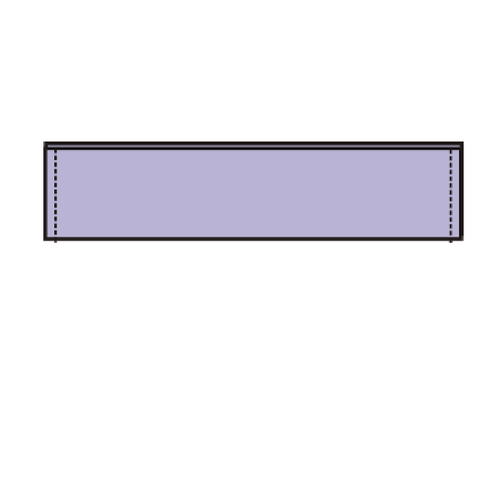
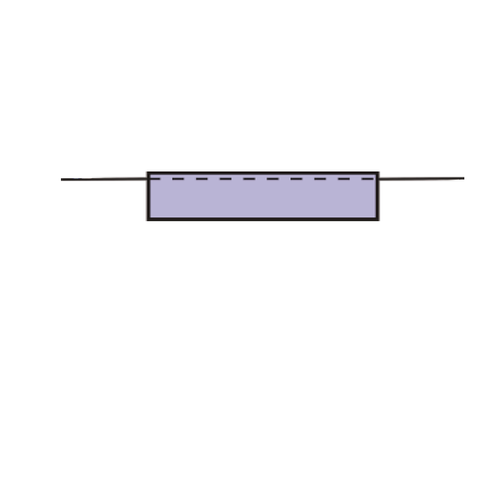
Pin one of the white 1 ½” x 15 ½” strips across the top of one side of the gathered strip and stitch in place with a scant ¼” seam allowance.
Pin the other white 1 ½” x 15 ½” strip to the other side of the gathered strip and stitch in place using a ¼” seam allowance. -
Make the Ties and Neck Band
Fold in the raw edges of one short end of each of the tie strips by about ½”. Press. Fold the strip in half lengthways and press. Open up and fold each long edge into the centre and press. Topstitch all the way around the edges of the ties.
Fold the neck band strip in half lengthways and press. Open up and fold the long edges in towards the centre and press again. Topstitch all the way around. -
Sew The Apron Together
Sew the front piece to one of the white strips attached to the gathered ruffle.
Sew the back piece to the other white strip attached to the gathered ruffle.
Turn the apron so the front and back pieces are right sides facing. You will need to tuck the ruffle inwards so it isn’t caught in the seam.
Position the neck band at the top of the apron, between the front and back pieces and pin in place.
Position the ties on each side of the apron, just below where the shaping starts.
Finishing
-
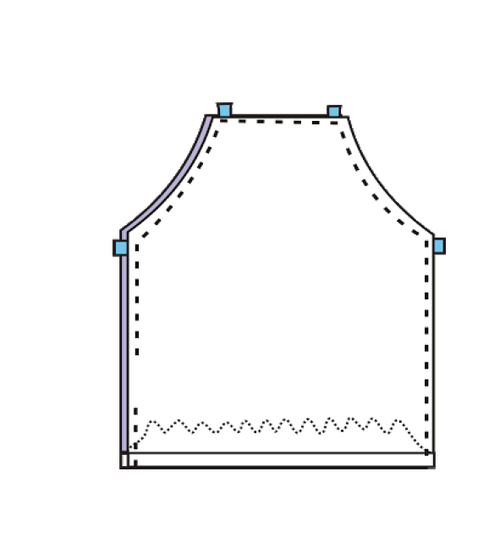
Sew all the way around the 3 open sides of the apron leaving a gap in one of the sides to turn the apron right sides out.
-
Turn the apron right sides out and press. Top stitch all the way around making sure to secure the opening you left to turn the apron.
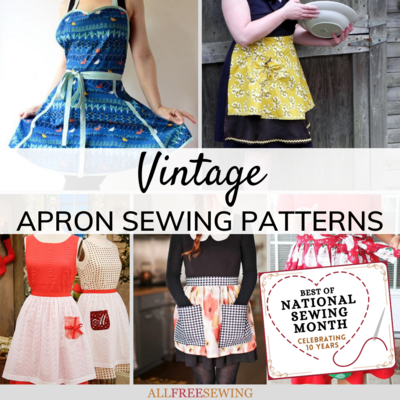
Read Next28 Free Vintage Apron Patterns
Your Recently Viewed Projects
Thanks for your comment. Don't forget to share!
smanson1211 928935 5
Dec 05, 2024
Under "preparation" it says to print out template. Where is the template?
Report Inappropriate Comment
Are you sure you would like to report this comment? It will be flagged for our moderators to take action.
Thank you for taking the time to improve the content on our site.