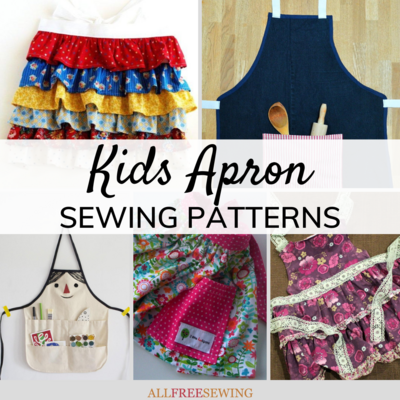
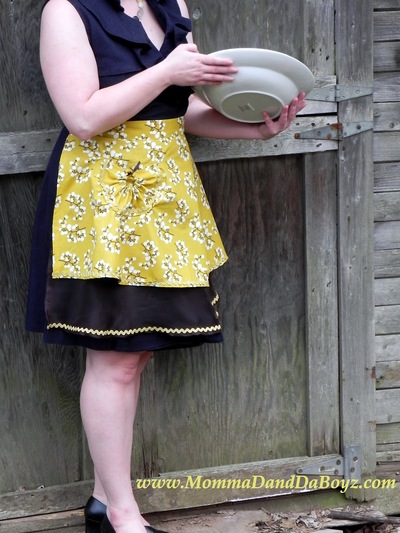
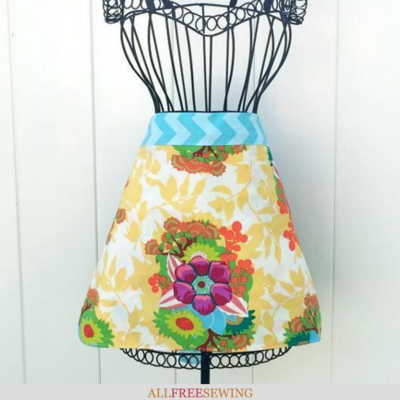
One Hour Free Apron Pattern
Looking for quick easy aprons? This tutorial will show you how to make one in under an hour!

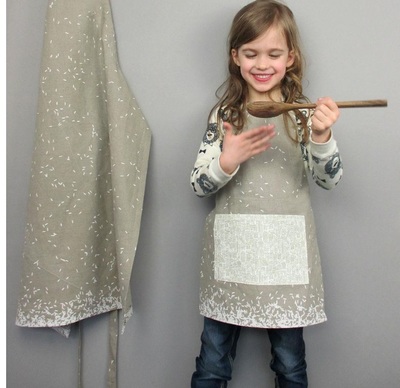
Whether you are rushing to make a last-minute DIY gift idea or just want to find easy sewing projects to start out your sewing adventures, this One Hour Free Apron Pattern is going to be a joy to create.
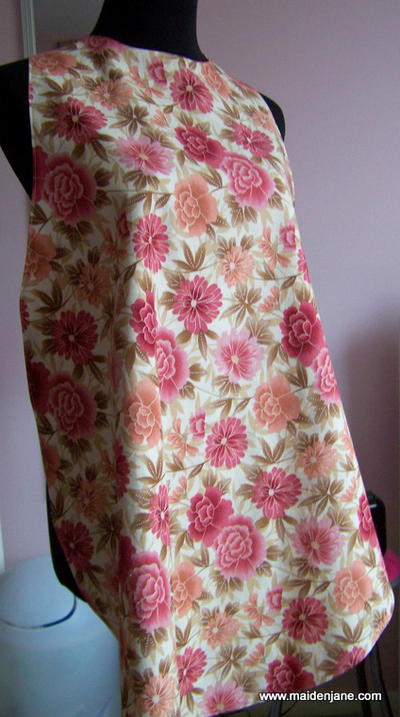
This free sewing pattern is reversible, quick, and absolutely adorable. This DIY apron pattern would make a great gift for mom or grandma. You have never seen a sixty-minute make as adorable as this project!
Using just half a yard of fabric with an additional quarter yard for the ties, it is budget-friendly, too! Just look out below for the instructions on how to make this adorable and vintage-style waist apron.
With such a quick pattern to whip up, you can make one for yourself but also all the gals in your life. If you're interested in selling your makes, then this is a fantastic pattern to produce in bulk.
Sign Up For More Free Patterns >>>
Project TypeMake a Project
Time to CompleteUnder an hour
Sewn byMachine

Materials List
- 1/2 yard of cotton fabric for front and 1/4 yard for the ties
- Straight pins
- Scissors
- Paper for corner template
- Iron
- Sewing machine
- Matching thread
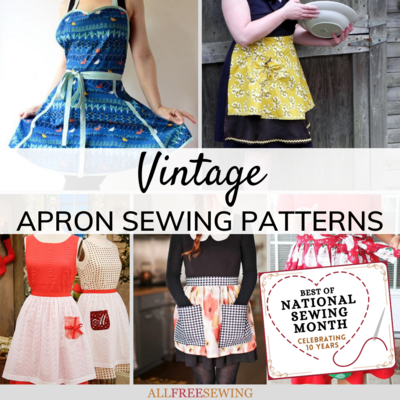
Find even more apron patterns and tutorials in our list of reader-favorite aprons40 Apron Sewing Patterns
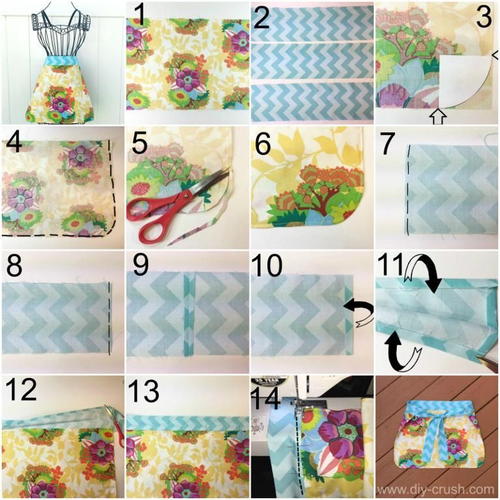
Apron Pattern Directions:
See below for these free waist apron pattern steps.
-
Cut 2 pieces of fabric 21" wide by 14" long for the main apron 3x ties at 21" wide by 5" long.
-
Cut out your corner template and place it into the bottom right corner of the apron piece, pin and cut around it. Repeat with all remaining bottom corners.
-
Place both apron pieces with right sides together and pin then sew with a 3/8" seam allowance around the perimeter, leaving the straight top edge open.
-
Trim off half of the seam allowance.
-
Turn apron with right sides out and press then top stitch. Leave the top edge open.
-
To make the ties you want to put 2 tie strips with right sides together and pin the left edges together then sew in place.
-
Repeat this with the 3rd tie strap and sew it to the right side. You will now have a continuously long strip.
-
Press the two seam allowances of the tie open.
-
Fold in both short edges 3/8" and press.
-
Fold down both long edges 3/8" and press.
-
Place the apron piece with cut edges into the tie strip so that the apron top edge matches with the tie’s inner folds cut edge.
-
Pin in place every 1–2". Continue pinning the remaining tie folds as well.
-
Sew starting on one of the tie ends and continue on over the apron part until you reach the other tie’s end. Backstitch the beginning and ends.
CLICK THE IMAGE BELOW TO ENLARGE.
Who are you going to make this apron for?
Let us know below!
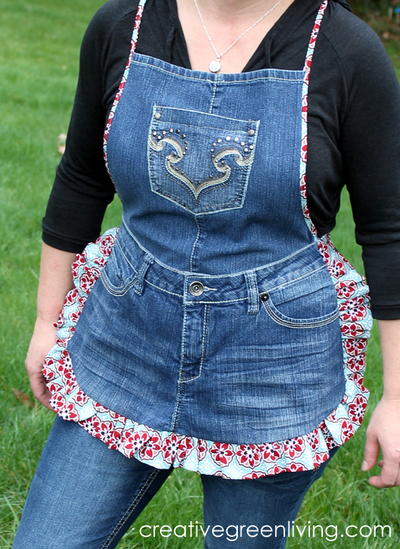
Read NextFarm Girl Recycled Jeans Apron
Your Recently Viewed Projects
Thanks for your comment. Don't forget to share!
shilohdana
Apr 21, 2017
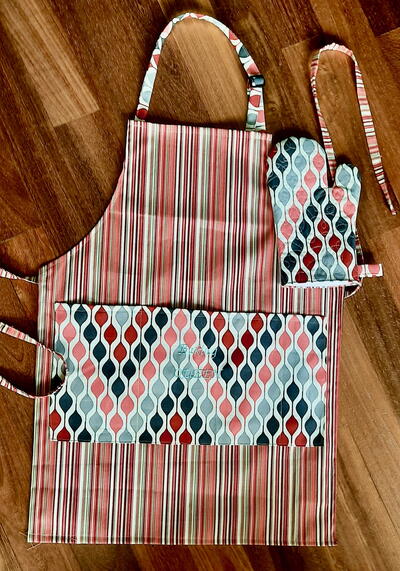
This is a very easy pattern that would make a very nice gift for almost any occasion, including birthdays, holidays or even a nice hostess gift. The simple look of the apron could be embellished to make it more individual with pockets, ruffles, lace, rickrack and fun fabric. You could customize each apron with fun fabric and make quite a splash when giving a gift!
Report Inappropriate Comment
Are you sure you would like to report this comment? It will be flagged for our moderators to take action.
Thank you for taking the time to improve the content on our site.