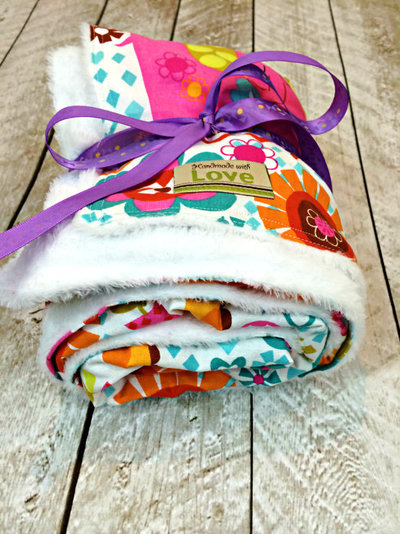
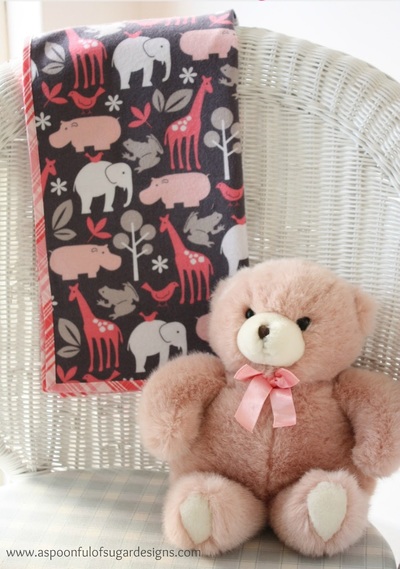
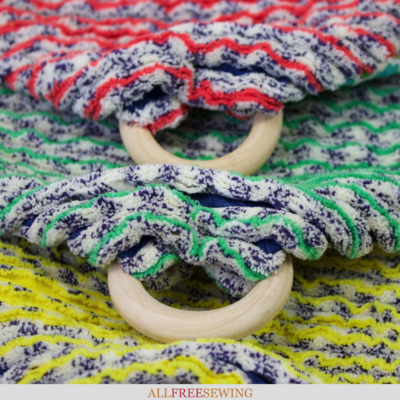
DIY Chenille Baby Blanket With Wood Teething Ring
This plush teething blanket is a must-make for parents! Learn how to make a chenille baby blanket that includes a helpful wooden teething ring.

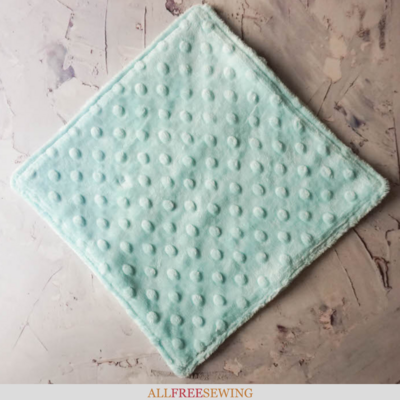
Plush, velveteen, and lightly striped for texture, chenille is the perfect fabric for babies.
Now you can make your own chenille baby blanket with this Chenille Teething Baby Blanket Tutorial! Make a blanket for your friend's baby shower, or make one for your own little miracle.
This blanket isn't just for snuggling, either. It's also looped around a teething ring, so while your baby is swathed in comfort, he/she can also soothe the pain of incoming teeth.
Colorful and pragmatic, luxe and functional, this DIY teething ring and baby blanket pattern is a wonderful combination and something every parent should have in their arsenal of baby gear.
Emma from Fiskars is the designer of this cozy and practical DIY chenille blanket for babies. She says: This chenille baby blanket has everything – a plush texture, a pop of color and something to chew on! Using the Chenille Maker makes creating these soft and snuggly sensory blankets easier than ever.
Sign Up For More Free Patterns
DIY Chenille Baby Blanket With Wood Teething Ring
Materials List:
• Fabric
• Chalk
• Sewing machine and thread
• 2-1/2'' Wooden ring
• Chenille maker
• Folding ruler (6'' x 24'')
• Classic stick rotary cutter (45mm)
Skill Level: Intermediate
Project Type: Make a Project
Time to Complete: In an Evening
Sewn By: Both Hand and Machine
Chenille Baby Blanket With Teething Ring Instructions:
- Cut 4-7 pieces of 12" x 12" fabric and one piece of 14" x 14" fabric. The 14" x 14" fabric will be your base layer of fabric. Place all pieces of 12" x 12" fabric pieces on top of each other, with the base layer at the bottom.

- Use a ruler and chalk to mark a diagonal line from one corner to the opposite corner. Sew along the marked line, then sew evenly spaced parallel lines over the entire surface of the fabric. The lines should be between 3/8" to 1/2" apart.

- Insert the chenille maker into the center channel, just above the larger base layer and facing towards you. Hold the material in place and firmly pull the chenille maker towards you, cutting through the layers of fabric. Cut through each channel in the same way.

- After cutting through all the stitched channels, put the fabric in the washer and dryer. For better, fluffier chenille results, launder with other items; the friction helps to create a plush effect.

- To finish the sensory teething toy, pin a piece of fabric to the right sides of the chenille. Sew three sides of the fabric around the perimeter of the square.

- Trim the seam allowance and clip the corners. Turn the chenille sensory blanket to the right through the hole you left on the one side. Sew the hole closed.
- Pass one corner of the blanket through a wooden ring and sew it down so that the ring is attached at the corner. You may need to hand-stitch this to ensure it is firmly attached.


Want More?
12 Tag Blankets for Babies Patterns >>
What's your favorite fabric for blankets?
Let us know in the comments!
Read NextDIY Swaddle Baby Blanket Tutorial
Thanks for your comment. Don't forget to share!
KLC
Jan 09, 2023
SO LUXURIOUS! It's a fantastic blanket and I love the addition of the teething ring.
Report Inappropriate Comment
Are you sure you would like to report this comment? It will be flagged for our moderators to take action.
Thank you for taking the time to improve the content on our site.