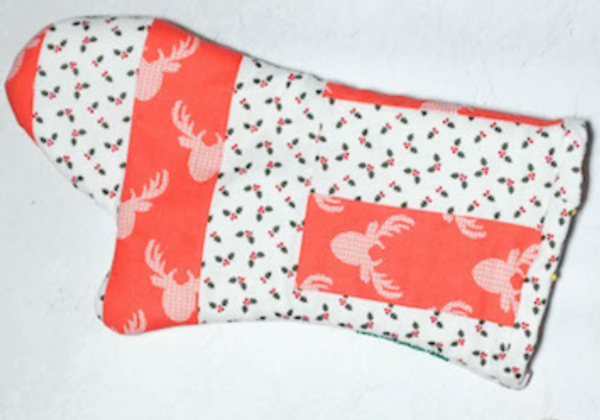
Holiday Oven Mitt Sewing Pattern
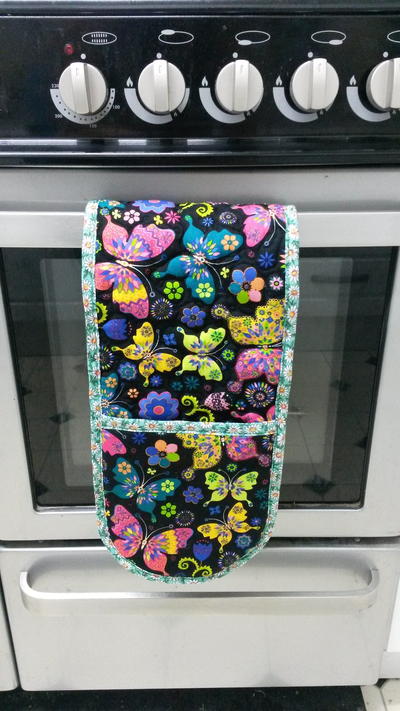
Love kitchen sewing projects? Make a DIY holiday oven mitt that will add a festive touch to your home. Or give as a gift!

A good DIY oven mitt tutorial or pattern is something that everyone sewist should have in their arsenal.
Fun and easy to make, plus nearly any fabric looks good. Having a winter, Christmas, or Hannukah fabric version is going to help you out when it comes to gift-giving around the holidays, too. Not that you have to stop there.
So, search through your fabric stash or hit the fabric store to find the ideal festive cotton fabric for your new oven mitts. Then get ready to sew this simple project.
Marie from Underground Crafter will walk you through this project:
Oven mitts make great gifts. In addition to being practical, an oven mitt is a relatively straightforward sewing project that even a beginner can tackle.
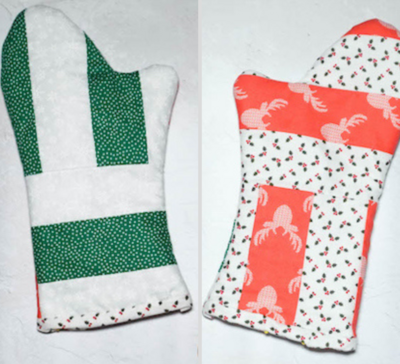
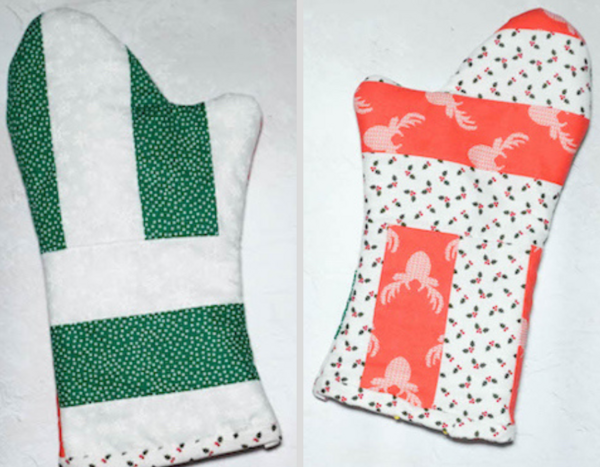
This Holiday Oven Mitt Sewing Pattern takes a scrappy approach, using 2-1/2" strips of winter holiday-themed 100% cotton quilting fabric that was leftover after sewing Christmas stockings.
Your version can use up "orphan" quilt blocks or leftover pieces of fabric from larger projects, or choose special fabric just for the recipient. This is a fat-quarter-friendly project, too.
Join Sewing It Up For More Free Patterns, Tutorials, & Guides >>

Holiday Oven Mitt Sewing Pattern
Skill Level: Beginner
Project Type: Make a Project
Time to Complete: In an Evening
Sewn By: Machine
Tools List:
• Baby Lock Brilliant sewing machine with BLG-ZZ presser foot or walking foot for sewing over thick seams
• Cutting mat, 45 mm rotary cutter, and acrylic ruler
• Fabric shears
• Scissors for cutting paper and tape for assembling the pattern
• Pinking shears
• Quilting pins and pincushion
• Universal needle
• Iron and iron-safe surface
Materials List:
• Oven Mitt pattern printed out onto paper
• 100% cotton thread in your choice of color for stitching and bobbin
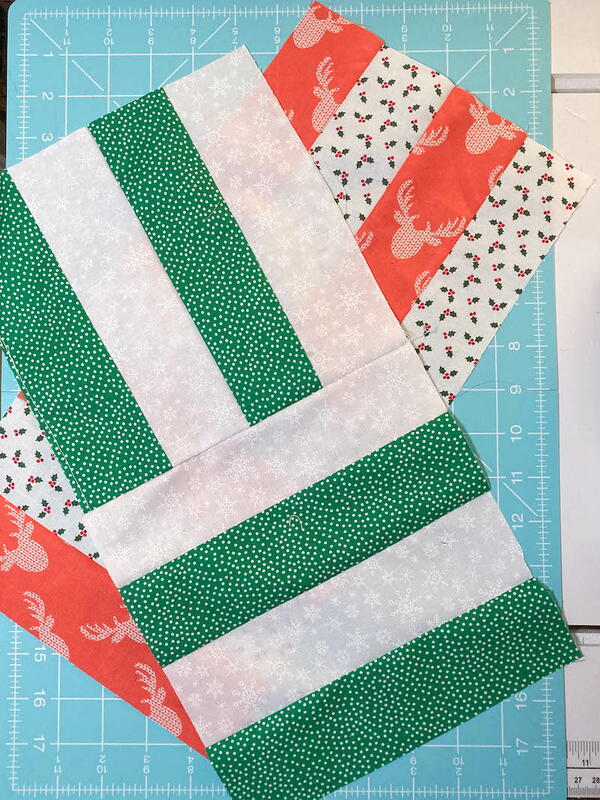
• 100% cotton quilting fabric. For each oven mitt, you will need six 2-1/2" strips cut across the width of fabric for the Front, Back, and Binding, and one fat quarter for the Lining
(Alternatively, you can use 1/4" yard of fabric for both Front and Back and another 1/4" yard of fabric for the Lining and Binding, or two fat quarters - one for the Front and Back, and another for the Lining and Binding)
• Insul-Bright
• Cotton or cotton blend batting
How to Make a Holiday Oven Mitt:
Prepare for sewing:
- Iron the fabric to press out wrinkles and folds.
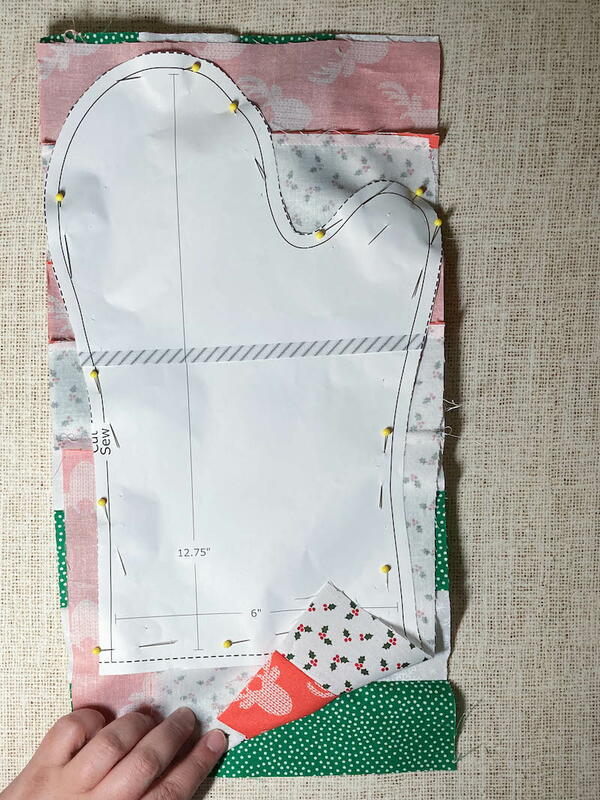
- Cut out each piece of the pattern following the dashed "Cut" line through the crosshatched area. Follow the assembly diagram below to assemble the pattern. The crosshatched areas on each piece will overlap each other. Tape the pattern on the back side.

Quilt blocks for Oven Mitt Front and Back Pieces:
- Make 2 quilt blocks for the Front and 2 quilt blocks for the Back of the oven mitt as follows:
- Position two 2-1/2" strips right sides together. Seam along long edge with 1/4" seam allowance. Press seam towards darker fabric.
- Cut joined strips to 8-1/2" long. Position two 8-1/2" strips right sides together. Seam along long edge with 1/4" seam allowance. Press seam towards darker fabric.
- Trim block to 8-1/2" square.
- For Front, position two blocks perpendicular to each other with right sides together. Seam along long edge with 1/4" seam allowance. Press seam open. Repeat with next set of two blocks for Back.
Cut Front, Back, Lining, Binding, Insul-Bright, and Batting:
- Position the Front and Back fabric pieces facing each other with the oven mitt pattern on top. Pin the pattern into place, being careful not to let pins stick out over pattern and being sure that both Front and Back pieces are covered by the pattern.
- Using fabric shears, cut out the Front and Back pieces.
- Position the oven mitt pattern on top of a folded piece of Insul-Bright. Pin the pattern into place, being careful not to let pins stick out over pattern and being sure that the folded Insul-Bright pieces are covered by the pattern.
- Using fabric shears, cut out the Insul-Bright pieces. Repeat with a folded piece of batting to cut out batting pieces. Repeat with a folded piece of fabric to cut out Lining pieces.
- Using rotary cutter, cutting mat, and acrylic ruler, cut two pieces to 2-1/2" x 7" for the binding.
Assemble Oven Mitt:
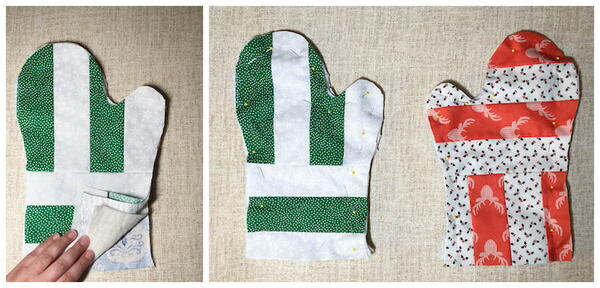
- For Front of oven mitt, position Lining piece face down (wrong side up) at bottom, batting piece on top of Lining, Insul-Bright piece on top of batting, and Front piece on top with the right side facing up as shown in the photo below. Repeat process for Back of oven mitt.
- Pin around curved edges; do not pin bottom yet.
- Fold fabric for first binding piece in half along the long edge. Press fold flat. Pin long raw edges of binding across bottom of Front of oven mitt (folded piece of binding should be on the Lining for the Front of oven mitt). Repeat with second binding piece on Back of oven mitt.
- Starting with Front piece, sew binding to bottom of oven mitt with 1/4" seam allowance. Fold over long (folded) edge to right side of oven mitt. Secure binding with top stitching. Repeat for Back piece.
- Position Front and Back of oven mitt with right sides together. Readjust pins so that they are on the wrong side (Lining side) and can be removed easily as you sew.
- Using the leveling foot (this video demonstrates how it is used) or walking foot, sew around the curved edges of the oven mitt with a 1/4" seam allowance. Do not sew closed the bottom of oven mitt.

- With pinking shears, carefully trim excess bulk outside of seam on wrong side (Lining side) of oven mitt.
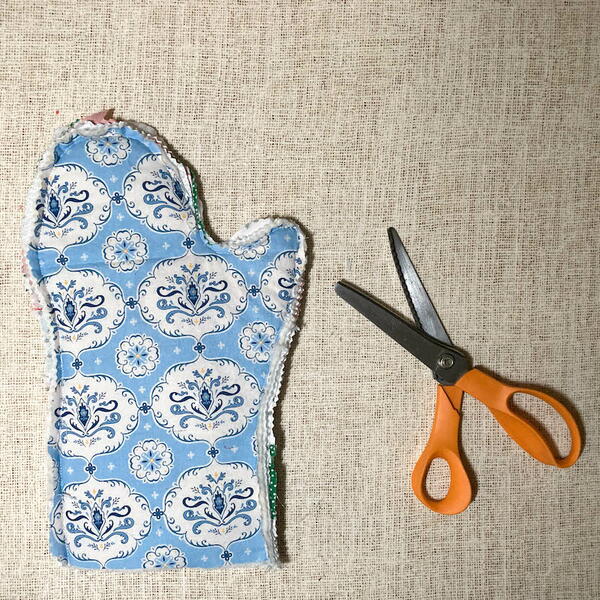
- Turn oven mitt right side out. If necessary, you can use a low setting on your iron to press the oven mitt without damaging the Insul-Bright.
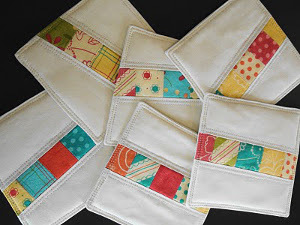
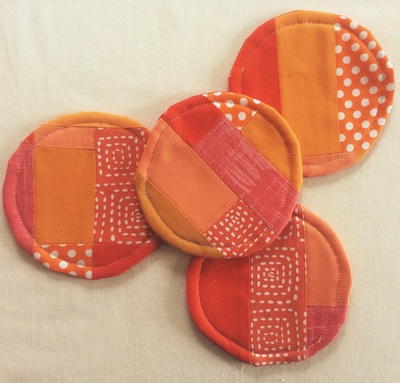
Read NextQuilted Coasters