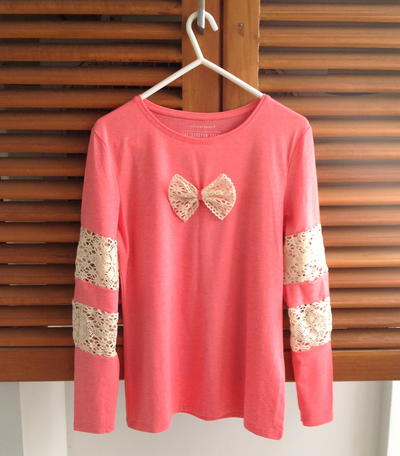
How to Sew a Shrug from a T-Shirt
Looking for upcycled t-shirt ideas that your daughter will love? Follow this DIY refashion clothes tutorial for a shrug she'll want to wear every day.

When your kids grow out of their clothes so quickly, it can seem impossible to keep their fashion on trend and on budget. So, when your little girl is looking to update her closet or is in need of a new fashion piece, don't buy a whole new wardrobe!
You don't need to buy a single piece of extra fabric when you follow this simple tutorial on How to Sew a Shrug from a T-Shirt.
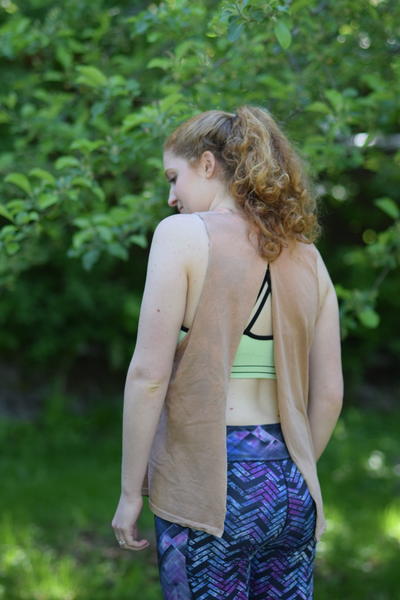
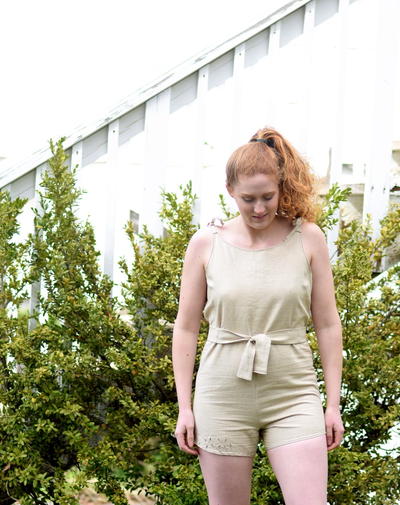
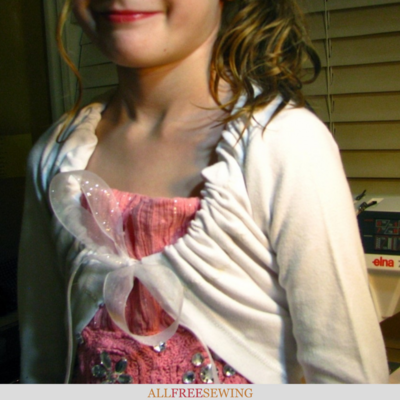
With a darling ribbon bow in the front and a gathered fabric collar, this t-shirt shrug refashion idea is too cute to pass up. While sweaters, cardigans, and shrugs cost a fortune at department stores, you can have this trendy piece at zero cost. Transform material you already own into something brand new, and your wallet will thank you.
Not just your daughter can experience the fashionable fun of this upcycling project. You can use this clever upcycling tutorial for both kids and adults! In just seven simple steps, you can learn how to design and make your own clothes to create a wardrobe that fits your (and your daughter's!) unique personality.
You can also follow Maureen Wilson of MadeByMarzipan.com as she demonstrates how to follow along with this t-shirt shrug pattern in the video tutorial found at the bottom of this page.
Sign Up For More Free Patterns >>>
This tutorial was written by Maureen from Made by Marzipan. To see more of her work, check out her designer profile here:
Materials:
- Plain T-shirt
- Ribbon
- Lighter
- Sewing machine & thread
- Ball-point needle (recommended)
Instructions:
-
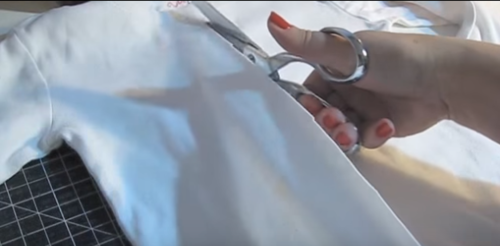
Begin with a plain T-shirt. Cut the front of the shirt directly down the center. Be careful to only cut through the top layer of fabric.
-
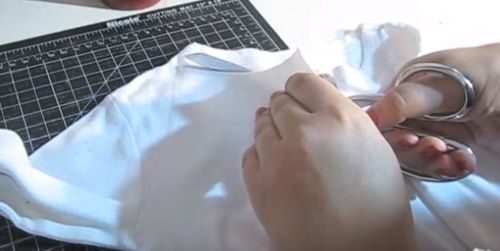
Next, remove the collar by cutting right below the stitches on the neckline.
-
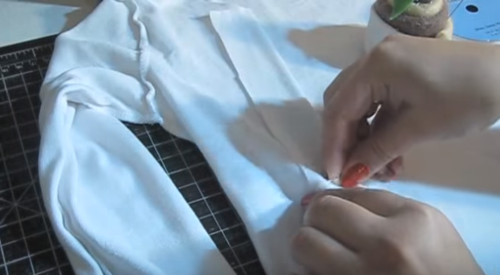
Turn the T-shirt inside out. Make a casing that’s about the same width as your ribbon, by folding the cut edges inward and pinning.
-
When you get to the neckline, pull any excess fabric outward rather than pinning bunched up fabric underneath. This will ensure that your ribbon will slide through the casing easily. You can snip off the corner this creates so that you can keep the casing uniform. Pin around the neckline and down the other half of the shirt.
-
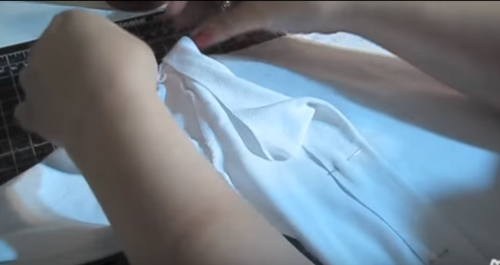
Next we’ll sew the casing in place. You’ll be sewing along the raw edges. It’s wise to use a ball-point needle when sewing with knits. Change your machine settings to a long zig-zag stitch.
-
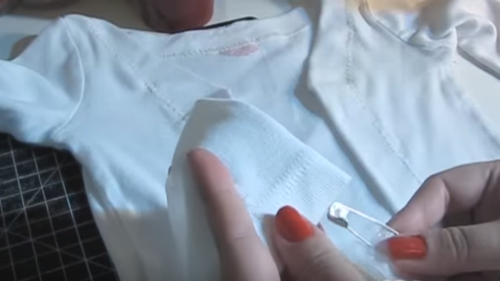
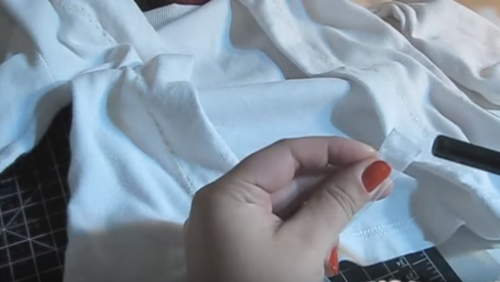
Now we’ll insert the ribbon into the casing. Feed it through using a safety pin or bodkin. Pull it through the other end and unbunch the fabric. Cut the ribbon long for now so you have room to make adjustments when the shrug is tried on. It’s also smart to singe the ends of the ribbon to prevent fraying.
-
To wear, pull upward on the fabric while holding onto the ribbon. Tie in a bow.


Shirt to Shrug Video Tutorial:
Read NextGirly T-Shirt Refashion
Your Recently Viewed Projects
Thanks for your comment. Don't forget to share!
Report Inappropriate Comment
Are you sure you would like to report this comment? It will be flagged for our moderators to take action.
Thank you for taking the time to improve the content on our site.