This project was submitted by one of our readers, just like you.
Update a Basic Kurta

Update a Basic Kurta
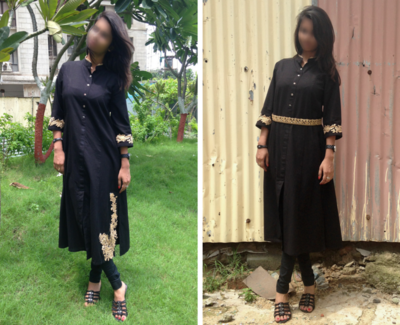
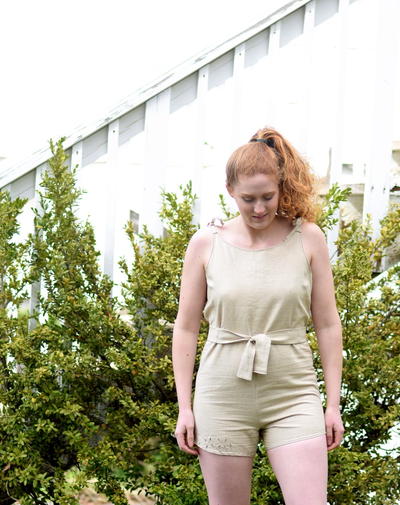
"I needed a kurta for a family dinner I was attending but wanted to use something from my existing wardrobe at the same time. After a bit of brain storming, and with my experience in the industry, I came up with quiet a few design changes I could make to a basic black kurta I had. One of the ideas was adding embroidery and lace detailing to the kurta. I bought a piece of embroidered fabric, some lace (which I naturally dyed to match the embroidery colour) and used buttons I already had in my craft supplies. This is an easy way to elevate any basic kurta you might have. You can easily open the embroidery and lace for further design changes. Even though it is a time taking process it requires very basic hand stitching knowledge. Also, the total costing of the piece is very low (just about $20 including the kurta and half meter of embroidered fabric) but looks classy and would definitely retail for double."
Project TypeMake a Project
Time to CompleteIn an evening
Sewn byHand

Materials List
- Kurta/ Dress
- Lace- 21" (1.5" extra from the collar measurement)
- Embroidery on net fabric (net colour same as kurta)
- Sewing thread matching kurta colour
- Sewing thread matching lace colour
- T-pins/ pearl pins
- Needle
- Buttons (optional)
- Seam ripper (optional)
Instructions
-
First place your design elements on the kurta and finalize them. I decided to go with the laced collar, embroidered sleeves and change of buttons. Next open any existing elements you do not want. I opened and removed the sleeve epaulet, this left me with 1" of open stitches which was concealed during the embroidery attachment.
-
Next I removed the old white buttons and replaced them with marbled mother of pearl buttons. When removing the old buttons mark the spot with a white pencil to ease the new button placement. Sew the buttons.
-
Double fold one edge of the lace with an intake of total 3/4" and sew with a thread matching the lace colour. While folding the lace place it at the collar start, with the fold towards the body, to check for continuation in collar shape. Next pin the lace in place with equal height all around the collar. I had to redo the edge in the end because I did not check for the shape and ended up with a straight awkward looking lace attachment.
-
Using the kurta matching sewing thread and whip stitch attach the lace to the collar. Even though the stitches are visible on the inside, I suggest this stitch because it is the strongest holding stitch type that can be used here. Make sure your stitches do not cross through all the layers showing in the front. Once you reach the end of the collar fold the excess lace into shape with the collar, you should be left with 3/4" of lace to be folded.
-
Sew the excess lace into a double fold, using thread matching the lace. The second photograph shows how the finished collar with lace looks.
-
Roughly place the embroidery on the sleeve and cut the length accordingly. Then carefully cut around the embroidery leaving only 1/8" of net from the embroidered edge. It is preferred to use embroidery on a net colour same as the kurta because the net being of such loose weave will not stand out from between the embroidery design and edges. Ideally designers either embroidery direct onto the kurta fabric or the use net as the second best option.

Read NextGirly T-Shirt Refashion