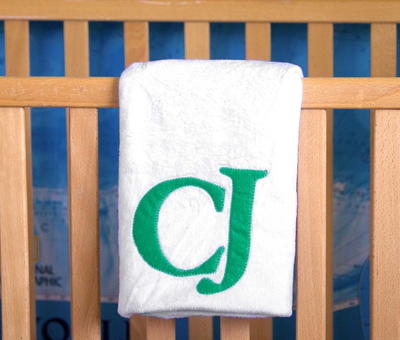
Monogrammed DIY Baby Blanket
Make this baby shower DIY idea in an hour.

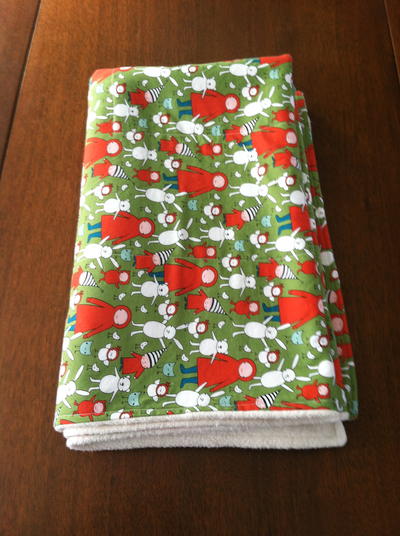
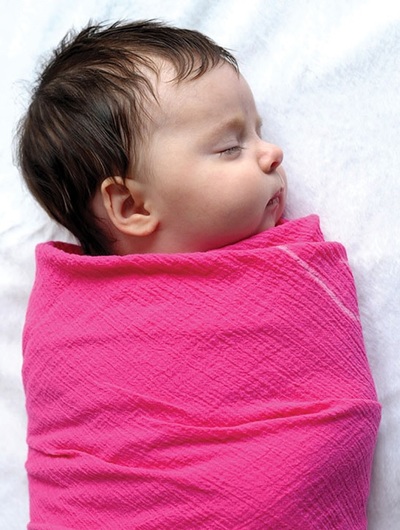
Looking for a gift for your friends' newborn or a new blanket for your own little one? This Monogrammed DIY Baby Blanket will keep any baby toasty and snug with a felt-lettered face that will brighten up any nursery. Two-sided and cozy, this handmade baby blanket uses both minky fabric and cotton to ensure your baby is swaddled in the softest textiles. Your baby won't cry through the night when cuddled in this blanket! This easy baby blanket sewing pattern ensures that even beginners will make professional looking blanket perfect for any baby.
Project TypeMake a Project
Time to CompleteIn an evening
Sewn byMachine

Materials List
- 1 yard minky fabric
- 1 yard cotton print fabric
- Felt
- Two-sided fusible web
- Pins
- Sewing machine and thread
- 8'' fabric shears
- Rotary cutter and ruler combo (12'' x 12'')
- Cutting mat (24'' x 36'')
- Stencil for monogram
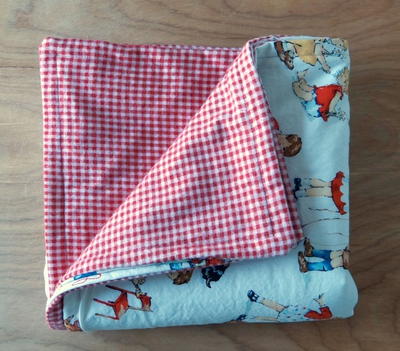
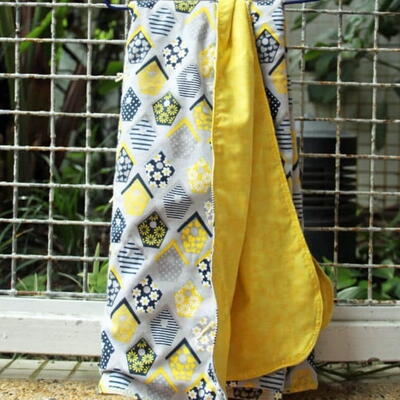
Looking for more darling baby gift ideas? Check out this list baby sewing patterns to jumpstart your search. From diaper bag patterns to baby blanket ideas, this collection has it all.75+ Free Baby Sewing Patterns You'll Adore
Instructions
-
Pre-wash all fabric that will be used to create the blanket. Use the rotary cutter and ruler combo to trim both yards of fabric to the same size. This tool will help you get perfectly straight and clean cuts, especially along the longer cuts of fabric, since the blade is attached to the ruler.
-
Apply two-sided craft fusible web to the back of a piece of felt. Trace the desired initials on to the backing paper and use the 8” fabric shears to cut out the initials. These shears are great for obtaining precise cuts with fabrics.
-
Add the felt to the minky fabric, and then, blanket stitch the outer edge of the letters.
-
Place the minky fabric and cotton print together with right sides facing. Pin around the perimeter, but leave a 6” hole along one of the sides. Sew the two pieces of fabric together.
-
Use the fabric shears to trim the seam allowance and the corners of the blanket.
-
Turn the blanket to the right side through the turning hole. Make a top stitch around the entire edge of the blanket, closing the turning hole as you do so.
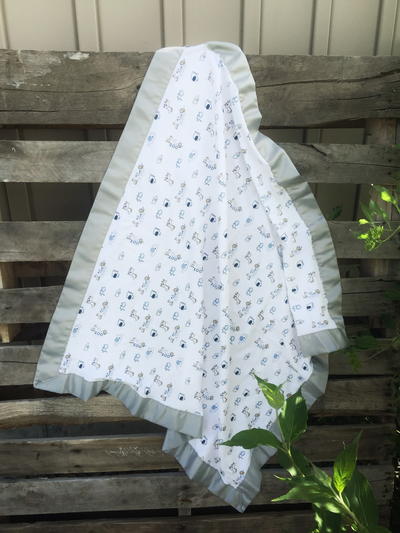
Read NextOne Hour Baby Blanket Pattern