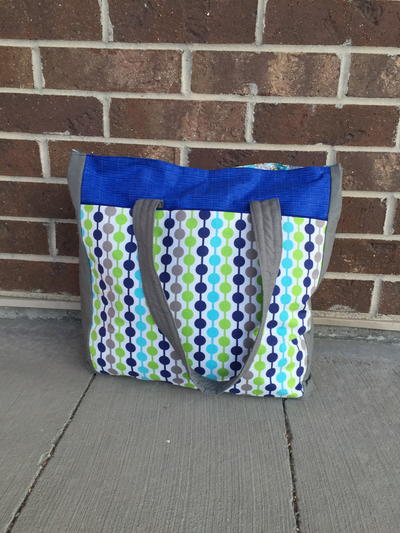
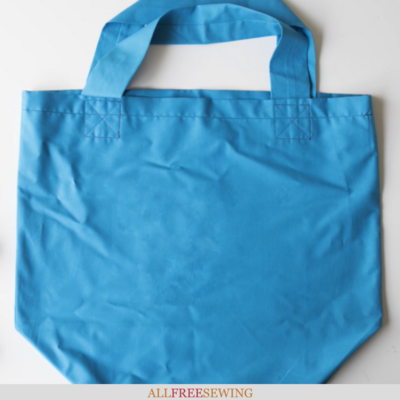
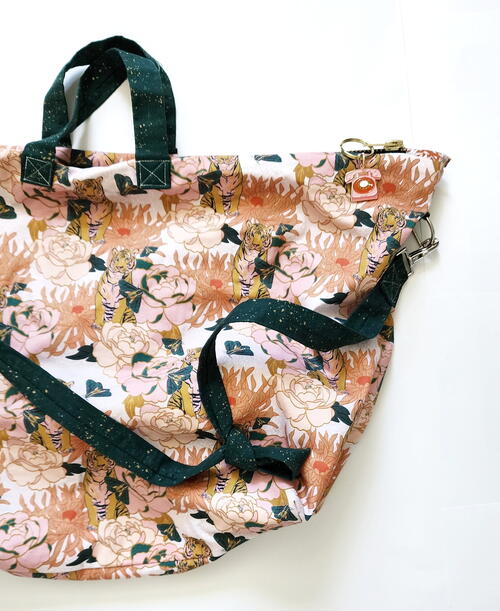
Duffle Bag

This gorgeous Duffle Bag is perfect for showing off that stunning new fabric you just picked up. Using contrasting fabric for the inside and straps, it's a strikingly beautiful project that's sure to get you a lot of compliments. While not necessarily beginner-friendly, the instructions are clear with plenty of pictures so anyone with enough patience and dedication can have a gorgeous duffle bag of their very own.

Materials List
- 1 1/2 Yards Cotton or Canvas for the main fabric
- 1 1/2 Yards Cotton or Other fabric for lining.
- 1 1/2 Yards Interfacing
- Matching Thread
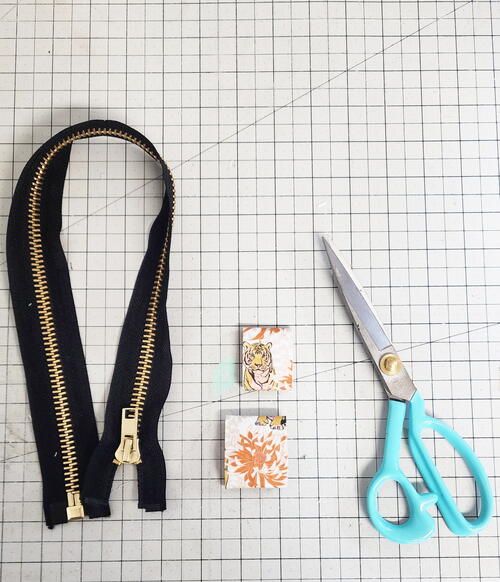
- 22” Heavy Duty Zipper
- Leather strapping, Nylon Straps or fabric from the lining for the straps. 1 1/2“ x 42”
- Rotary Cutter, ruler, and cutting mat
- Scissors
- Zipper foot
- Pins and binder clips
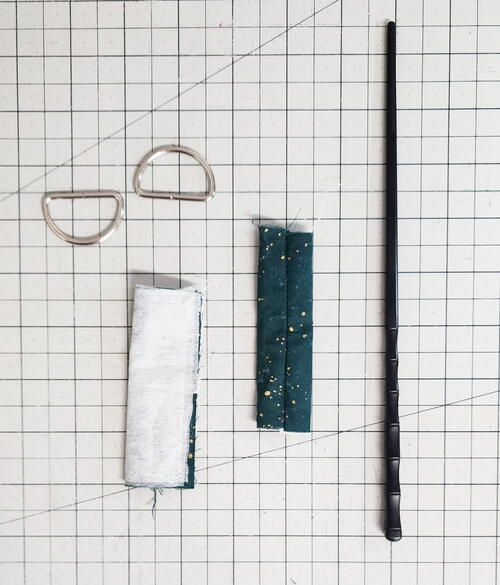
- 2D rings
- 2 Swivel hooks
- Iron and pressing mat or ironing board
- Sewing machine
INSTRUCTIONS
Before starting, prewash and press all fabrics.
Seam Allowances is 1/2” unless otherwise stated.
-
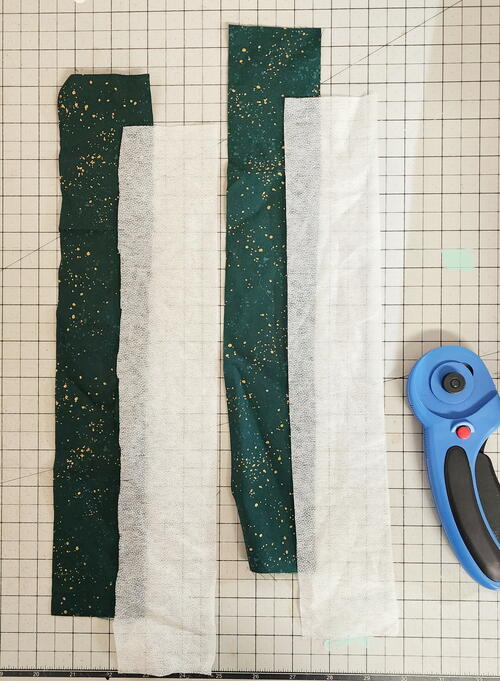
Cut and prepare all materials.
- Main fabric :: (2) 24” x 20” , This is the outter fabric of the bag. Pay extra attention to directional prints.
- Pocket fabric ::(2) 6 1/2” x 6 1/2”
- Lining fabric :: (2) 24” x 20” , (2) 12” x 13” , (1) 11” x 8”
- Strap fabric:: (1) 1 1/2" x 42”
- Interfacing :: (2) 24” x 20” , (1) 3 1/2“ x 2 3/4”
- Leather or fabric zipper tabs :: (4) 2 1/2” x 4” (2) 3 1/2“ x 2 3/4”
- Side leather or fabric straps :: 2” x 16”
-
Apply interfacing to main and one of the pocket fabrics.
Follow directions on interfacing -
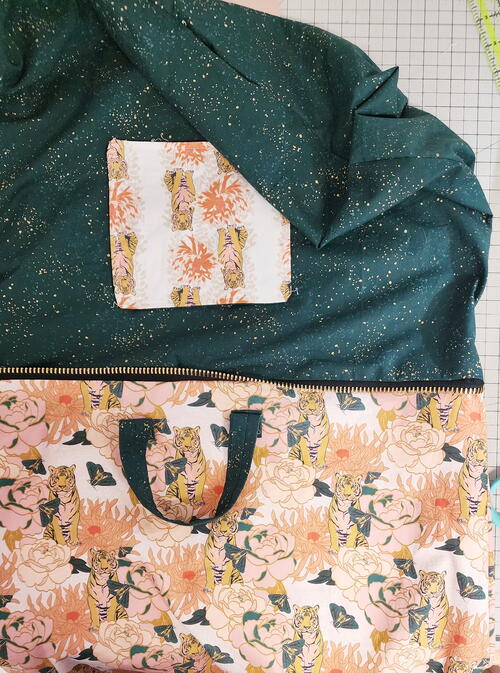
Sew Pockets to Lining
- Place pocket pieces right sides together, lining up any directional prints with the top of the print towards the top of the pocket. Sew around all four sides, leaving a small 2" opening along the bottom edge.
- Backstitch at the beginning and end of the opening and pivot at the corners.
- Trim corner seam allowances to 1/8" to help reduce bulk.
- Turn pocket right sides out, gently poking out corners with a dull pencil or chopstick. Press well.
- Add a line of top stitching to the top edge of your pocket for a little extra detail.
- Center the pocket onto the lining piece, with the top of the pocket about 3 ½” from the top of the lining piece. Pin into place.
- Sew the pocket into place by sewing down one side, across the bottom and then up the other side, leavingthe top side open.
- Be sure to back stitch to secure it into place.
-
Prepare the bag zipper.
- Fold rectangle in half, lengthwise, marking a crease.
- With the fabric wrong side up, fold each half towards the crease and press
- Turn the strip to the other side and fold in half, widthwise. Sew the raw edges together. Press the seam open.
- Turn the little tube right sides out and with the seam in the middle, press.
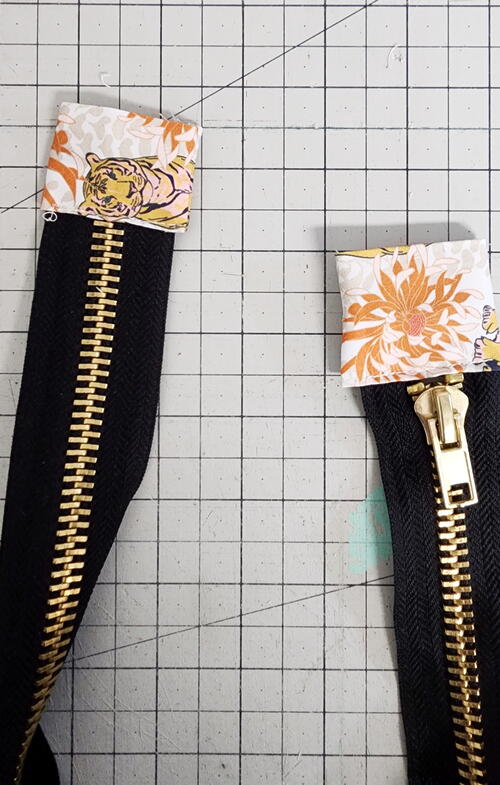
- Insert the zipper in the tube.
- With the tab seam side down, insert the zipper into the tab, aligning the bottom end of the tab with a mark ( or the end) on the zipper.
- The zipper teeth should be in the right side of the zipper tab, seam should be on the wrong or back side of the zipper.
- Stitch the top of the tab
- Repeat fo rthe other zipper end. Making sure to pull the zipper out of the way.
- Sandwich the ends of the zipper in between two tabs and clip into place. Making sure the zipper still has 22” of zipper tape exposed.
- Sew around the zipper tab.
- If using leather, change your needle to a leather needle, stitch slowly and lengthen your stitch
-
Sew main and lining fabric to zipper.
- Place lining piece right side facing up. Lay zipper tape across the top of the lining piece. With the right sides of the zipper teeth facing up. - Lay main bag piece on top and clip all layers together with quilting or binder clips.
- Using a zipper foot, sew all layers together, with a ½ seam allowance. Leaving about ¾” un - sewn at each end of the fabric.
- Fold lining and main fabric pieces over, exposing the zipper. Press along the zipper/ fabric seam with a hot press.
- Do not touch the iron to the zipper teeth.
- Repeat with the remaining lining and main fabric pieces.
-
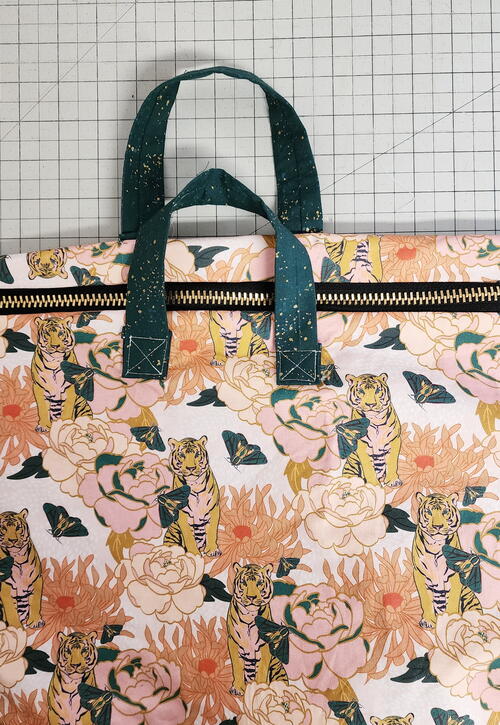
Install Straps.
- Decide on placement of smaller straps. The bottoms of the straps should be 3-4” from the top of the bag spacing the ends about 4-5” apart.
- Mark your placement with a Pencil or washable pen.
- Sew the straps to place. Sew a ½ long rectangle at the end of each of the straps. Sew and X in that rectangle to add strength.
-
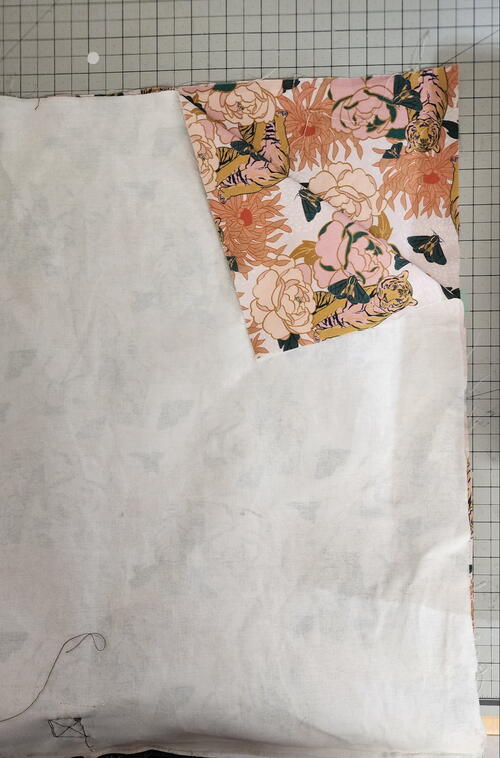
Sew the bag together.
- Pin the main and lining pieces together. Right sides facing. Flip the ends of the zipper up and towards the main fabric pieces. Open the Zipper a few inches before sewing.
- Sew all the way around the sides and bottoms of the main and lining pieces. Leaving a 4” opening at the bottom of the lining.
-
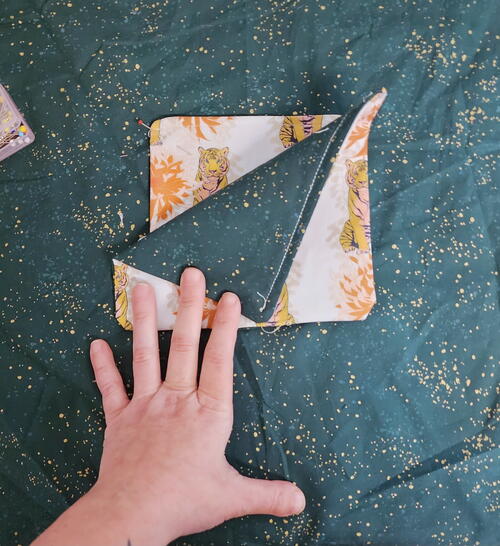
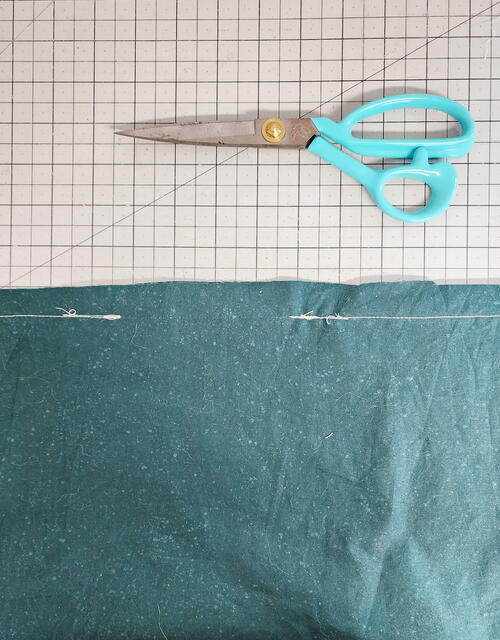
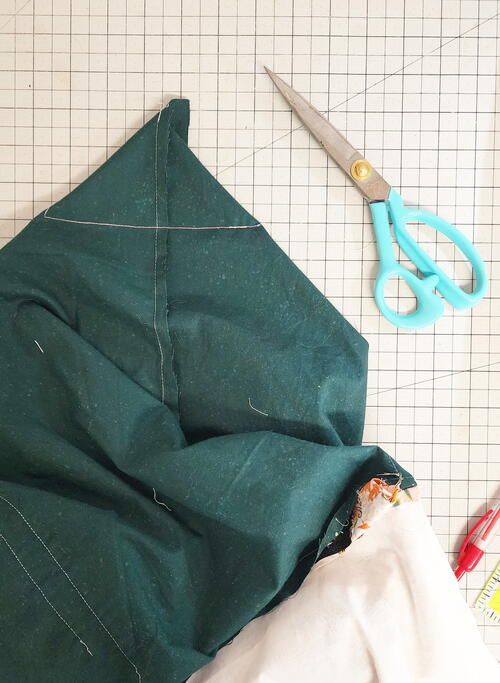
Sew corners.
- Fold each corner so that the seams line up, creating a triangle that is 3 ½” x 7”.
- Pin corner in place, 3 ½” from the tip of the corner, draw the 7” line.
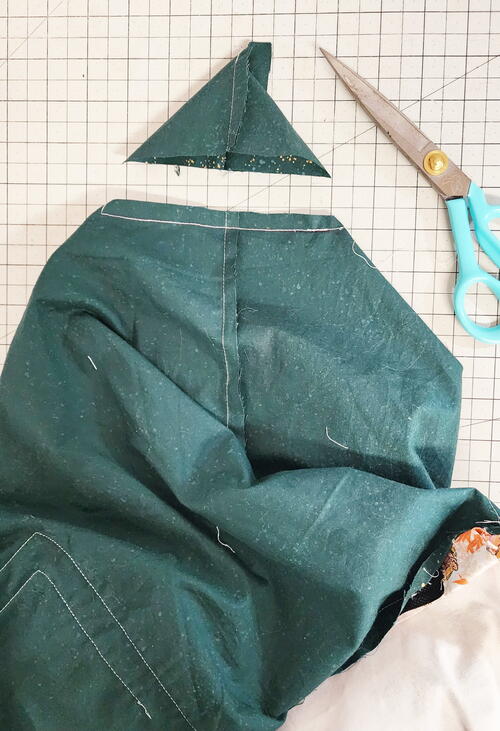
- Sew along the drawn line trim off the excess fabric, leaving ½” seam allowance.
- Repeat for all 4 corners.
-
Turn bag right side out.
- Turn bag right sides out through the opening and the open zipper.
- Fold the lining opening so that the edges are clean and even with the rest of the bottom seam pin closed and sew along the bottom edge of the lining bag.
- Push ining bag into the main bag.
- Finish the top of the bag by top stitching around the zipper opening, along the zipper/ fabric seam.
-
Sew Should strap.
- Fold small 3 ½” x 2 ¾” main fabric pieces in half and sew.
- Turn right sides out, press flat and with seam centered to the back and the ends folded inward about ½”
- Slide and fold onto ring. Place on the side of the bag, about 2” below the top. Sew in place by sewing a square onto the ends of the small strip of fabric and then sew and X through the square to add strength.
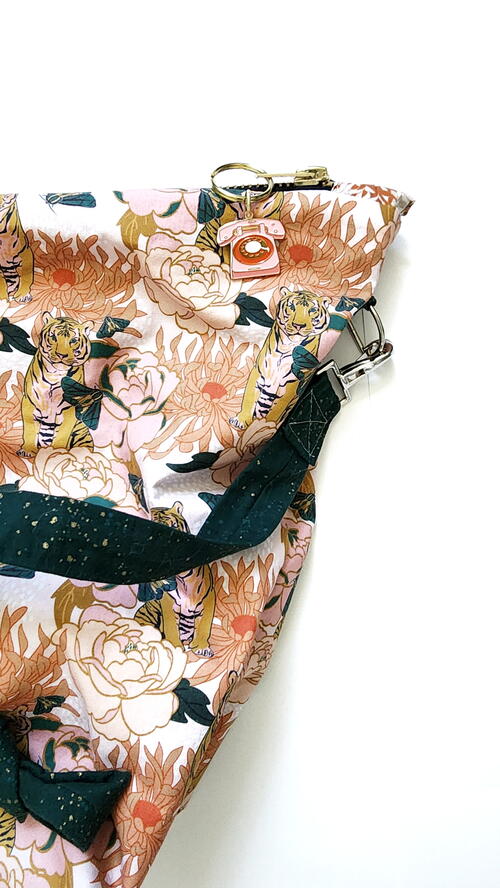
- Fold each end of the long strap piece under about 1 ½”
- Cut a small rectangle at the bottom of each fold, reducing the width of the bottom of the fold by ½.
- Unfold the strap ends and slide swivel hooks onto the narrowed folds.
- Fold the strap ends over again and secure with clips.
- Sew the strap ends closed with a rectangle and an X through the middle.
-
Your project is finished! If you love this tutorial, be sure to check out Janome.com for even more inspiration.
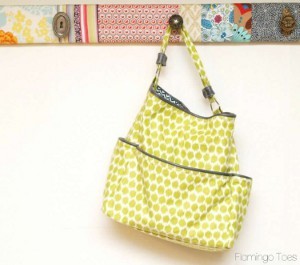
Read NextTwenty Minute Tote