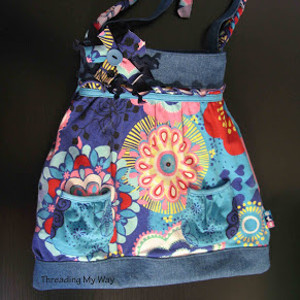
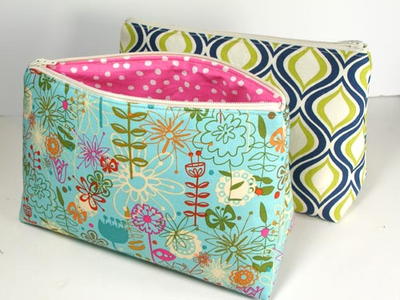
How to Sew a Messenger Bag (Easy!)
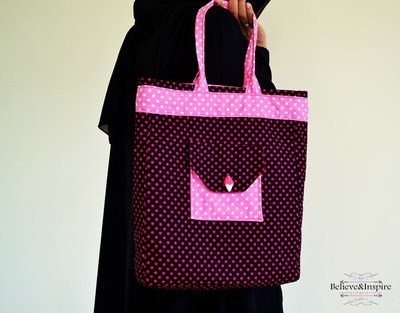
This amazing cross body messenger bag pattern is so easy to make and super useful for anything you need. Learn how to make your own DIY messenger bag here!

You will not believe how quickly you can make a messenger bag when you follow our fantastic written and video tutorials. Learn How to Sew a Messenger Bag here. This is an easy and super quick sewing project that creates a really cute and stylish DIY bag.
And, are you ready for this? This DIY messenger bag can be made in as little as 10 minutes!
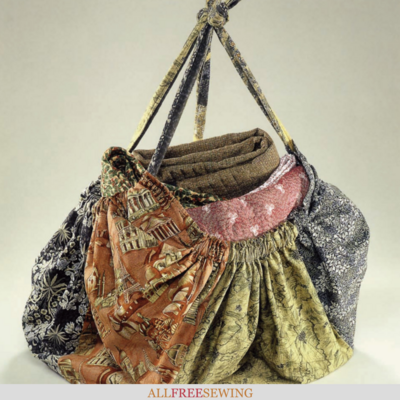
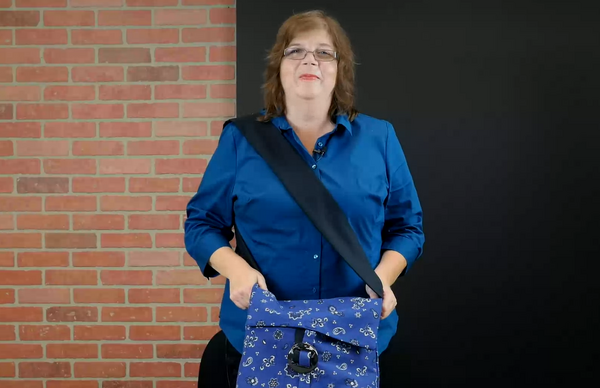
This messenger-style bag pattern is made complete with a super cute flap and a clasp that makes it great for carrying numerous amounts of different objects.
Whether you need a new bag for school, for grocery shopping, or to lug more stuff than usual from one spot to the next, this DIY bag pattern is definitely a great one to try out.
Plus, you can mix up the pattern to match your perfect style, and it is so quick to make that you can make it and use it on the same day!
Materials Needed
- Sewing machine
- 1 yard of fashion fabric (see note below)
- 1-1/4 yard heavyweight lining fabric
- 3" coconut shell buckle
- Hand sewing needle
- Thread
- Pins
Cut List: Fashion Fabric
Bag Body – 17" x 35"
Flap – 13" x 9-1/2"
Decorative Buckle Strap – 3" x 11-1/2"
Cut List: Lining
Bag Body and Flap as above
Strap – 6" x 32"
Buckle Strap – 2-1/2" x 11"
Skill Level: Intermediate
Project Type: Make a Project
Time to Complete: Under an hour
Sewn By: Machine
How to Sew a Messenger Bag Video Tutorial
The sewing video below shows you step-by-step how to sew your own messenger bag easily! Don't be worried if you've never made a large bag before because Mary Beth is going to explain everything you need to know. Simply click play on the video box below to watch.
How to Sew a Messenger Bag (Easy!)
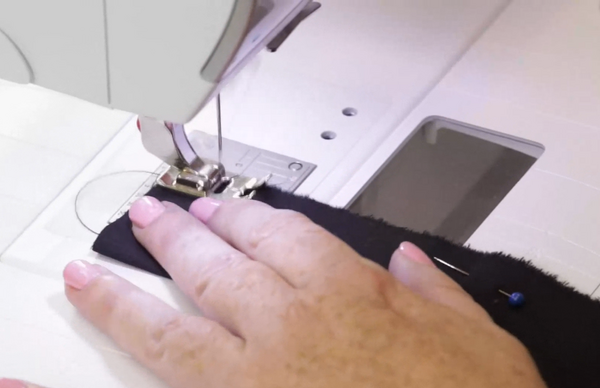
- Take the fashion fabric that you are using for the body of the bag, you are going to fold them in half, and sew up both sides and leave the top edge open, leaving a 1/2 inch seam allowance.
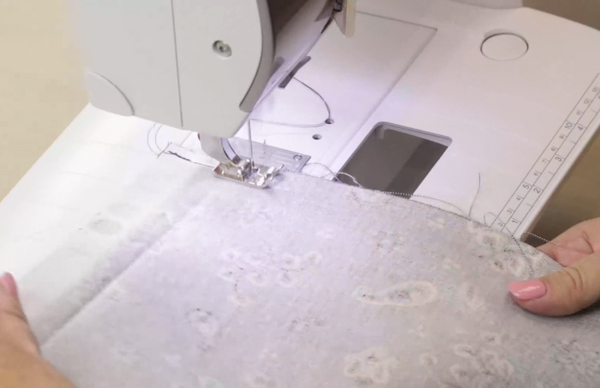
- Repeat this for the lining fo the bag.

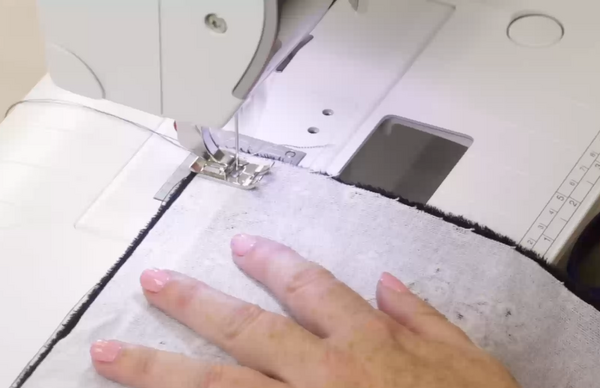
- Pin the right side of your fabrics for the flap, one cut of the fashion and one cut of the lining, facing, and sew along three sides of your flap leaving one long side open. Use a 1/2 inch seam allowance.
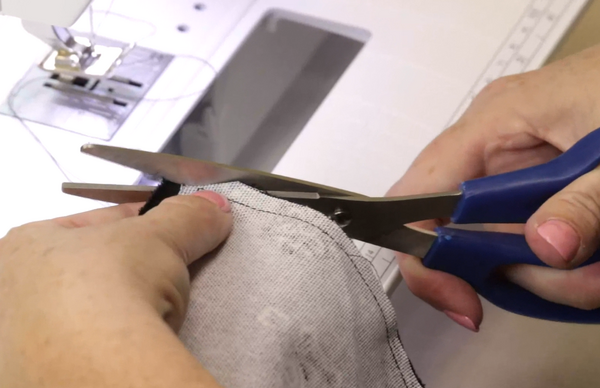
- Clip the corners and turn the flap of your bag right side out, and press it.
- Take the buckle straps and bag straps, fold them in half, long ways, sew them up the side with a 1/2 inch seam allowance. Then use the same technique to turn them right side out and press them.
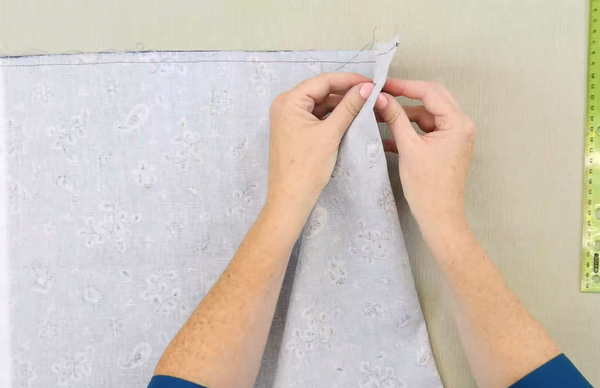
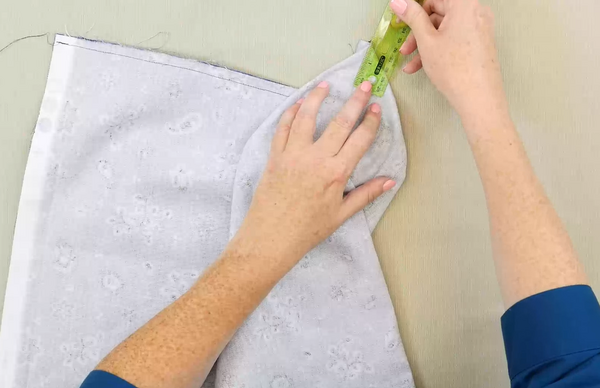
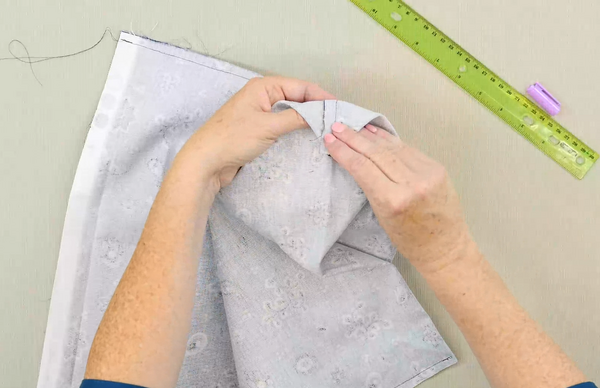
- To make the bag expand when needed: Looking at the bottom corner where the fold is, grab both sides and pull it out so you have a triangle shape. Measure down 1-1/2 inches, make a mark, and holding it nice and flat draw a line across that mark.
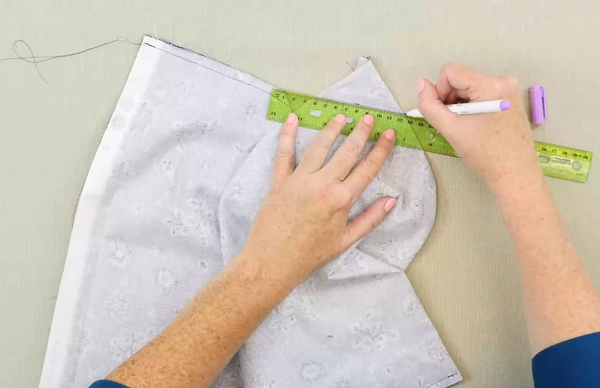
- Sew across that line, and then fold your triangle toward the fold and tack it into place.
- Repeat Steps 6–7 for the other corner of the fashion fabric, and both corners of the lining fabric.
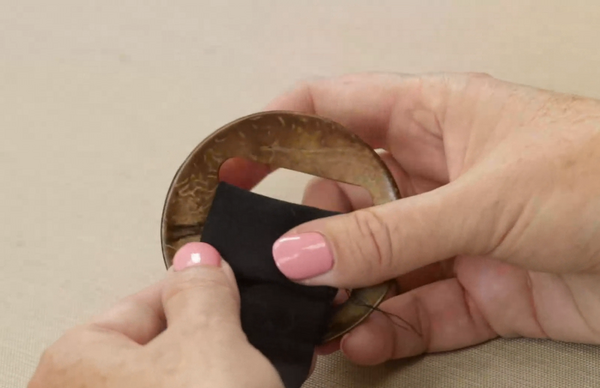
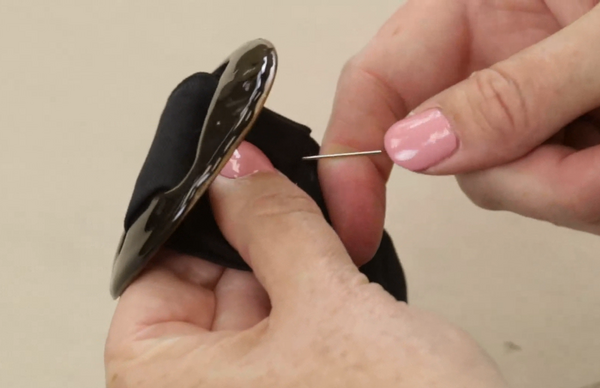
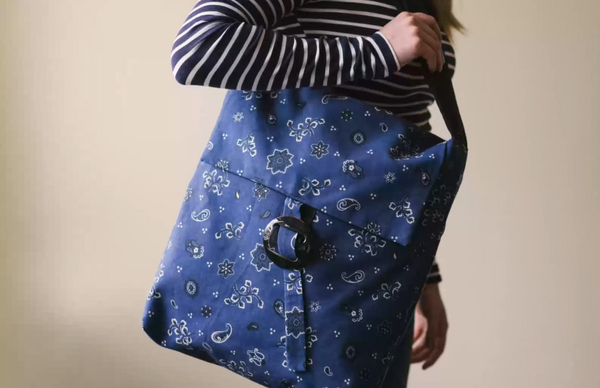
- Take your strap piece for weaving through the buckle, take one of the ends, and put it down through the wrong side of the buckle and up through the right side of the buckle. Fold back about a half of an inch and lay that fold on top of the buckle strap and sew it shut by hand.
Note: You can sew it with a machine but because of the lack of precision caused by the buckle, hand sewing allows for more accuracy. The hand stitch you use doesn't matter because it will not be visible, however, you want to make sure that the stitching is strong!
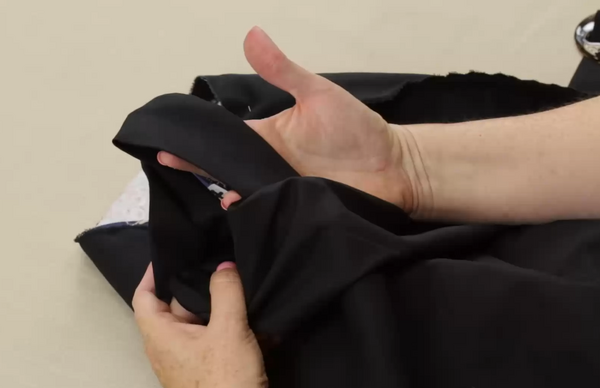
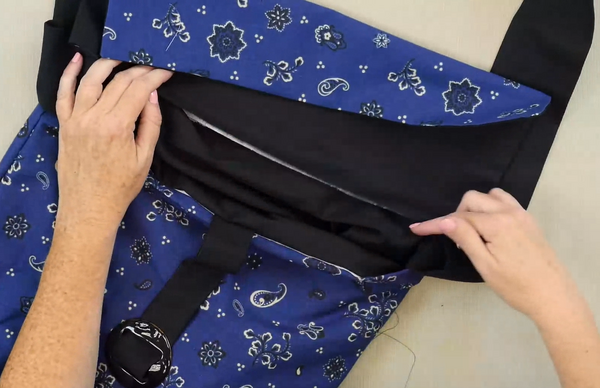
- Arrange the right side of the fashion fabric for the body of your bag to face the right side of the lining for the body of your bag. Put your fashion fabric inside the lining.
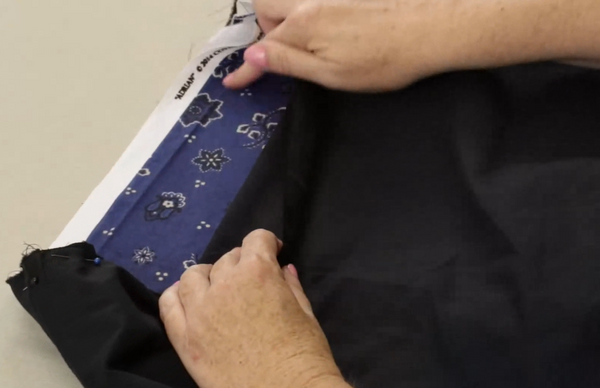
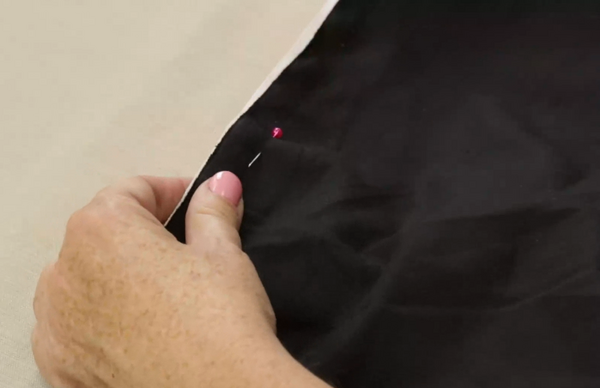
- Insert the wide strap that is going to be used to keep the bag on your shoulder into the bag and pin it into place.
Note: The strap is 3 inches wide when finished, so you'll have 1-1/2 inches showing on either side of the seam.
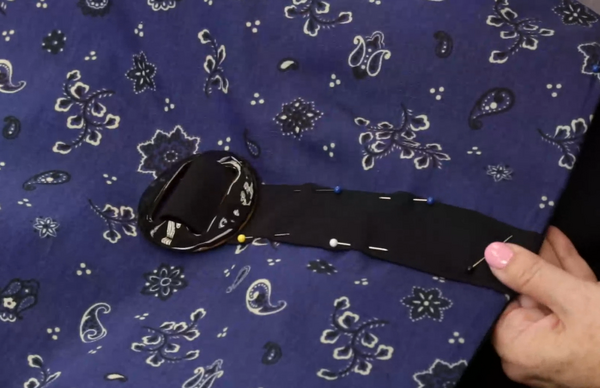
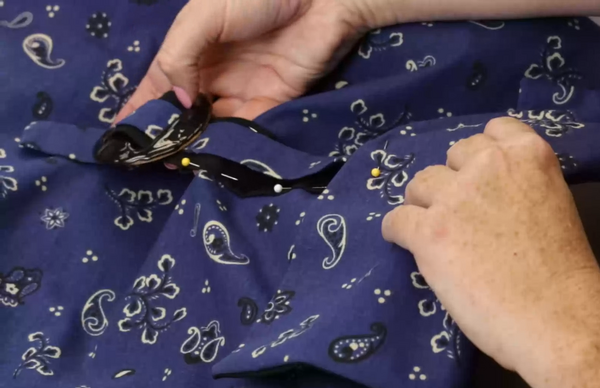
- Measure equally from the two sides and make a small chalk mark to see where your buckle strap should be, and place the buckle so that the right side of the buckle facing up form the right side of the fashion fabric, and pin that into place (all layers).
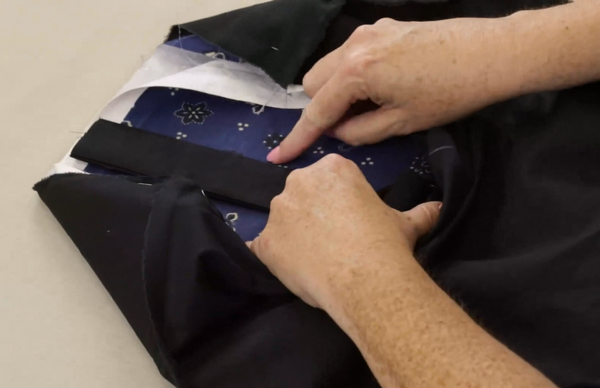
- Sew all of this together along three sides, starting at the one short side, across the long side with the buckle, and across the short side on the other side.
- Turn your entire bag right side out.
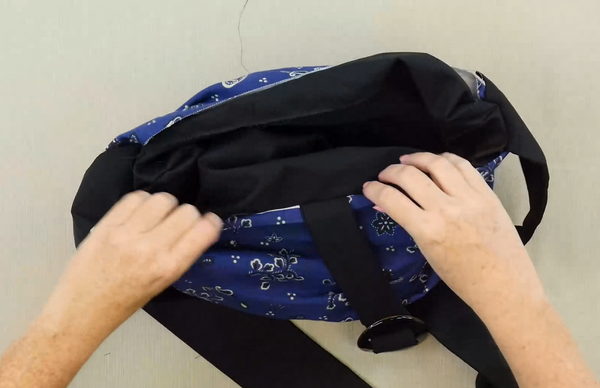
- Fold down the seam allowance along the back of the bag. Insert the flap so that the lining is facing the lining and the fashion fabric is facing the fashion fabric, and then sew all the way around the top of the bag.
- Pin and sew down the two sides of the buckle strap to secure it into place, with topstitching if desired. Keep in mind that you will not want to topstitch all the way down past the buckle.
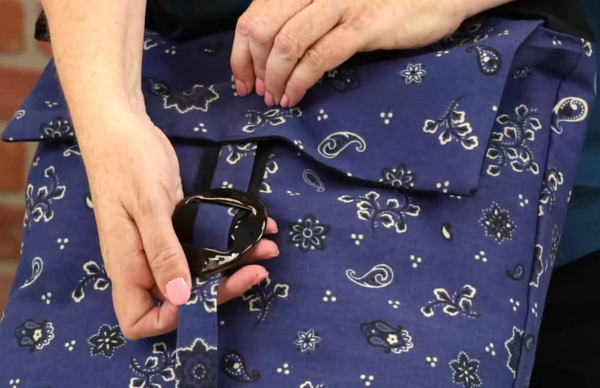
- Take the other part of the buckle strap, turn back a 1/2 inch seam allowance, and stitch it onto the center of the flap so that your more narrow strap will go through the buckle.
You're done!
Want More?
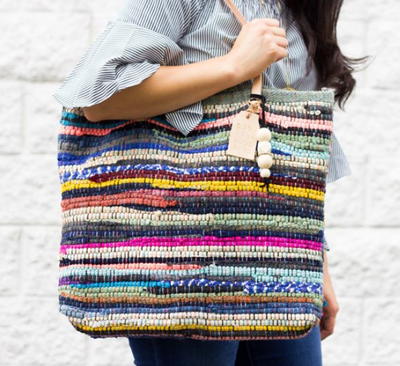
Read NextRag Rug DIY Tote Bag
Your Recently Viewed Projects
Thanks for your comment. Don't forget to share!
ingridbakkers 4810 237
Jan 12, 2018
I've made the bag and it is as easy and perfect as promised
Polly Esther
Jun 09, 2017
Only 10 minutes? Count me in! I am always looking for patterns I can sew while waiting for dinner to cook, and this bag looks like a breeze!
Report Inappropriate Comment
Are you sure you would like to report this comment? It will be flagged for our moderators to take action.
Thank you for taking the time to improve the content on our site.