Modest Date Night Dress Pattern
This flirtatious dress pattern will be your go-to for all first dates, and it even comes with a step-by-step tutorial!
If you've had a date, you're familiar with the experience of standing in front of your closet for hours bemoaning the fact that you have nothing suitable to wear. There's no need for dressing to factor into your date night jitters with this simple and flirtatious Date Night Dress Pattern!
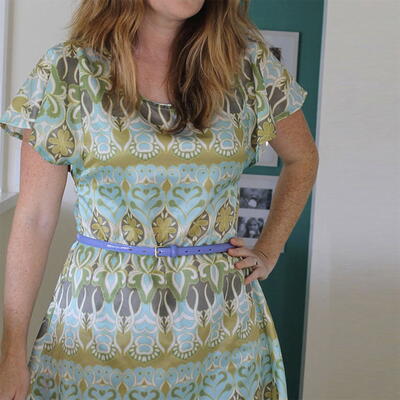
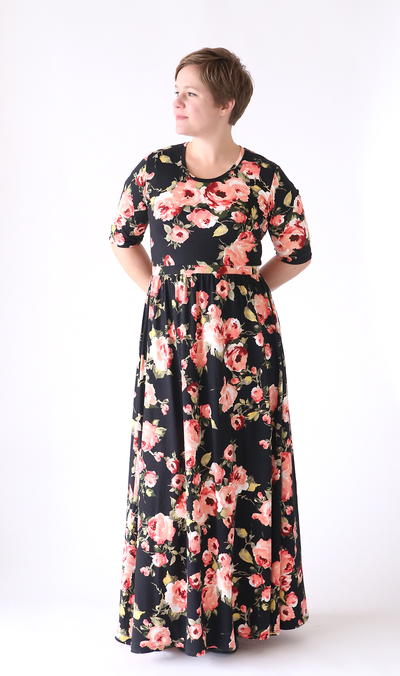
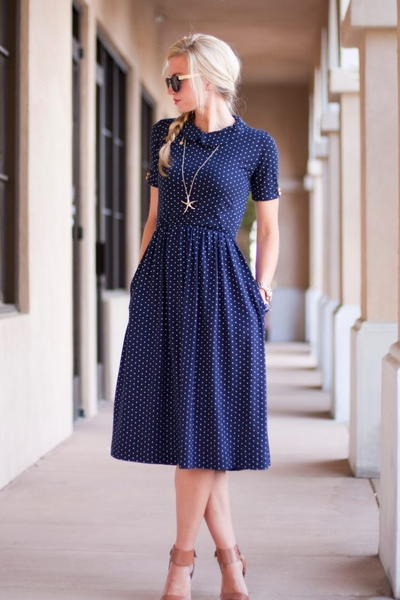
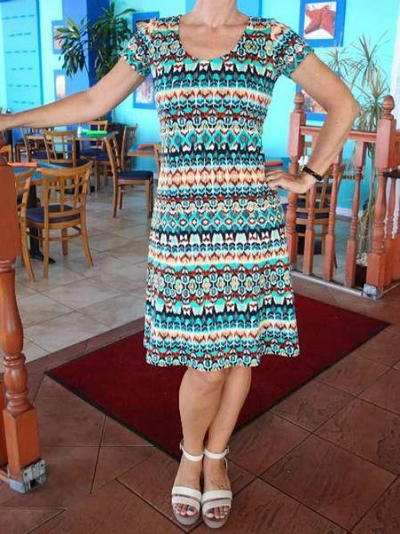
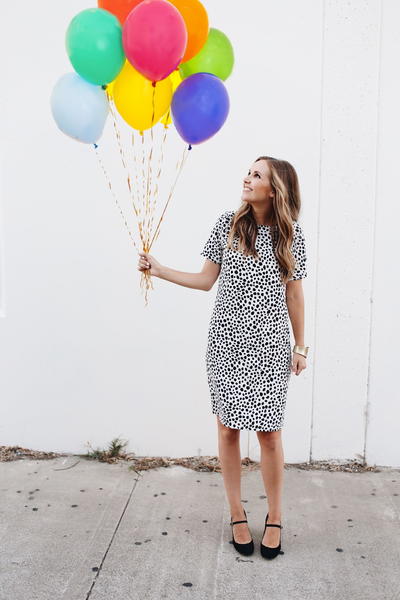
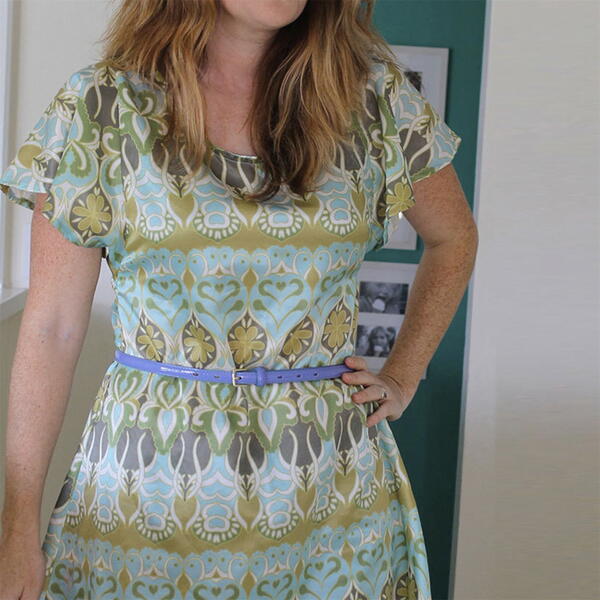
This DIY dress tutorial shows you how to sew a short sleeve dress with a modest neckline. This pattern is gently flared to add to your hourglass silhouette, and it has a box pleat along the back for a sleek finish. Add a small belt around the waist for a simple embellishment your date will adore. You'll capture the heart of any suitor when you're looking suave in this darling design.
Project TypeMake a Project
Time to CompleteIn an evening
Sewn byMachine

Materials List
- Date Night Dress Pattern by April Rhodes
- Fabric (according to pattern requirements)
- Pins
- Thread
- Sewing machine
- Iron and ironing board
- Printer
- Paper
- Washi tape (to assemble the pattern)
- 9'' Dressmaker shears
- Cutting mat (24'' x 36'')
- Acrylic ruler (6'' x 24'')
- 45mm Rotary cutter
- 8'' Scissors
- Dressmaker’s pencil or air erasable marker
This date night dress is sure to win over your new beaux, but it's time to satisfy your dress fix with more sewing patterns! Looking feminine, fit, and fabulous has never been easier than with this free, downloadable eBook, 15 Sewing Patterns for Women's Dresses!
Instructions
-
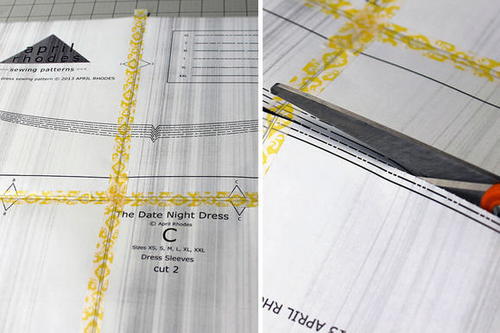
Download the Date Night Dress by April Rhodes. Print the pattern on your home computer and tape the individual pages together with washi tape. Cut out your required size.
-
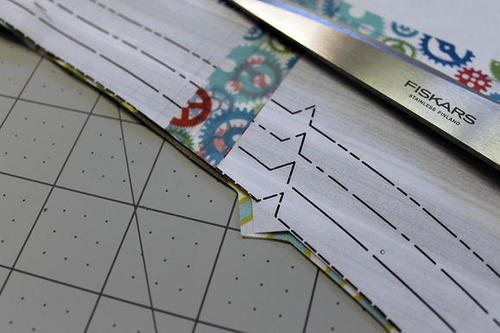
Lay your pre-washed fabric on your cutting surface and pin the three pattern pieces to the fabric. Cut around the pattern pieces, taking care to cut out the notches where marked.
-
In addition to the pattern pieces, you will also need a length of bias cut fabric for the neckband. Use the marked lines on the cutting mat to help you cut the correct angle.
-
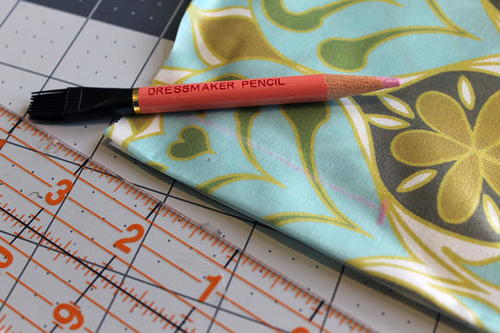
Transfer the pleat markings on the back pattern piece to the fabric, using a dressmaker’s pencil or air erasable marker.
-
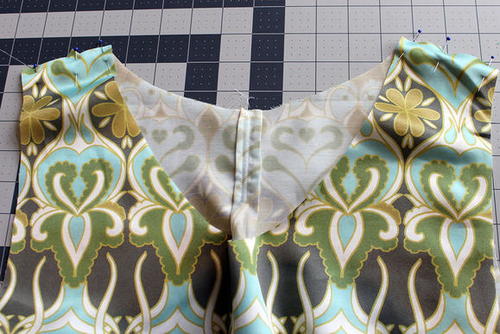
Create the box pleat in the back pattern piece by sewing along the two marked lines with right sides together.
-
Sew the dress front and back pieces together at the shoulder seams using a French seam to hide the raw edges of the seam allowance.
-
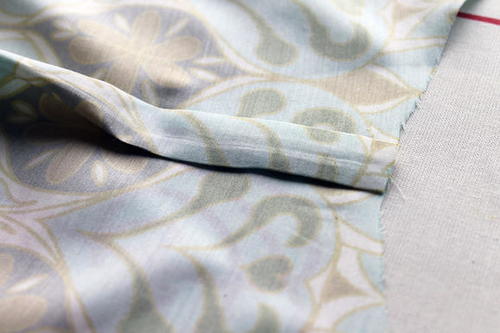
Finish the edges of the sleeves by turning the fabric to the wrong side and pressing with an iron. Turn to the wrong side again, to conceal the raw edge. Press, pin, and sew in place.
-
Sew sleeves to dress, matching the center notch on the sleeve piece with the shoulder seam. Sew side seams with a French seam.
-
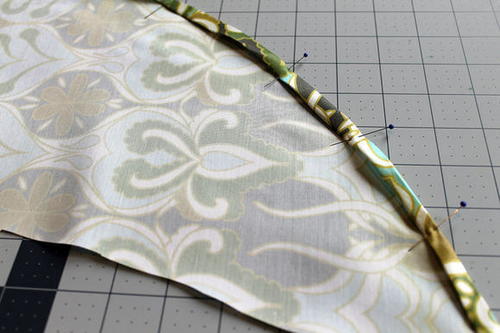
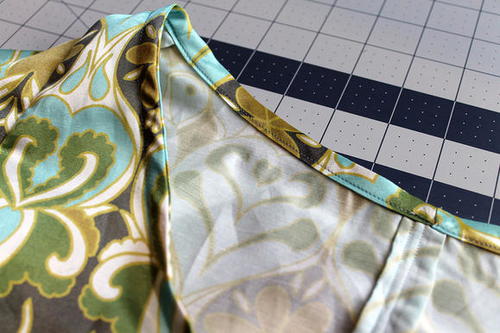
Finish the neckline of the dress by stitching the bias cut fabric strip around the neck. Press to the inside, fold up the raw edge to conceal, pin and sew in place.
-
To finish, try on the dress and determine where you want the hem to fall. Pin, press, and then sew the hem.
Read NextPink Blush Scalloped DIY Dress

