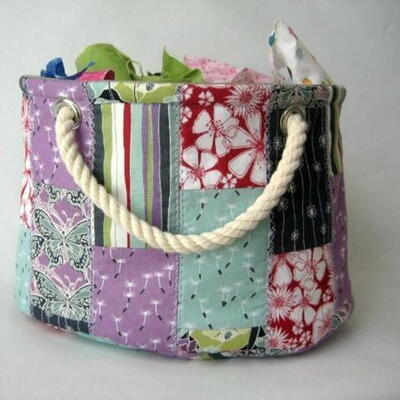
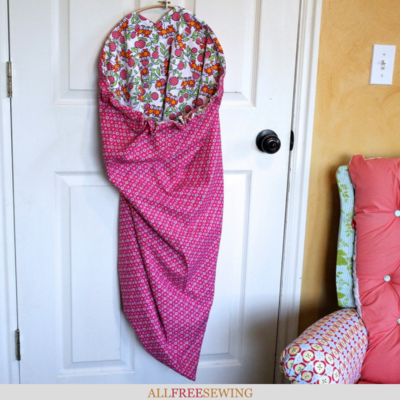
Home Decor DIY Storage Tote

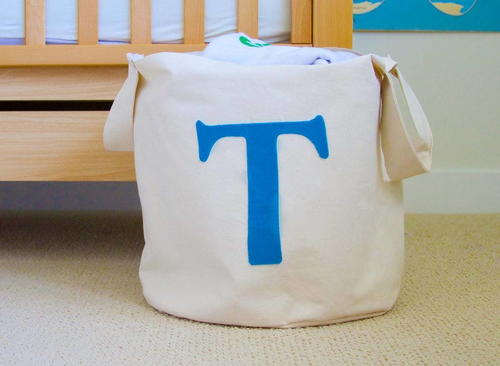
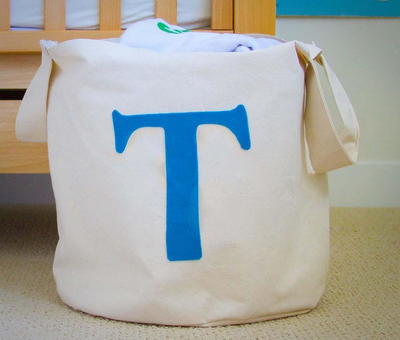
Make this Home Decor DIY Storage Tote as a quick DIY organization project! This simple, yet classic, monogrammed canvas storage bin would be the perfect addition to any nursery or kid’s room. This tote can easily hold toys, diapers, books, or clothing—just add your child’s initial to the bin for a personalized touch. However, this project can easily be altered and used to organize your craft room, linen closet, or wardrobe if you swap out the monogrammed letter for a simple design!
Project TypeMake a Project
Time to CompleteUnder an hour
Sewn byMachine

Materials List
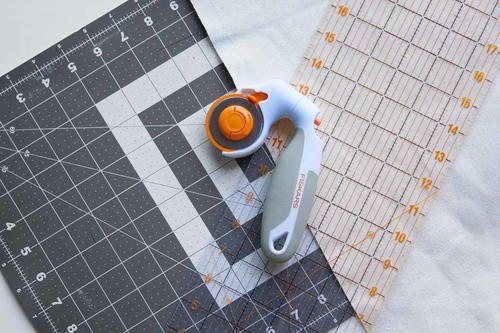
- Adjustable Three-Position Rotary Cutter (45 mm)
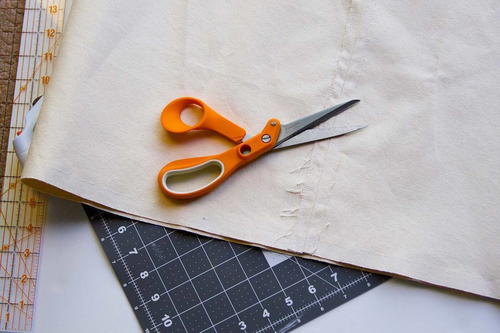
- Amplify® RazorEdge™ Fabric Shears (8")
- Acrylic Ruler (6" x 24")
- Cutting Mat (24" x 36")
- Canvas fabric
- Felt
- Two-sided fusible web
- Pins
- Sewing machine and thread
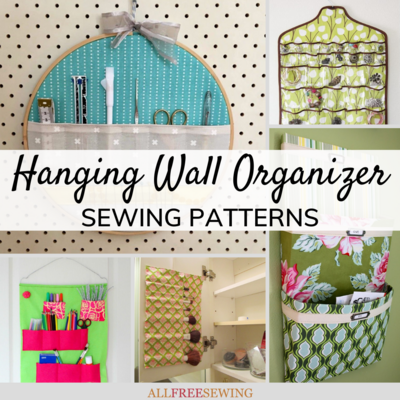
Are you looking for more DIY organization projects? Check out these 21 organizer tutorials for inspiration!20+ Pocket & Hanging Wall Organizer Patterns
Instructions:
-
Use the Adjustable Three-Position Rotary Cutter to trim heavy-weight canvas fabric to 46” x 15”. This tool allows for precise cuts due to the adjustable handle that pivots out of the way of your line of sight. Sew the two short ends of the fabric together to create a cylinder.
-
Press the seam allowance open, trim and stitch down for reinforcement.
-
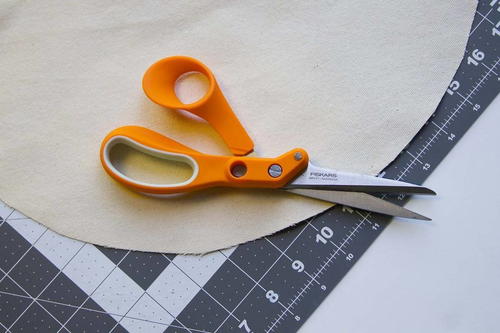
Trace a 14” diameter circle on the remaining canvas and cut out using the Amplify® Fabric Shears. These shears are excellent for cutting thicker and heavy materials.
-
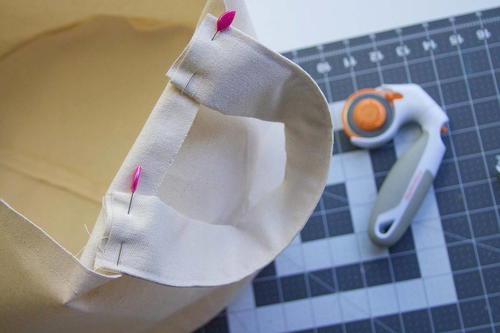
Pin the circle around one end of the cylinder and stitch. Trim the seam allowance.
-
Finish the top edge of the tote by hemming the opening 1/2” to the wrong side.
-
For the tote handles, cut two pieces of fabric measuring 8” x 15”. Press the two long sides in together towards the center. Fold the fabric in half, and then stitch the fold together. Pin, and then sew, to the sides of the tote.
-
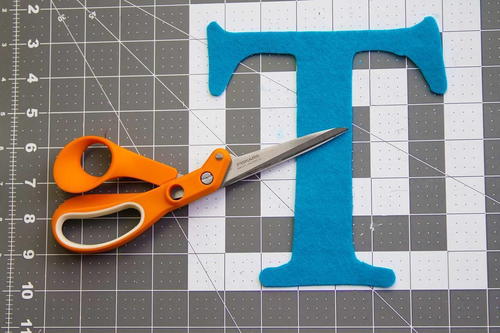
Cut a letter or initials from felt and apply a two-sided craft fusible web to the back of the felt. Follow the manufacturer's directions for fusing the felt to the tote.
Read NextDiy Hanging Storage Baskets
Your Recently Viewed Projects


Thanks for your comment. Don't forget to share!
Daughter of Light
Jul 03, 2017
I've been looking for good sturdy bags for grocery shopping and this just might be the ticket! At least since I'm choosing the materials I have quality control! I can also reinforce seams and handles. I wonder if I should decorate the outside or just leave it plain. Thanks for getting me off to a good solid start on this project!
Report Inappropriate Comment
Are you sure you would like to report this comment? It will be flagged for our moderators to take action.
Thank you for taking the time to improve the content on our site.