How to Sew a Basic Pillow
This DIY throw pillow pattern will be your go-to for any decorative project!

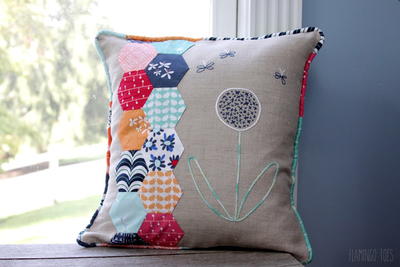
It's easy to underestimate how transformative a well-made pillow can be to one's sleep or to one's home decor. However, there's no need to scour a store for the pillow of your dreams! With this ridiculously simple tutorial on How to Sew a Basic Pillow, you can have a customized square pillow in minutes. Attach an applique for a decorative DIY throw pillow, or mix-and-match cozy patterns for a snuggle-friendly accessory you'll never sit on the couch without! This throw pillow pattern is the perfect starting point for any decorative project.
Project TypeMake a Project
Time to CompleteUnder an hour
Sewn byMachine

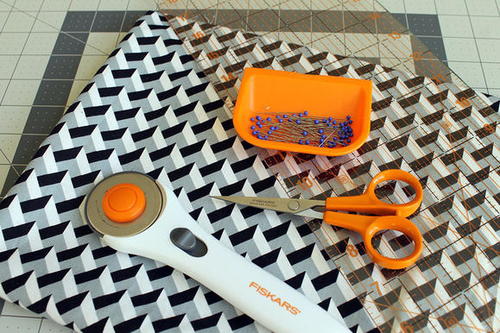
Materials List
- Rotary cutter (45mm)
- Cutting mat (24'' x 36'')
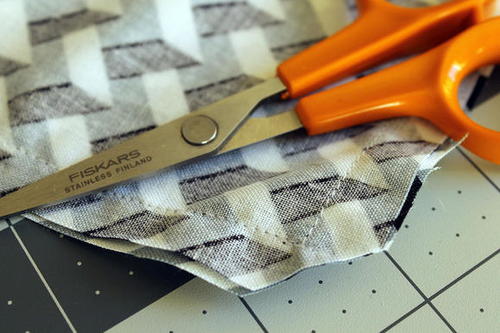
- Stitcher scissors
- Acrylic ruler (6'' x 24'')
- 1 Yard cotton print fabric
- Sewing machine
- Thread
- Iron and ironing board
- Pillow form 14'' x 14''
Instructions
-
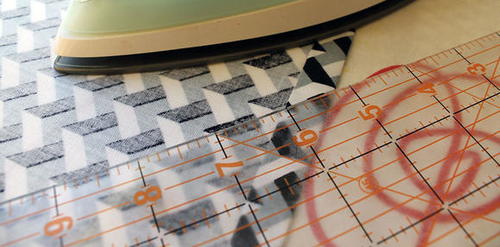
Wash and iron your fabric.
-
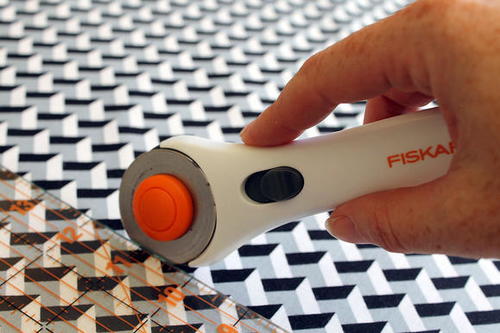
Lay the fabric on the cutting mat and use the acrylic ruler for accurate measurement. Cut one piece of fabric 14” x 14”. Cut two pieces of fabric 14” x 11”.
-
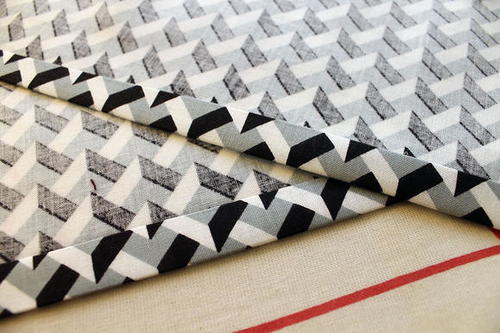
Take one of the two smaller pieces and turn over one long edge 1/2” to the wrong side and 1/2” to the wrong side again. Press with an iron.
-
Repeat for the second smaller piece of fabric.
-
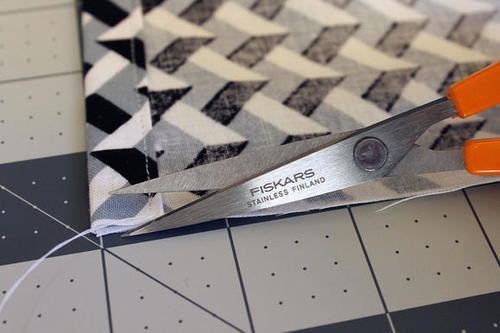
Sew the folded edges down on the machine. Trim excess threads with the stitcher scissors.
-
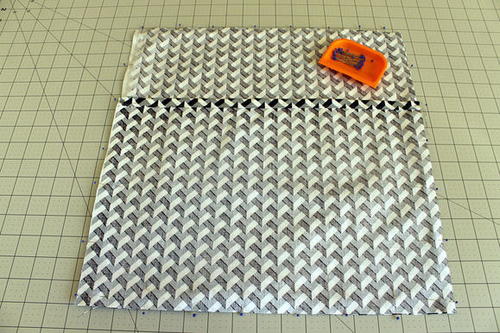
Place your larger square of fabric on your cutting mat with right side facing up. Lay one smaller piece on top with the hemmed edge towards the center. Rights sides should be facing and raw edges matched. Pin the two pieces of fabric together.
-
Lay the second smaller piece of fabric, face down, on top. The hemmed edge should again be at the center and the raw edges matched. Pin and then sew around the entire pillow cover.
-
In order to turn corners on your machine, stop sewing 1/2” from the raw edge and wind the needle down into the fabric. Lift the presser foot and swivel the fabric 90 degrees. Lower the presser foot once more and continue to sew.
-
To finish, clip the corners with the stitcher scissors and turn the cover the right way. Insert your pillow form and enjoy!
Read NextPetal Pillow