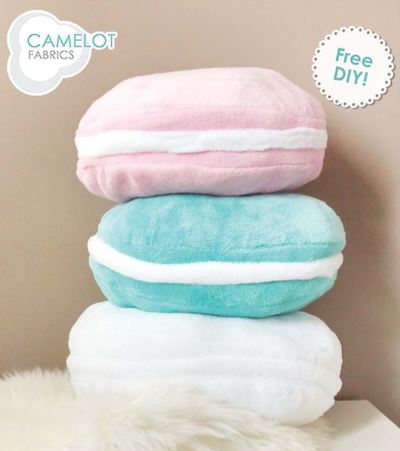
Macaron Pillows
 Camelot Fabrics brings you one of the quirkiest ideas to learn how to make a pillow yet with this charming and adorable design. This DIY pillow idea looks just like a tasty treat! These Macaron Pillows would make a great addition to your little girl’s room or a lovely and soft DIY throw pillow to place on your couch. Combining the fluffy design of the French cookie and the airy pastel quality of fleece, these adorable pillows are hard to pass by. Make them today!
Materials:
- 1 yard of Plush Fleece (58" wide) from Camelot Fabrics in each Main color:
- 8322/E #03 Rose
- 8322/E #04 Turquoise
- 8322/E #11 White
- 1/8 yard of Plush Fleece in Filling Color
- 8322/E #11 White
- Fiber Stuffing
- Paper Printer
- Basic Sewing Supplies
- Pattern Pieces for Pillows (Click to Download)
Notes:
- Please wash your fabric before beginning.
- Do not iron fleece.
- The nap on our plush fleece causes one side to look darker than the other. For this project, we’ll use this effect to give the impression of different parts of the macaron’s meringue.
- WOF = Width of Fabric.
Instructions:
Cutting
- Print the Macaron Pillow template (pp 3-8) at 100% actual size and join the pieces by matching the numbered triangles. Cut out the template.
- Pin the Macaron Pillow template to a double layer of your Main color; cut out (2) Macaron pieces from the Main.
- Cut a 6” x WOF strip from your Main color.
- Cut a 4” x WOF strip from your Filling color.
Assembly
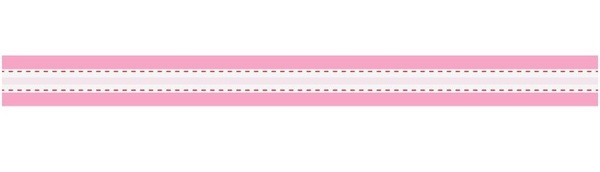
- With its raw edges tucked underneath it, topstitch the Filling strip to the Main strip as shown
with a 1/4” seam allowance. The longer-nap side of the Filling and the shorter-nap (darker)
side of the Main should be facing up.
Trim excess filling.
- Sew the Filling unit from Step 1 to the outer edge of one Macaron piece with a 5/8” seam
allowance, with the Right Side of the Filling unit against the longer-nap (paler) side of the
Macaron.
The diagram shows this step about 3/4 finished, but you should sew all the way around the
circle.
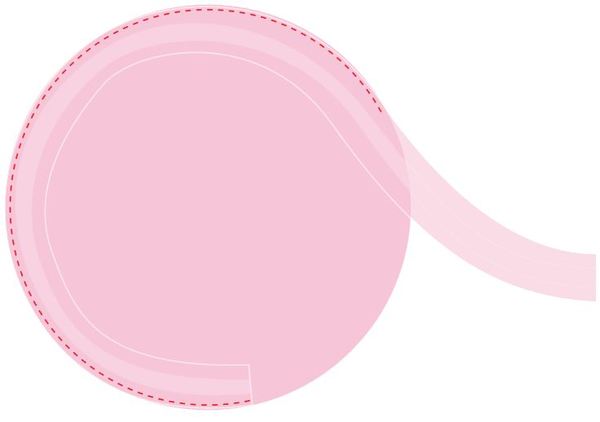
- The diagram shows this step about 3/4 finished, but you should sew all the way around the
circle. - Sew the second long edge of the Filling unit to the outer edge of the second Macaron
circle and trip any excess Filling.
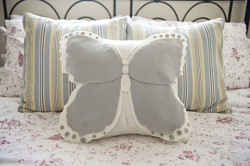
Read Next9 Step Felt Butterfly Pillow Cover