This project was submitted by one of our readers, just like you.
DIY Circle Purse Tutorial With Printable Pattern

DIY Circle Purse Tutorial With Printable Pattern
"The new circle purse tutorial comes with two exterior pockets that are spacious enough to hold the largest iphone, recipets, and even a small wallet. The inside contains one large storage compartment large enough for everything else you’ll need during the day. We’re also going to cover working with thick fabrics like faux suede, leather, and vinyl. We’re also going to cover every step in putting this design together! When you are done with this new circle bag design, you’ll have an adorable purse you can use every day and some new skills you can keep in your back pocket. I have absolutely loved using this new pattern!"
Project TypeMake a Project
Time to CompleteIn an evening
Sewn byMachine

Instruction
-
Once you paper pattern is assembled, it’s time to print it out on fabric. For today’s example, I’ll be using faux leather but the tips on working with thick fabrics all still apply.
-
Widen your stitch length to 3.5 and fold the top edge of your pocket pieces under and use a standard straight stitch to hem. When using vinyl, leather, or faux leather fabrics, it can be helpful to use a walking foot or plastic foot so it slides better.
-
Take one Purse Top pattern piece and lay it over the ribbon of your purse zipper. Sew into place. Then, fold your seam allowance toward your fabric and topstitch at 1/4” seam allowance to finish. Repeat on the other side to create a zipper that easily slides.
-
Place the raw edge of your zippered piece against the long edge of your Purse Side and pin and sew into place. Repeat on the other side.
-
Fold the seam allowance towards the Purse Sides and topstitch at 1/4″ to secure in place.
-
Place the Purse Pockets over the Purse Body and pin into place. Use the longest stitch-length on your sewing machine to baste the pieces together at 1/4″ seam allowance.
-
Now it’s time to create the Purse Handle Loops that we can attach the strap to. Take one Purse Handle Loop and fold the long edge towards the center foldline. Topstitch 1/4″ from the edge to secure in place before repeating on the other side.
-
To attach it to the Purse Side, fold the loop in half and then trim one edge 1/2″ and tuck the long edge underneith. This creates a finished, folded egde when it’s sewn in place. To sew in place, sew a small square around the base of your Purse Handle Loop as pictured.
-
Now it’s time to attach the Purse Body to the Purse Side. To allow for design and ease and make sewing the circle easier, use several sewing pins or fabric tape and secure at every inch. When sewing, place the Purse Side down so your sewing machine’s feed dogs can also help ease the fabric and prevent tucks and gathers.
-
Once the pieces are sewn together, clip tiny triangular notches into the seam allowance. Be sure not to clip your thread! If this happpens, just re-sew that small piece. The small notches will allow your fabric to fall nicely when your bag is turned right-side out.
-
Finally, topstitch 1/4″ from the seam line around the Purse Body To hold your seam allowance down. Repeat on the other side.
-
Now that the body of your purse is complete, it’s time to create the purse handle. Take the Purse Handle and fold the long edge towards the center foldline. Stitch 1/4″ from the edge to secure in place before folding and repeating on the other side.
-
Last, slide one end through your Push Gate Lobster Clasps Hooks and fold the raw edge under just enough to be easy to hold in place for sewing. Stitch 1/4″ from the foldline and then again 1/2″ from the foldline to create a secure, finished Purse Strap.
-
Use the lobster clasps to attach the Purse Handle to the Purse Handle Loops.
-
Now is the fun part! You get to stuff your new circle purse with everything you need and wear it. I love the small but useful design and hope you will too!

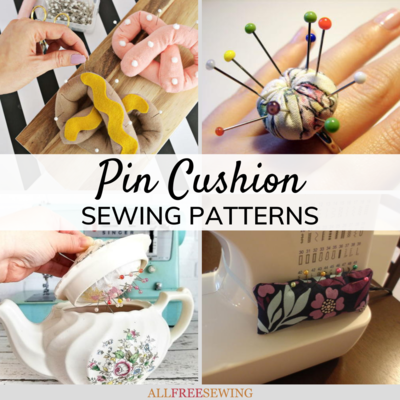
Read Next45+ Pin Cushion Patterns
Your Recently Viewed Projects
Thanks for your comment. Don't forget to share!
bobcob
Sep 21, 2019
I am insulted. this pattern is not free as stated. In order to get the pattern, one has to pay $5!!!! The very least she should do is show the pattern pieces on a graph so that we may draw our own pieces.
Report Inappropriate Comment
Are you sure you would like to report this comment? It will be flagged for our moderators to take action.
Thank you for taking the time to improve the content on our site.