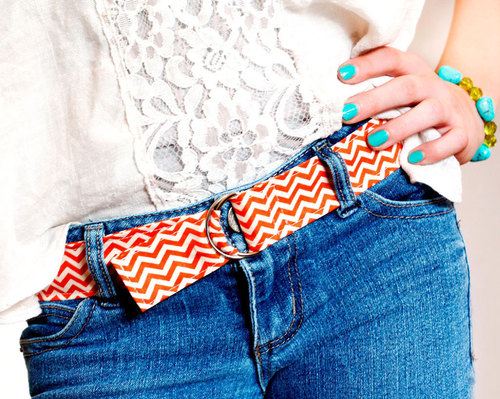
Funky DIY D-Ring Belt
This tutorial shows you how to make a fabric belt using D-rings!

Are you looking for a cute, personalized belt? Are you searching for a quick and simple sewing project?
Try making this Funky DIY D-Ring Belt!
This fabric belt tutorial takes less than an hour to sew, and uses two D-rings instead of a buckle. This sewing tutorial is a great project for beginner sewists and makes for a wonderful gift.
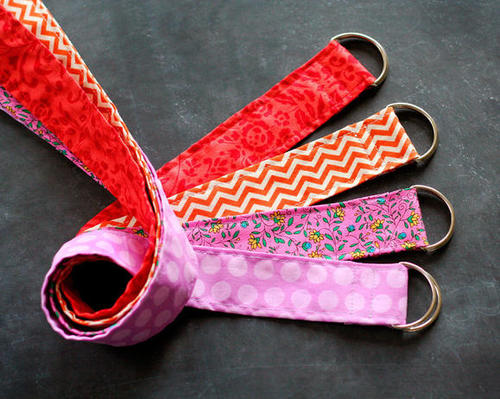
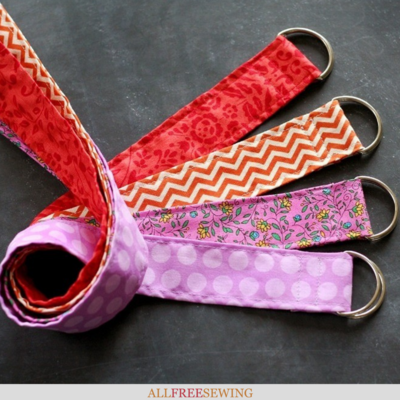
Alternatively, try making several of these belts in multiple prints so you can have one that matches your outfit each day of the week!
It's a wonderful scrapbuster and quick project for any sewist. It's a beginner skill level make, too, which means even the newest sewist can have fun creating their own funky DIY belt.
Sign Up For More Free Patterns >>>
Project TypeMake a Project
Time to CompleteUnder an hour
Sewn byMachine

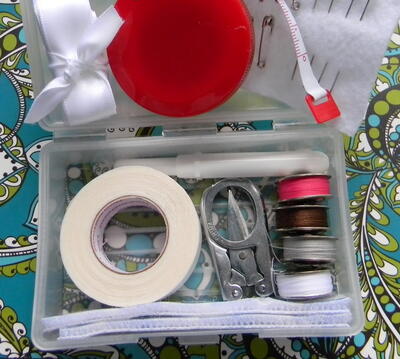
Materials List
- The Original Orange-handled Scissors™ (8")
- D-rings
- Fabric
- Pins
- Thread
- Sewing Machine
- Iron
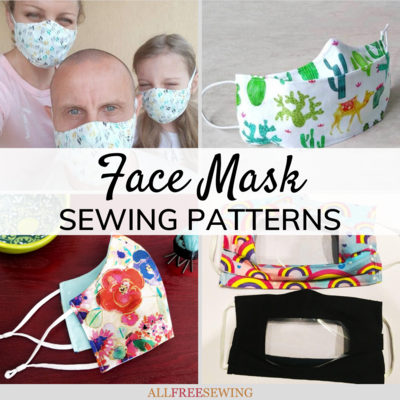
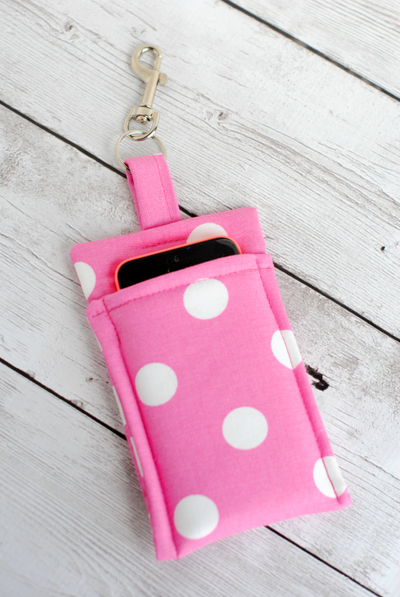
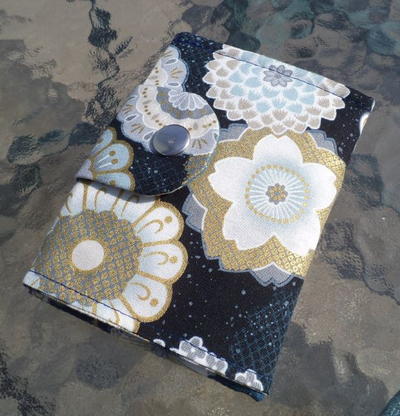
If you loved this belt tutorial and are searching for more DIY accessories to sew, check out these ideas for inspiration!
>>46 Easy Accessories to Sew
Funky DIY D-Ring Belt
Gather your materials and get ready to sew your own funky belt. Scroll down to read through the tutorial. Click on any image to enlarge.
DIY D-Ring Belt Instructions:
-
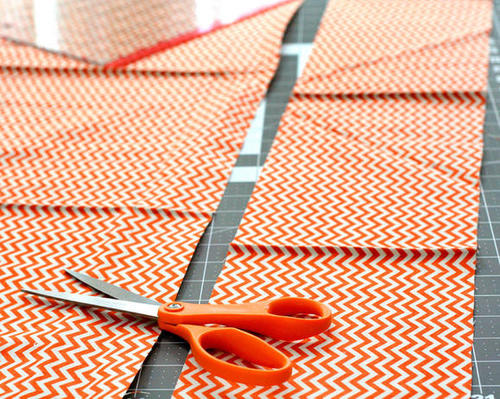
Begin by cutting a 6 inch wide strip of fabric.
-
For the length, add 2 inches to your desired finished belt length. Fiskars Orange-Handled Scissors™ are wonderful for cutting fabric.
-
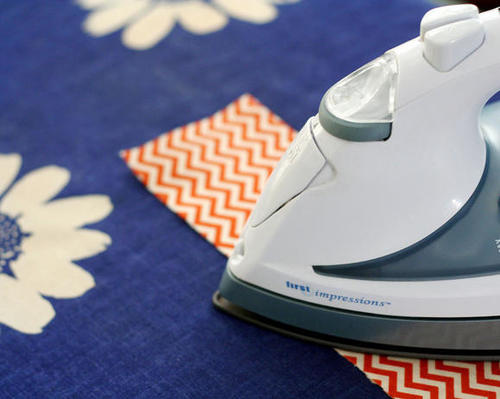
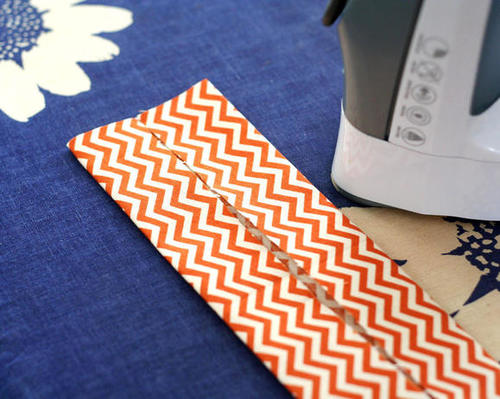
Fold the fabric strip in half (wrong sides together) and press with an iron.
-
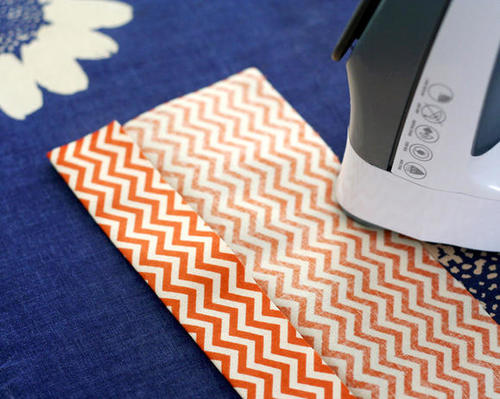
Unfold the creased fabric strip and fold one side in to almost reach the middle line and press with an iron. Repeat the fold on the other side.
-
Fold this strip in half again and press with an iron.
-
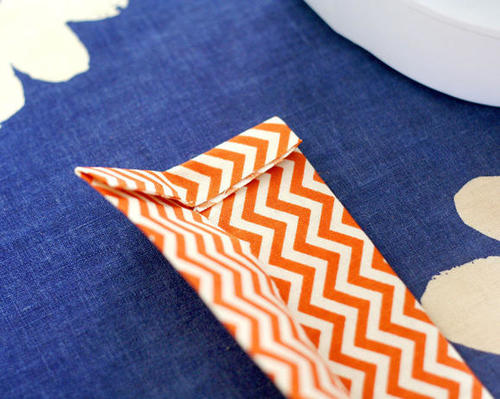
Unfold one end of the strip and fold in 1/4 inch of fabric and press with an iron.
-
Refold end of strip and press.
-
Top stitch around entire strip with a sewing machine.
-
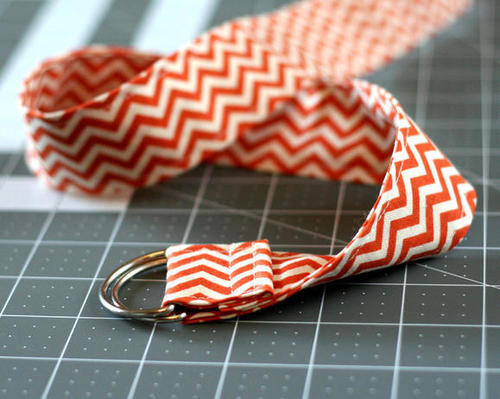
On the unfinished end of the belt, fold over 1/2 inch of fabric.
-
Fold that over another 1.25 inches inserting two 1.5 inch metal D-rings inside as shown.
-
Stitch two lines as shown to secure closed.
Want More?
Your Recently Viewed Projects

Thanks for your comment. Don't forget to share!
Report Inappropriate Comment
Are you sure you would like to report this comment? It will be flagged for our moderators to take action.
Thank you for taking the time to improve the content on our site.