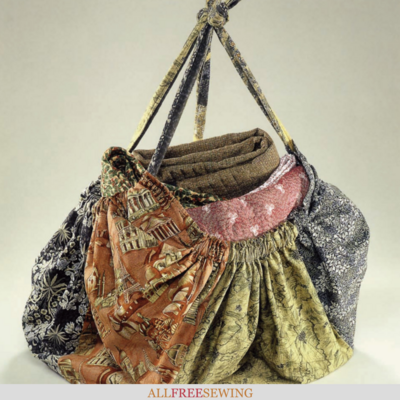
Two-Print Bag
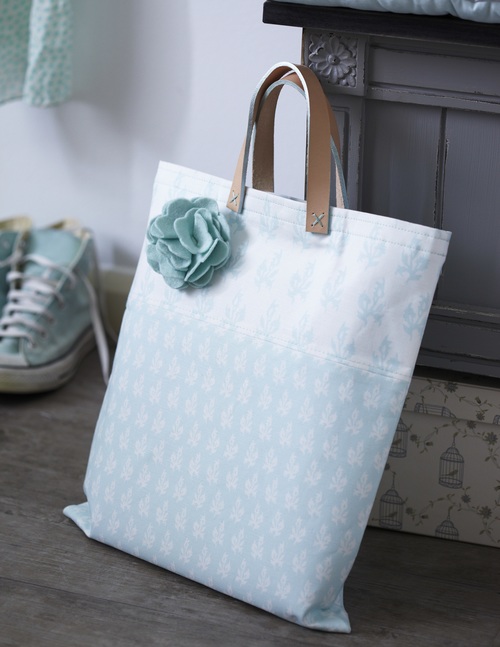
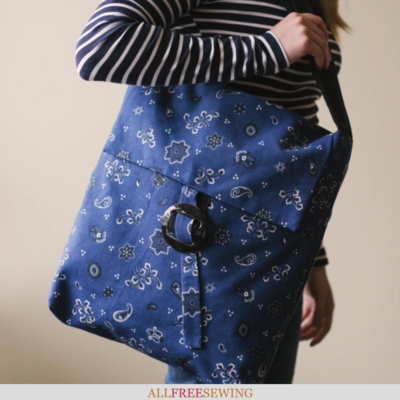
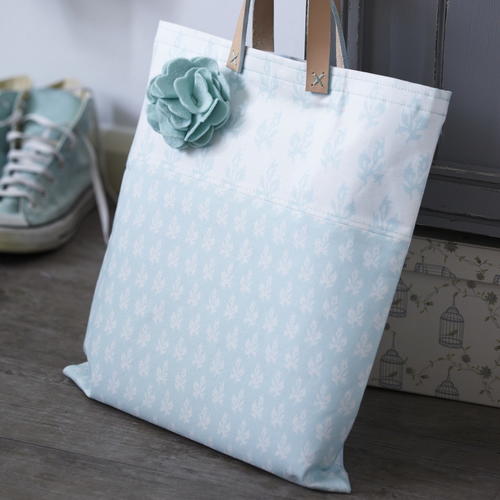
Learn how to make a stunning tote bag with this gorgeous free bag pattern designed by Torrie Jayne. This adorable, easy bag pattern will be your new favorite purse.
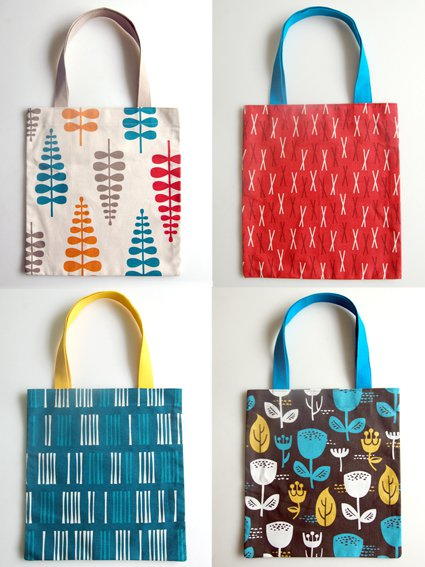
Make a bag you will really truly love in your favorite color by marrying two to-die-for fabric prints with the Two-Print Bag Pattern.
All you need to make a bag like this blue wonder is two different printed fabrics, your sewing machine, leather for the handle, interfacing, and the free printable instructions below.
Plus, for this pattern and more like it check out Torie Jayne's Stylish Home Sewing for even more beautiful patterns and sewing projects.
Project TypeMake a Project
Time to CompleteIn an evening
Sewn byMachine

Materials:
- Pearlized acrylic paint and small paintbrush
- Two 12 ½ in (32cm) lengths of ¾ in-(20mm-) wide bridle leather
- One 7 x 10 1/4in (18 x 26cm) rectangle each of fabric A, lining, and medium-weight fusible interfacing for pocket
- Matching sewing thread
- Two 14 3/4 x 10 ½ in (37 x 27cm) rectangles of fabric A, for bag bottom panel
- Two 14 3/4 x 7 7/8in (37 x 20cm) rectangles of fabric B, for bag top panel
- One 14 3/4 x 34 ½ in (37 x 88cm) rectangle of medium-weight fusible interfacing for bag
- One 14 3/4 x 30in (37 x 76cm) rectangle of fabric C, for bag lining
- Embroidery floss
Dimensions:
The finished bag measures 14 x 15in (35 x 38cm).
Instructions:
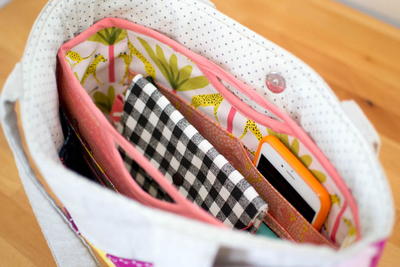
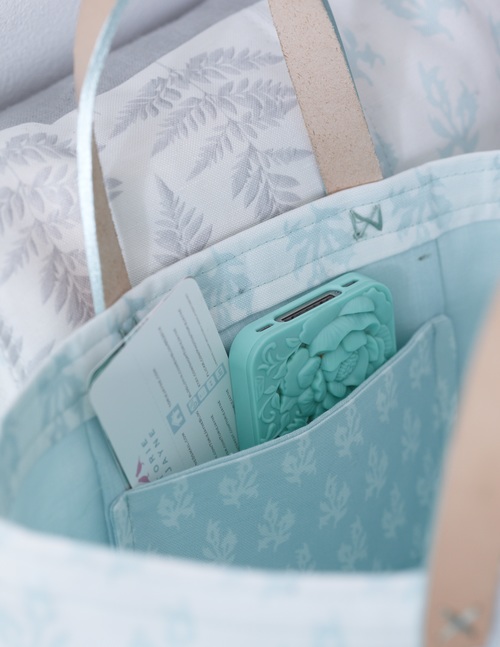
1. Paint the edges of the bridle-leather straps and leave to dry. Next make the pocket. Iron the small rectangle of interfacing to the wrong side of the pocket fabric A, following the manufacturer's instructions. With right sides together and raw edges even, pin the interfaced pocket to the pocket lining. Starting at the top, stitch a 3/8in (1cm) seam down one long edge, across the bottom, and up the other long edge to the top, pivoting the fabric at the bottom corners. Snip off the corners of the seam allowances.
2. Turn the pocket right side out and press. With the pocket face down on your work surface and the lining on top, fold up the bottom of the pocket by 4in (10cm). Pin along the side edges, then stitch a 3/8in (1cm) seam on each of the two side edges.
3. For the front, pin the lower edge of one top panel (fabric B) to the upper edge of one bottom panel (fabric A), with right sides together and raw edges even, making sure the pattern will face in the right direction after the pieces are stitched. Stitch a 3/8in (1cm) seam, press the seam open, and then press the seam allowances toward the top panel. Repeat for the remaining top and bottom panels to make the back.
4. With right sides together and raw edges even, pin the front to the back, and stitch a 3/8in (1cm) seam across the bottom edge only. Press the seam open.
5. Following the manufacturer’s instructions, iron the large rectangle of interfacing to the wrong side of the joined front and back. Topstitch ¼ in (5mm) above the seam line joining the top and bottom panels on both the front and the back (not forgetting that the top of the back is currently at the lower edge of the large rectangle).
6. Fold the piece in half crosswise and pin the front to the back along both sides, with right sides together, aligning the seams joining the top and bottom panels. Stitch a 3/8in (1cm) seam on each side. Press the seams open, snipping into the fold of the interfacing seam allowances at the bottom of each seam so that they will open.
7. Make the lining by following step 6 for the lining rectangle (fabric C). Press 1 ¼ in (3cm) and then a further 1 1/4in (3cm) to the wrong side around the upper edge of the outer bag; pin this double hem in place. With the outer bag right side out and the lining wrong side out, slip the lining inside the outer bag, so they are wrong sides together and the side seams are aligned. Tuck the upper edge of the lining under the hem; pin. Place the upper portion of the pocket from steps 1 and 2 centrally on top of the lining, tucking it under the hem too; pin. Starting at one side seam, topstitch the hem in place, 3/8in (1cm) from the top and then again ¾ in (2cm) from the top.
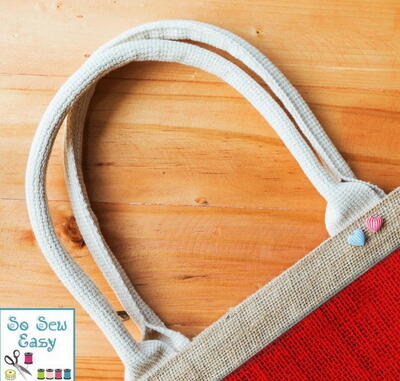
8. Attach the handles using embroidery floss (see page 14); the lower edge of each handle should be about 1in (2.5cm) from the top and the gap between the two ends of each strap should be 3 1/4in (8cm).
Images:
Read NextHow to Make a Bag in One Hour