Spirit of Christmas Fabric Wreath Tutorial
Learn how to make a shabby chic rag wreath for Christmas with our easy-to-follow tutorial.

Have you ever wondered how to make a fabric wreath? It's such a fun and trendy way to decorate for the holidays and you're in luck because we have the perfect Spirit of Christmas Fabric Wreath Tutorial for you to follow along with.
Our friend, Mary Beth Temple, will show you via video how to cut and assemble and our written tutorial will fill in any of the gaps. This fab Christmas rag wreath is a lovely project, especially for crafters who have lots of scrap fabric they want to use up.
Plus, it doesn't require precise measurements or steps, so you can have a lot of fun scrapbusting and creating your own wreath. With this awesome scrapbuster, you'll have a beautiful DIY wreath in about an hour. Did we mention this was a no-sew project? That's right - anyone can make a rag wreath like ours!
Take a look at the video right below and then check out the materials and instructions written below that.
Sign Up For More Free Patterns
Project TypeMake a Project
Time to CompleteIn an evening

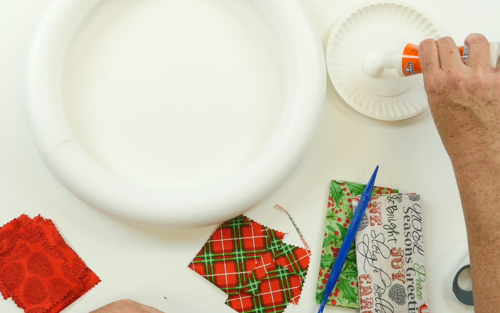
Materials List
- Fabric in three or more colors or you can use scraps or yardage (three and a half fat quarters were used for this example)
- Pinking shears or rotary cutter with a pinking blade
- Craft glue - check to make sure its suitable for Styrofoam!
- Tucking tool, blunt pencil, chopstick, or similar to tuck fabric into wreath form
- 14" round foam wreath form

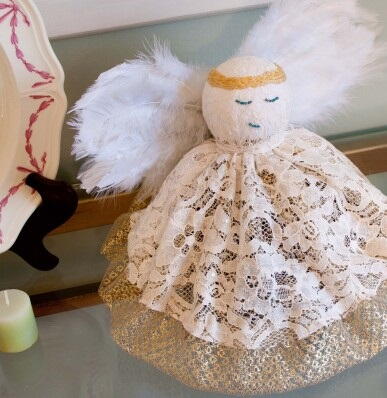
If you're dreaming of a white Christmas, you probably have an ideal image of your home for the most wonderful time of the year. Make that Christmas wish come true with these easy Christmas sewing projects:47+ Free Christmas Sewing Ideas
Spirit of Christmas Fabric Wreath Tutorial
Click on any image to enlarge.
How to Make a Fabric Wreath:
-
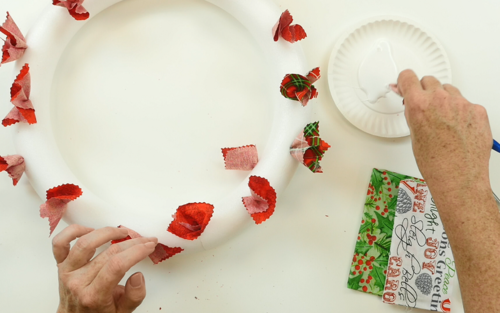
With pinking shears or using a rotary cutter with a pinking blade, cut fabric into approximately 2.5" squares. If using small scraps, simply pink the edges of what you have.
-
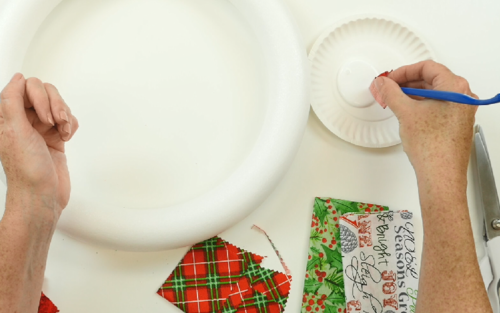
Pour some foam-safe glue out into a small cup, plate, or another disposable container.
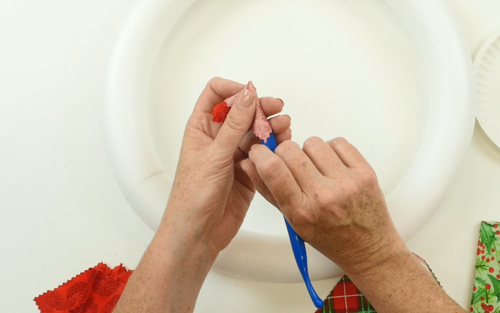
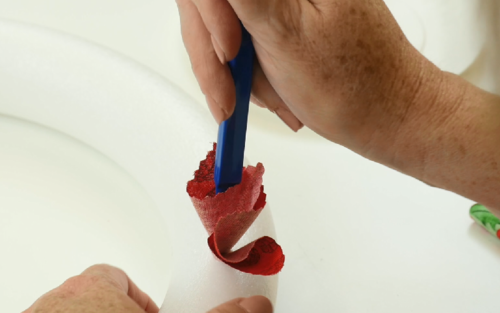
-
Place the tucking tool into the center of the right side of the fabric, twist the fabric, dip point into glue, and tuck the fabric into the wreath. You don’t have to push in too far, just enough so that the fabric stays in place.
-
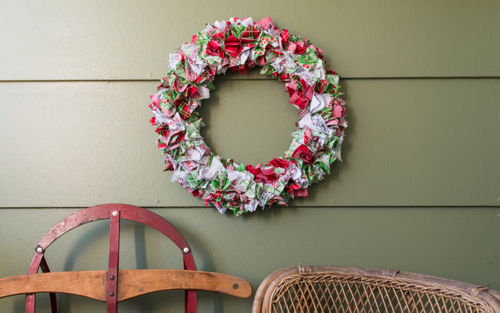
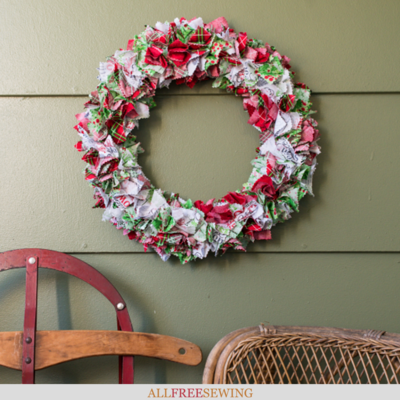
Continue tucking the fabric pieces unto the wreath until no white Styrofoam shows. You needn’t do the back, but make sure to do the sides of the wreath both inside and out.
-
Allow to dry. Add hanger and display!


Want More?
Christmas Shapes Printable Lacing Cards >>
Do you usually DIY wreaths or buy them?
Your Recently Viewed Projects
Thanks for your comment. Don't forget to share!
Weberme
Nov 13, 2018
Okay scrap horders here is your chaance to use up some of them and make a cute Christmas wreath. This one is so easy and you can do it as you have time. Anyone can do this and decorate it how ever you want or leave it plain. A great family project too. I think I will add a cardnial and some branches to mine. There is written tutorial and a video too.
Report Inappropriate Comment
Are you sure you would like to report this comment? It will be flagged for our moderators to take action.
Thank you for taking the time to improve the content on our site.