This project was submitted by one of our readers, just like you.
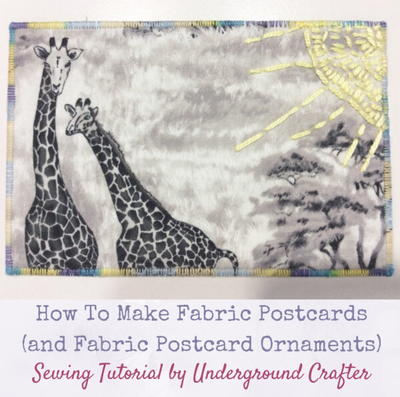
Fabric Postcards
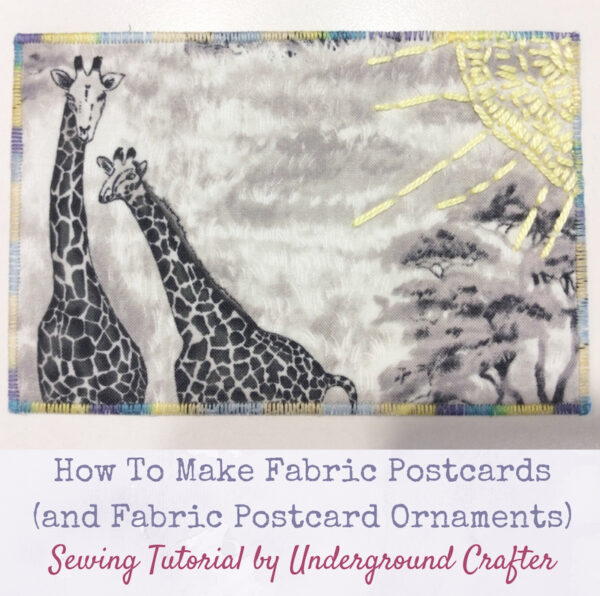
"Fabric postcards make great gifts or use them as souvenirs on your next trip! This tutorial also shows how to make a fabric postcard ornament. These low-sew projects are great ways to use up small pieces of fabric, scraps from other projects, or leftover quilt blocks. You can customize your fabric postcards with embroidery, fabric paint, or iron-on.
Finished Size 4” (10 cm) x 6” (15 cm) Tools Sewing machine with zigzag or overcasting stitches and an appropriate presser foot Rotary cutter and cutting mat OR fabric scissors and marking pen. 4” x 8” quilting ruler. Iron and iron-safe surface. Goddess Sheet or teflon pressing sheet. Basic sewing supplies (seam ripper, thread snips, etc.).
Materials: 100% cotton fabric for front of postcard. Use assorted scraps, fat eighths or quarter yard prints, quilt blocks, or remnants of other projects. Backing fabric. If you plan to send your postcard in the mail, use white or another light color for best results. Double-sided stiff fusible interfacing, such as Fast2Fuse or Fairfield Stiffen. Double-sided paper backed fusible web, such as Lite Steam-a-Seam 2. Thread in your choice of color for stitching and bobbin. To make a “fussy cut” fabric postcard, you will also need to cut a 4” (10 cm) x 6” (15 cm) window out of a piece of cardstock. Alternatively, you can use a fussy cut ruler.
Optional Materials: Embroidery floss and embroidery needle to make ornament hanging, or for embellishment Permanent fabric markers for embellishment Iron-on or heat transfer vinyl and weeder for embellishment"
Project TypeMake a Project
Time to CompleteUnder an hour
Sewn byMachine

Read NextRustic Burlap DIY Hanging Planter


