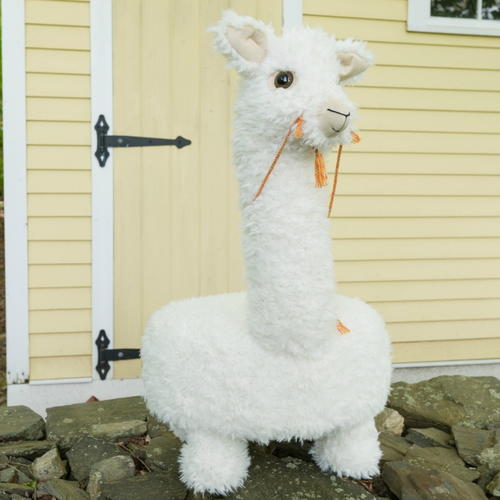
Caya the Alpaca Tuffet

Create a soft and cuddly playmate for your little one that doubles as an adorable tuffet with this completely charming Caya the Alpaca Tuffet from Fairfield. One part of Fairfield's Comfortable Spaces initiative, this sewing project for kids is designed for indoor and outdoor play, and is the perfect place for your child to curl up with a book. A whimsical project that every child will love, this DIY tuffet is a fantastic addition to any nursery, and lets you bring playtime outdoors. Complete with step-by-step images, this kids sewing tutorial is a great combination of sewing and crafting, and is sure to make your kid the most envied on the block.
Click Here to find out about Fairfield's Outdoor Spaces initiative!
Project TypeMake a Project
Time to CompleteLonger than a weekend
Sewn byBoth Hand and Machine

Materials List
- 1 Fairfield Tuffet Kit
- 1 Bag Poly-Fil Premium Fiber Fill
- 2 yds. Shannon® Fabrics Curley Alpaca Fur White
- 1 Skein Coats® Black Floss #8403 and embroidery needle
- (4) Tall White Bun Feet (Home Depot)
- (2) 2” Animal Eyes
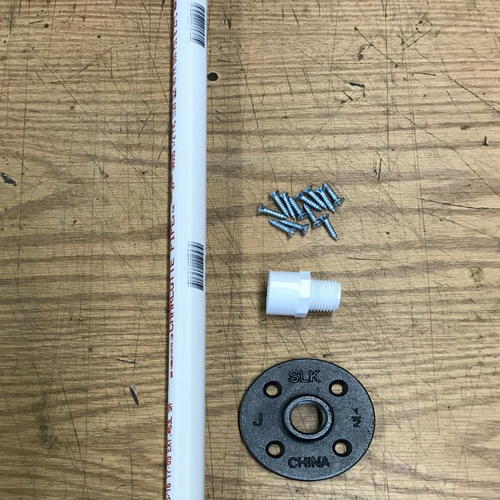
- ½’ X 18” Piece of PVC Pipe
- ½” male/female Fitting
- Floor Flange or Pipe Fitting & 4 Screws
- Orange Yarn
- 3M® Super 77 Spray Glue
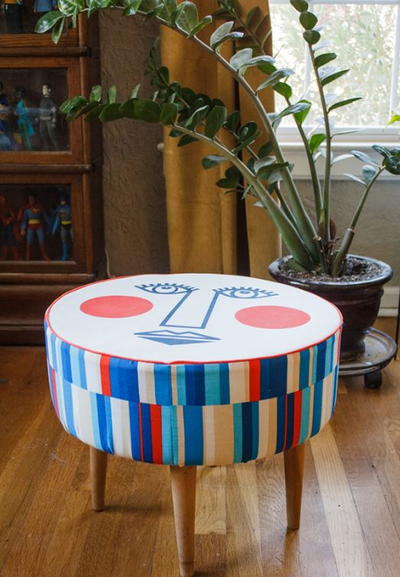
Looking for more great projects from Fairfield? Then don't miss this vintage-inspired DIY ottoman!Mid-Century Modern Ottoman
Making Caya
Step-by-Step Instructions:
-
*Note: Caya was Not Designed To Be A Toy. Please use as a tuffet or foot stool.
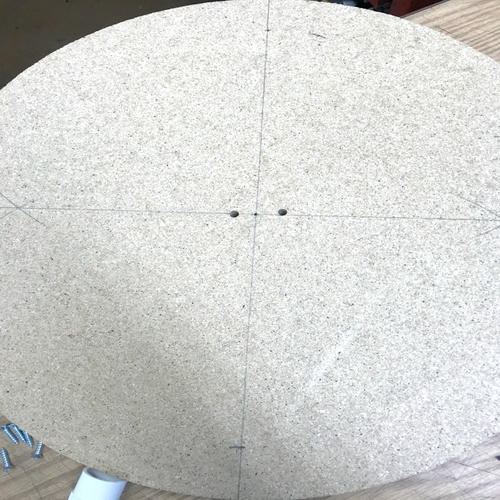
Remove all tuffet components from the box. Begin by laying the circle board on a flat surface. Find the center point of the circle by drawing a pencil line dividing the circle in 8 equal sections. -
Drill four holes 2” from the circle’s edge on 4 lines as shown. Screw bun feet in place. Check to ensure tuffet sits flat.
-
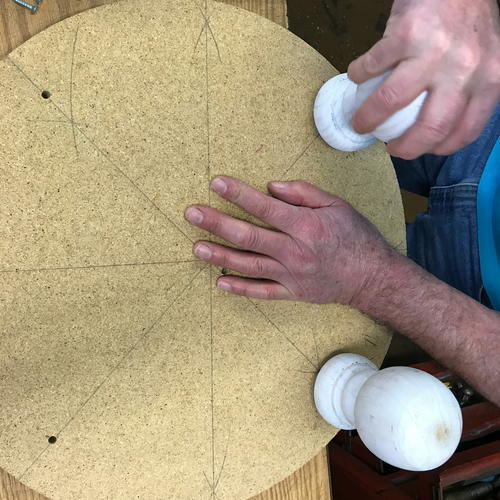
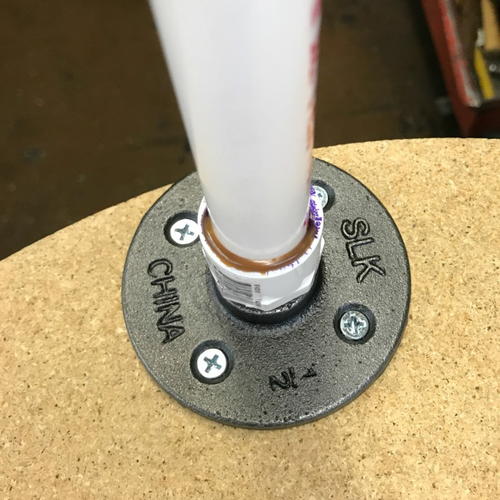
To attach the Alpaca head support, place the metal floor flange on the top of the tuffet base equally spaced between two bottom feet. Keep the flange flush to the circle edge. Press down on the flange with hand to ensure the alpaca is balanced.
-
Mark screw holes with pencil. Remove bun feet before securing flange to the top of the tuffet base. Screw pipe fitting in place. Glue pipe into fitting.
-
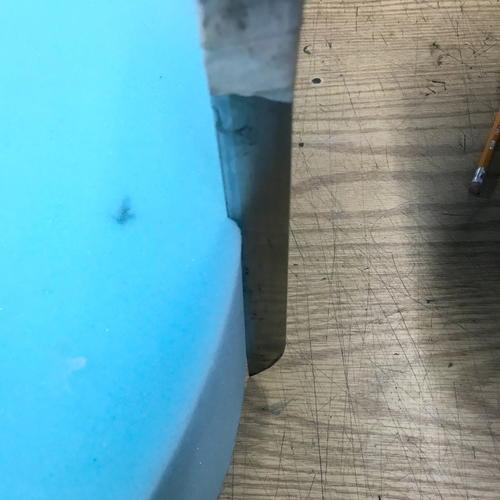
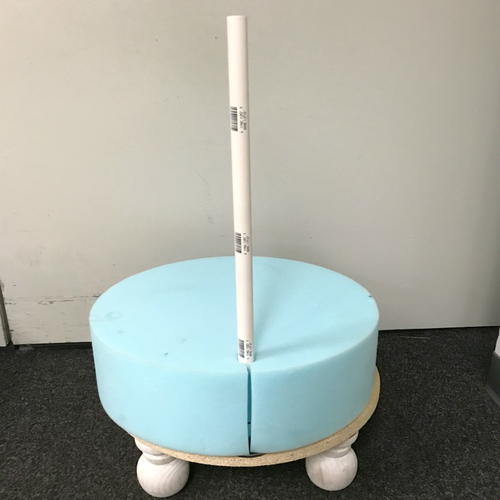
Measure the length from the edge of the metal flange to the back of the pipe. Mark measurement on the foam circle. Using a large knife make a cut in the foam.
-
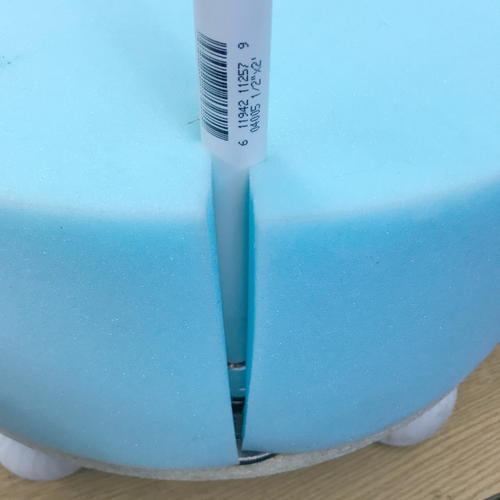
Place foam on the tuffet base. Guide the foam slit around the pipe. If fit is perfect remove foam, spray wooden tuffet base with spray adhesive and place foam back on top. If fit is not perfect, rework the foam by cutting slit a bit deeper and repeat the procedure above.
-
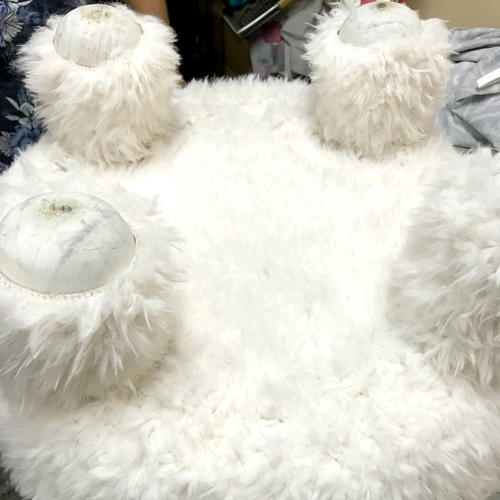
This is what the Alpaca form should look like.
-
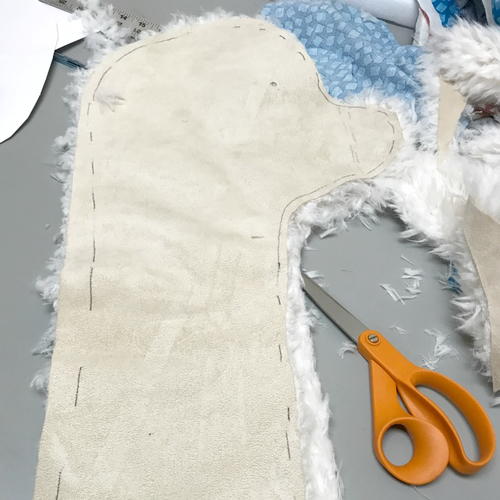
Make a 32” circle pattern from paper or draw the circle directly onto the back of the curly alpaca fur. Download and print the head, ear and tail pattern. Pin each onto the fur. Cut all patterns out. Set aside.
-
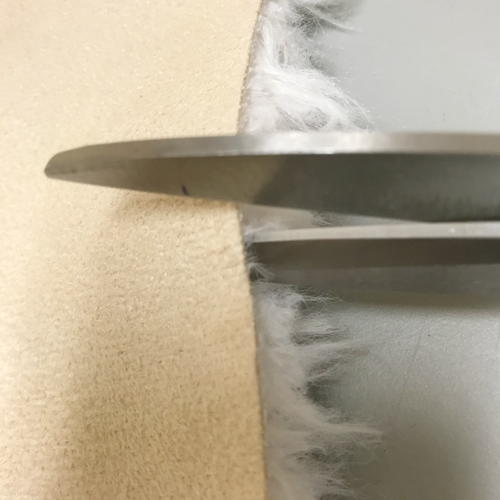
*Note: To cut fake fur we suggest cutting backing of the fur only. To do this, lift the scissor up against the backing so the underlying fur is not cut.
-
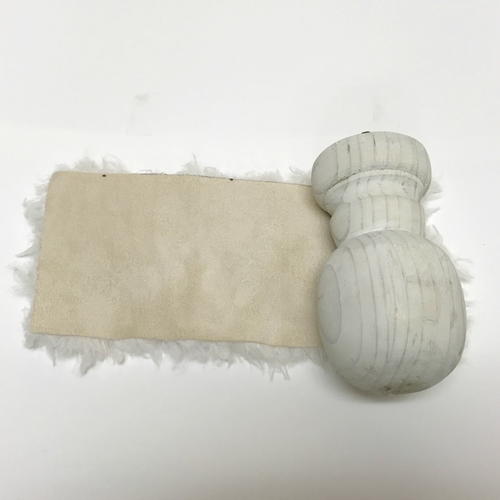
Remove the feet from the base if attached. Create a rectangle pattern from paper that wraps around the foot. Cut 4 rectangles shapes using the pattern from the fur. Hot glue one rectangle around each of the foot. Trim excess, set aside.
-
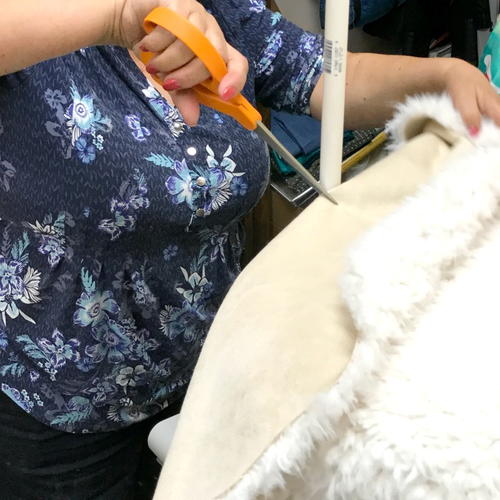
Place alpaca form on a flat surface. Position the sheet of batting included in the tuffet kit over the top of the foam. Cut a hole in the batting to fit the tube through. Flip the entire form over, letting the head support hang off the table edge. Begin to staple the batting to the wooden base, pulling batting slightly. For best results, staple once in a north, south, east and west pattern then add a few additional staples in-between. Trim excess batting off. Leave foot holes exposed. Repeat the above process with the fur.
-
Screw feet back in place. Staple a piece of fur to cover the remaining wood. Flip body over.
-
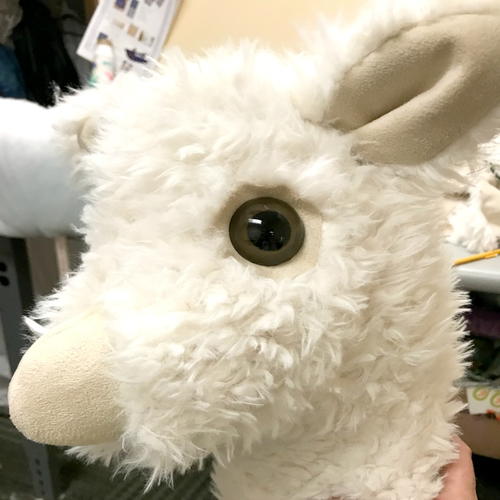
To make the head, begin by cutting the muzzle piece from the face. Flip and reverse pieces. The right side will now become the left. This will create a non-furry muzzle. Sew each side of the muzzle to the head. Pin head sides (furry sides) together and machine stitch. Turn head right-side out.
-
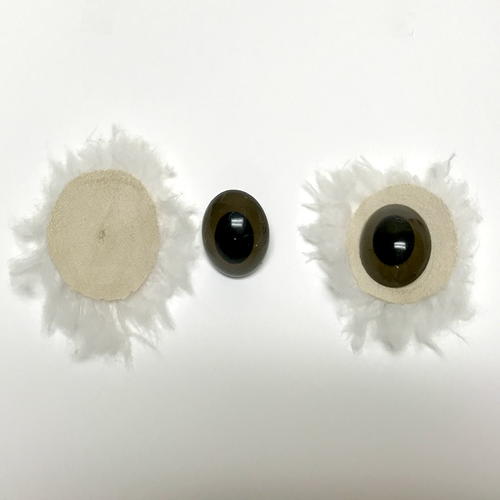
Cut two 3” circles from the fur. Poke a hole through the center. Non-furry side out, place the eye through the hole. Doing this will create the appearance of an eyelid.
-
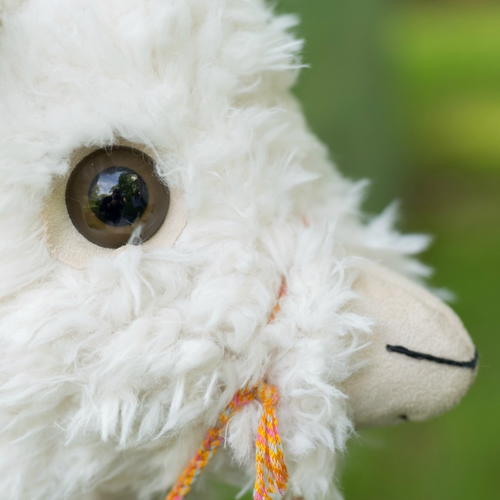
Place one eye on each side of the head by poking a hole through the head and inserting eyes. Working on the inside of the head, attach plastic nuts to eye post to secure firmly in place.
-
Stuff head and neck with Poly-Fil. Machine stitch together each ear, pleating the ear fronts, then hand stitch one ear to each side of the head. Stitch and attach tail similarly.
-
Place the stuffed head and neck over the tube. Add addition Poly-Fil to make head strong. Hand stitch neck to the body, tucking fur ends under.
Hand stitch nose and mouth with black embroidery floss. Add braided yarn to create a lead. Attach to muzzle. Decorate with yarn tassels.

Love sewing for your grandkids? What kinds of projects would you like to see on AllFreeSewing? Let us know below in the comments!
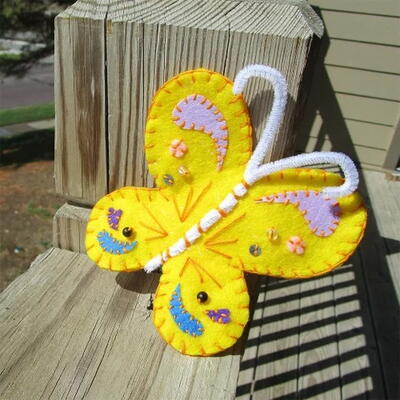
Read NextButterfly Sewing Project for Kids
Your Recently Viewed Projects

Thanks for your comment. Don't forget to share!
Weberme
Aug 26, 2017
Oh Wow how cute is this Alpaca tuffet. I love it and it combines woodworking,upholstery and craft making. Love the fabric so fluffy looking. Every child would love to have one for watching TV or reading or just playing. A great birthday or Christmas gift.Super tutorial.
Polly Esther
Jun 26, 2017
This little alpaca is adorable! My nephew would absolutely love sitting on here to read his picture books. It looks so soft and cozy!
Report Inappropriate Comment
Are you sure you would like to report this comment? It will be flagged for our moderators to take action.
Thank you for taking the time to improve the content on our site.