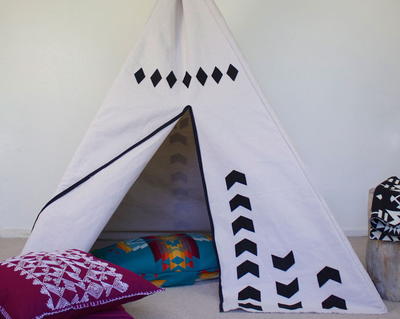
DIY Teepee Play Tent Pattern

If your kids are like most, they love to nuzzle themselves into small nooks throughout the house. With this DIY Teepee Play Tent Pattern, they can have their own homey haven. Plus, you only have to spend a bit of time at the sewing machine to make it happen. With a durable canvas exterior and customizable geometric applique designs, this DIY kids' play tent will be their new favorite hideout. Four wooden poles will maintain the teepee's shape, and they're securely fastened with rustic twine at the top of the tent. Let your kids feel as though they're camping on the forest floor, even when they're safe in the living room.
Project TypeMake a Project
Time to CompleteIn an evening
Sewn byMachine

Materials List
- 10'' Fabric shears
- Acrylic ruler (6'' x 24'')
- Cutting mat (24'' x 36'')
- Four 3/4'' x 6' wooden poles
- 9' x 12' canvas painter's cloth
- Twine
- One package of bias tape
- Felt
- Hot glue gun
- Sewing machine and thread
- Pins
- Marker

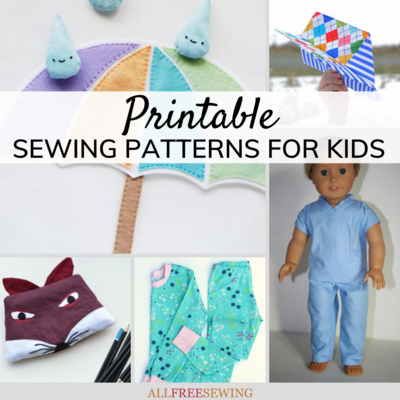
Now your house is kid-friendly with your new teepee tent, but what about your kids' school? Break out your sewing skill for back-to-school projects your kids will adore with this free, downloadable eBook!6 Sewing Projects to Make for Going Back to School Free eBook
Instructions
-
Fold the canvas painter’s cloth to create a double thickness of fabric approximately 28” wide.
-
Along the straight folded edge, measure 62-1/2” and with a marker make a mark at the top and bottom points of this measurement.
-
With the marker, draw a straight line 5” long, in from the top mark on the folded edge.
-
With the marker, draw a straight line 25-3/4” long, in from the bottom mark on the folded edge.
-
Join the ends of the two lines together by drawing a diagonal line between them. You will have half a triangle shape (without a pointed top) on a fold.
-
With your 10” fabric shears, cut out this shape from the double thickness of fabric and repeat Steps 1-6 three more times so that you have four large "triangle" panels of fabric.
-
Take two cut triangle pieces of fabric and lay one on top of the other with right sides facing together. Pin together along one long side and sew the seam with 1/2” seam allowance.
-
With the acrylic ruler and marker, draw a line 1-1/2” in from the seam line, and sew along the line through both pieces of fabric. You have created a tube through which you’ll push a wooden pole to hold the tent up.
-
Repeat Steps 7 and 8 for the remaining triangle panels. The final panel will be sewn to the remaining raw edge of the first panel to complete the canvas covering.
-
To create a doorway, make a cut through the center of one of the panels approximately 34” long. Cover the cut edge with bias tape to prevent fraying.
-
To prevent fraying, sew the entire way around the bottom of the canvas cover with a zigzag stitch.
-
Place the cover on the poles by threading the poles through the interior tubes you sewed. Tie the poles and canvas at the top securely.
-
To finish, decorate the tent. Use felt shapes and a hot glue gun for ease, or stitch if you prefer.


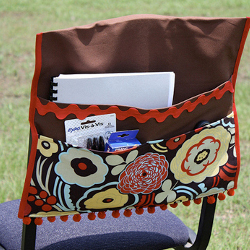
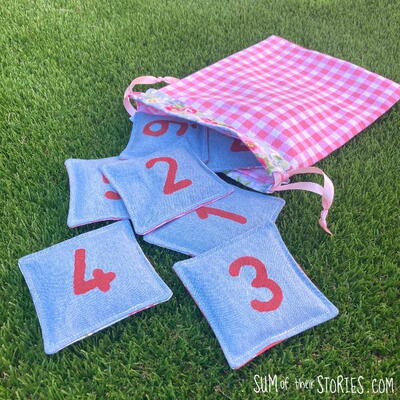
Read NextDenim Upcycle Bean Bag Game
Your Recently Viewed Projects

Thanks for your comment. Don't forget to share!
Weberme
Aug 22, 2018
Does you child or grandchild like making their own hideout with sheets and blankets then whynot make this teepee play tent for them instead. This will make for hours of playing. I like the idea of using a painters canvas cloh because it is a lot stronger then fabric. You can decorate it with whatever you like on the canvas from pictures to sequins,feathers, or use your imagination. I like it.
Creative Fashion B log
Aug 20, 2018
This is so cute! I've been looking for a teepee tutorial! Thank you!
Report Inappropriate Comment
Are you sure you would like to report this comment? It will be flagged for our moderators to take action.
Thank you for taking the time to improve the content on our site.